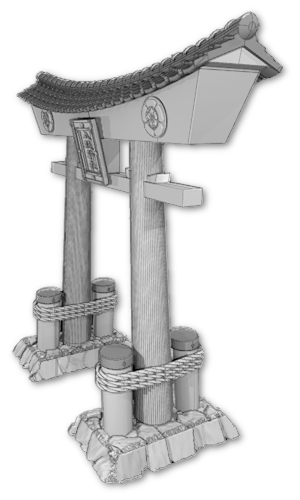
3d-printable terrain for all your samurai wargaming needs


| << Printing the castle corner tower 2019-09-23 | Samurai Castle Corner Tower Available NOW! >> 2019-09-25 |
The new samurai castle corner tower has now been fully painted, and is due for release this week! Here's a little painting guide to painting up the whole tower in about 8~10 hours, fast and easy but with great results.....
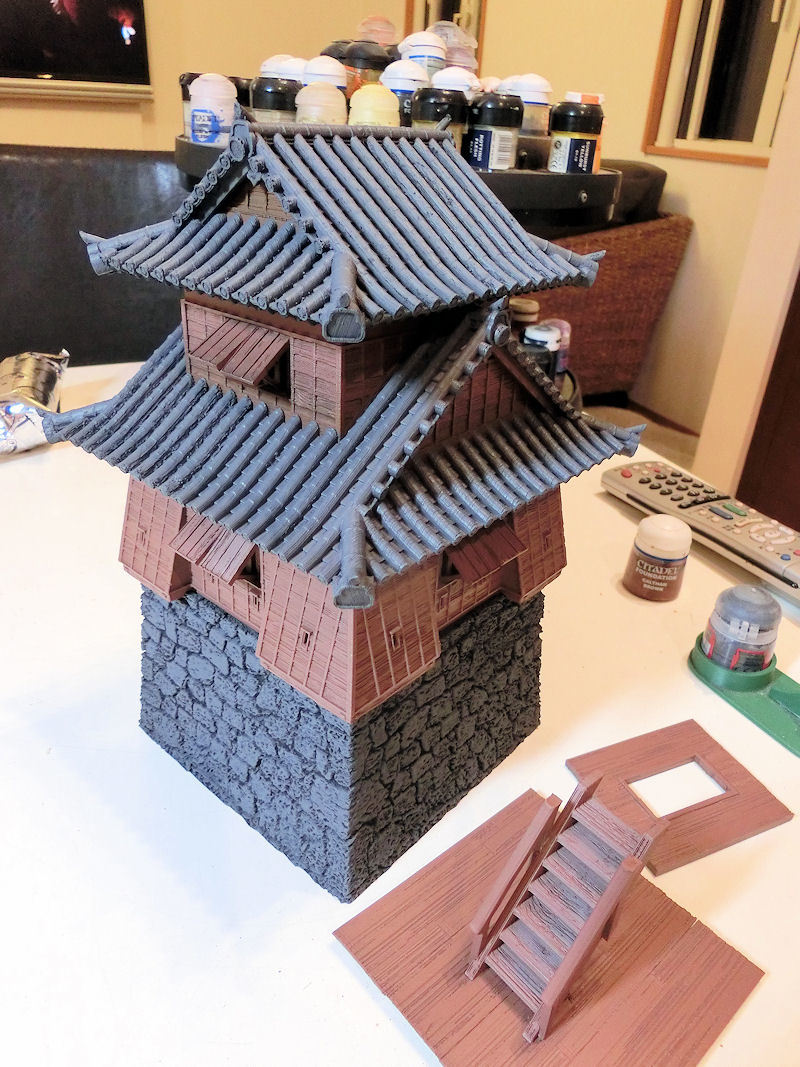
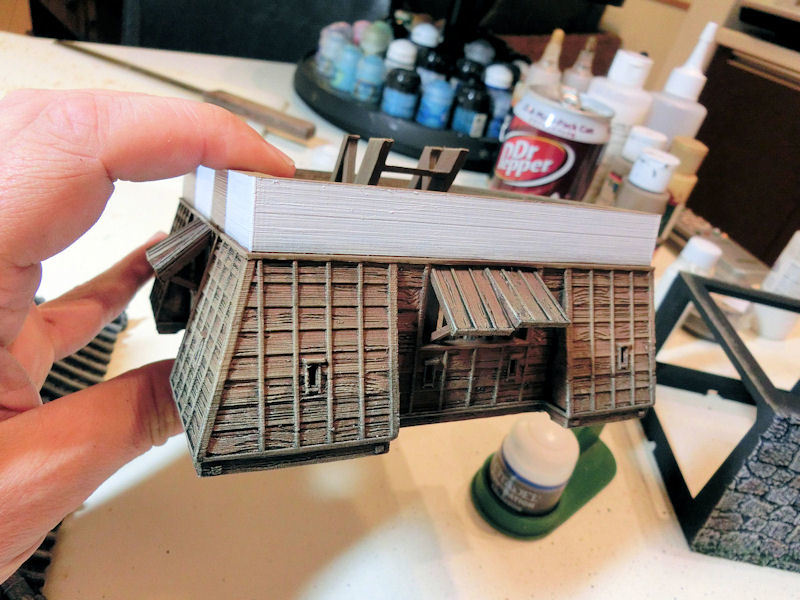
£ Save yourself a massive amount of time and undercoat your castle tower with the right colours! I spray undercoated all the wood sections in chocolate brown (matt), and then base and roof sections in black.
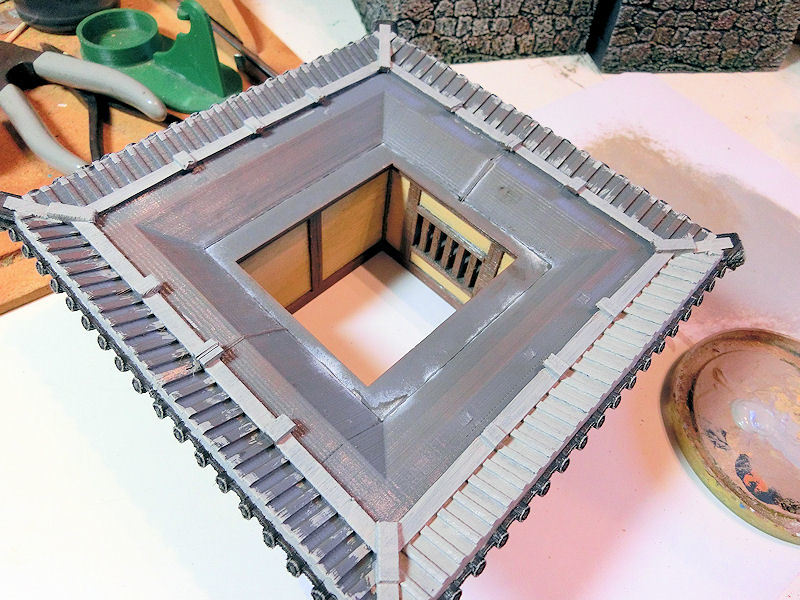
That meant I had to spray a little carefully around the second storey, which has both roof tiles AND wooden walls.
After that I went back over all the roof sections in medium grey acrylic with a big brush, and then neatened up the edges where the roof tiles met the wooden walls. I also painted that little wooden triangle just under the topmost roof in brown. It wasn't an exact colour match to the rest of the sprayed brown, but never mind.
£ Next, using some homemade washes, I washed all the grey sections heavily in black, and all the wooden sections in dark brown.
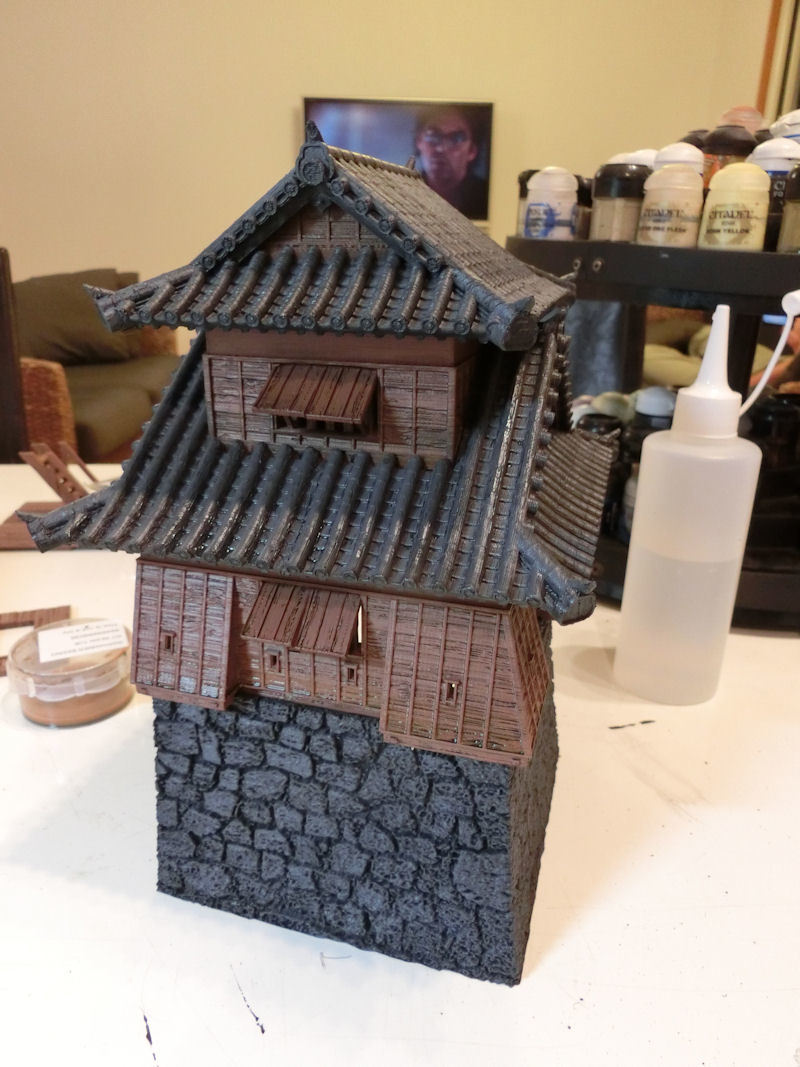
£ After leaving it to dry overnight, I drybrushed the base section heavily in light grey, and the roof sections a little less heavily in the same colour. I think perhaps I went a little overboard on the rooftiles, as they ended up far lighter than the surrounding castle walls (you can see one on the right), but after a while it grew on me! So I'll keep it, I think!
The wooden sections were drybrushed in a light brown (beige), and then again with a drop of light grey in the mix - but only towards the bottom of the walls. This was intended to show sun-bleaching. They were apparently painted in dark brown tar regularly, I think, but I decided to show this corner tower as slightly less well maintained.
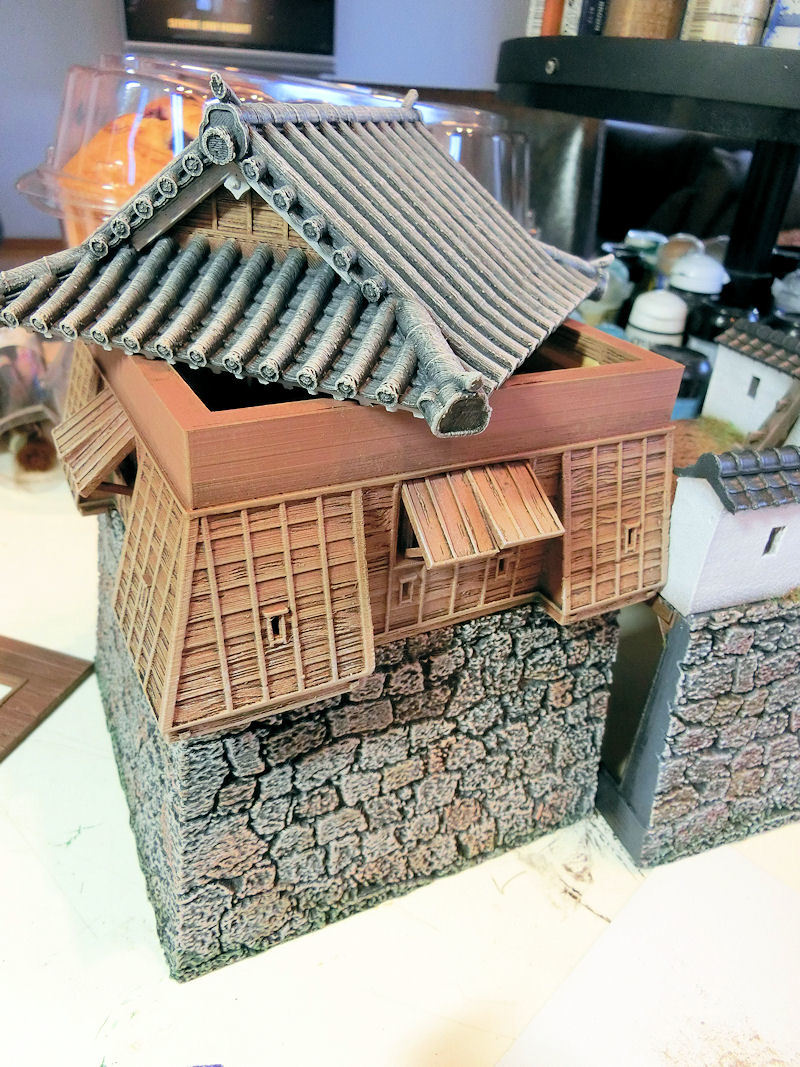
£ Here you can see the base section after patches of washes were added, to match the existing castle wall sections. Please see this blog article on which washes were used for the base walls!
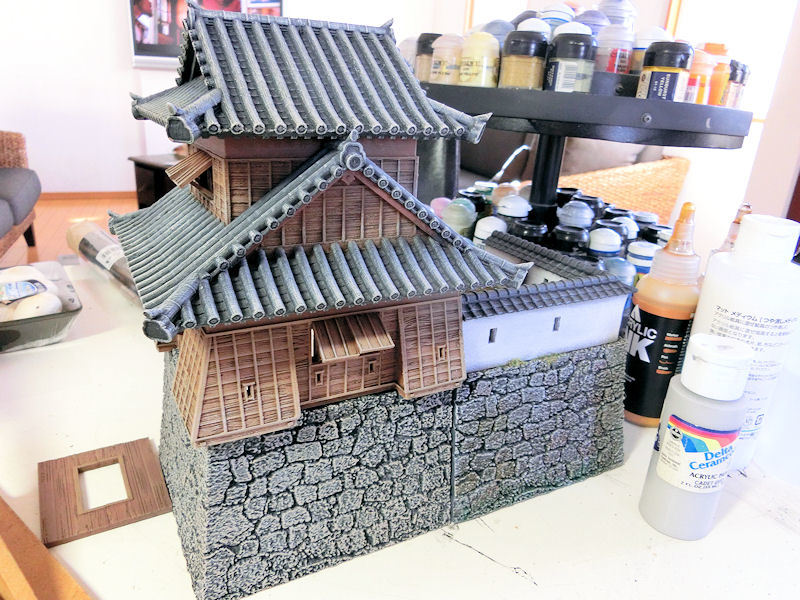
£ Next was probably the most tedious part of the paint process - painting the underside of the roof sections, and the upper walls, in shining white. I painted them in a thick basecoat of light grey, and tried not to let my hands shake too much! Since the underside of the roof would not really be visible, I limited the final layers of bright white to the edges only, and the upper walls.
£ With the painting finished, I went back and compared my castle tower to the photo of the actual Kumamoto corner tower. Accurate reference photos are invaluable in getting weathering effects right!
So I decided to add a couple of black washes to the lower surfaces of the wooden walls, and also to the shutters. I'm not actually sure why the lower parts would be blacker (it might be modern pollution?), but it gave a great effect!
Finished photos will be coming tomorrow ..... watch this space!
| << Printing the castle corner tower 2019-09-23 | Samurai Castle Corner Tower Available NOW! >> 2019-09-25 |