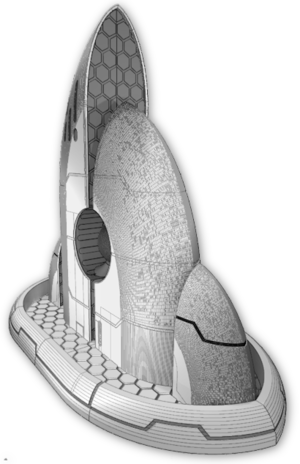
3d-printable terrain for all your samurai wargaming needs


| << Samurai castle walls printed 2018-12-18 | Samurai Castle Walls available NOW!! >> 2018-12-25 |
Over the past few days the Japanese samurai castle walls have slowly been taking shape, and are now ready for release. But first, here's a quick guide to how mine were painted....

£ Some prep work was required before painting, so the first job was to create the hinges for the gate. The holes are 2mm diameter holes, but might require slight cleanup or drilling if you're planning to insert 1.75mm filament to act as the hinges. I used 1mm brass rod, because it gave good wiggle room.
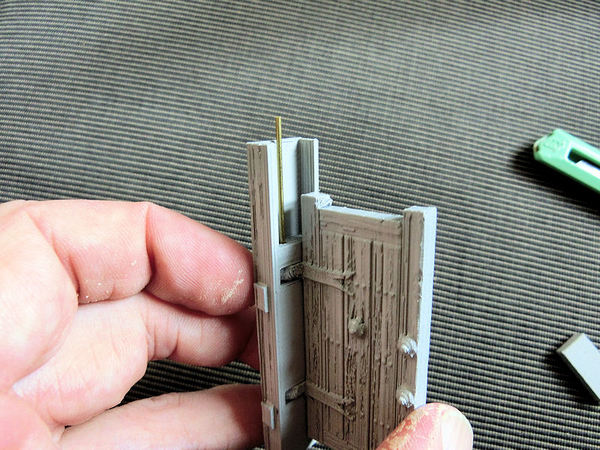
£ The job's an easy one. Simply slot the door hinges into the post, drop the rod or filament (cut to the right length) into the hole, and then glue the extra block into place above it.

£ The slope piece is a two-part print, of 120mm each. Since they would be used as a single, large section, I decided to glue them together with a few blobs of hot glue.

£ Then I quickly smeared some wood filler putty into the gaps, to hide the join line, and wiped the excess off with my finger. This doesn't need to be pretty, right?!

£ I also decided to glue the optional wooden gateway into the section, as I can't imagine myself using the slope without it.... plus it adds some robustness and stability. I smeared a bit more putty into the gaps below the gateway posts.

£ Then it was off to the spray booth for a good coat of matt black. Sadly, it was really, really cold that day, and my undercoat crackled slightly! Oops!
I started the paint scheme off with a medium grey acrylic thickly brushed over all the stone surfaces and rooftile surfaces.

£ Next was a medium brown (Calthan Brown by Games Workshop) over the ground and slope surfaces, lighter brown (Khemri Brown) over the wooden gateway, and a light beige (Rakarth Flesh) over the upper walls.

£ Drybrushing came next .... light beige (Rakarth Flesh) and then light grey (Administratum Grey) over the rocks. I drybrushed light brown (Khemri Brown) and then light beige (Rakarth Flesh) over the dirt surfaces and step stones, and then finally light beige (Rakarth Flesh) over the wooden gateway. Phew!

£ This was the view from above at this stage. You can see that the rock and dirt surfaces are designed to drybrush easily, and I then combined this technique with washes (watered down inks)....
The rocks were washed intermittently with reds and sepias, and then the whole surface was given a rough wash of dark brown to darken everything, because I wanted slightly older, weathered stones on my walls. The wooden of the gateway was given a sepia wash to yellow the woodgrain slightly. The rooftiles were given a heavy wash of black, and then I worked the walls up with beige to cream to white. As a final step, I poked a few bits of green wash into the corners and crevices of the gateway, where the sun might not reach often.
With that, the castle walls were finished, and ready for photos.....
| << Samurai castle walls printed 2018-12-18 | Samurai Castle Walls available NOW!! >> 2018-12-25 |