3d-printable terrain for all your samurai wargaming needs


| << Next up for release.... 2018-05-15 | Losing my marbles! >> 2018-05-18 |
A customer asked for some pictures of exactly how the dicetower and tunnel are assembled for the modular Necrontyr Pyramid, so here's a quick guide....
Please check the instructions PDF on how many of each file are required, but basically it's one of everything!
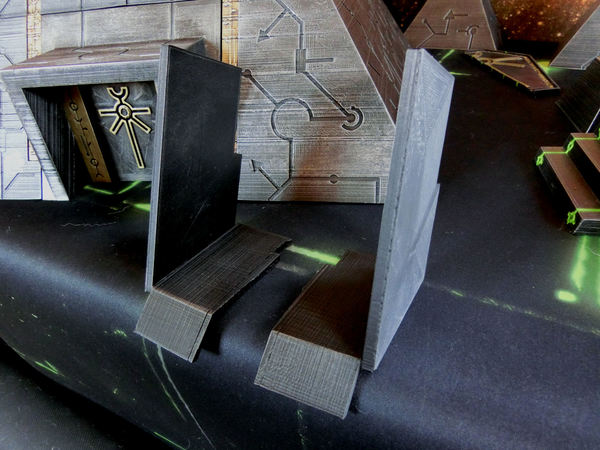
£ Once you've printed out the two dicetower corners and the upperslope, you will probably benefit from gluing them together tightly. Using a clip underneath to strengthen the join of the two parts is helpful here.
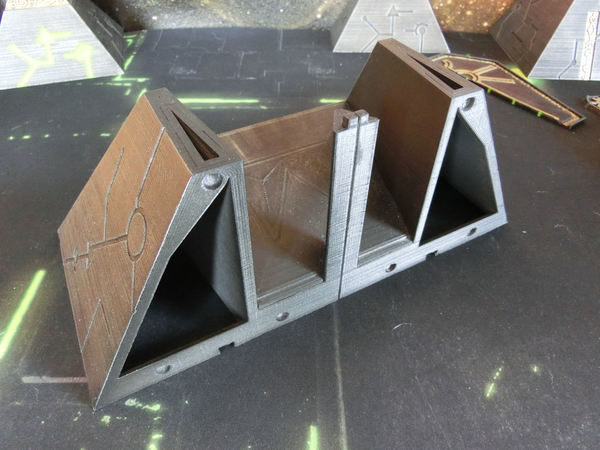
£ The same two sections will look like this from the other side. You will also want to glue the upperslope of the tunnel into this section, as shown.
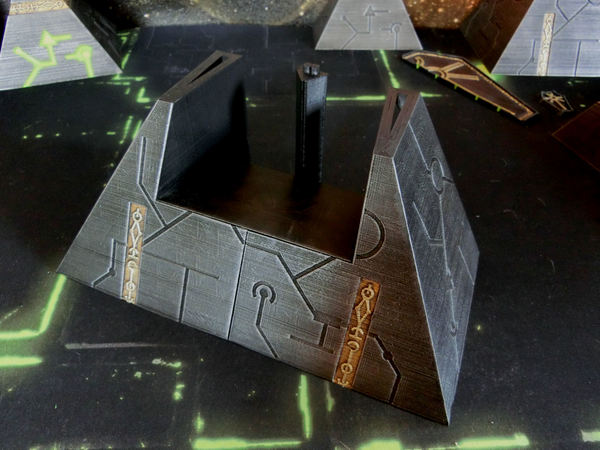
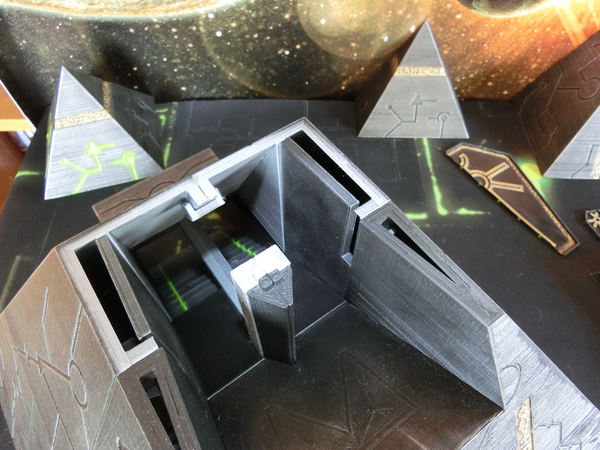
£ Here's how the dicetower sections clip together with the front two (level 2) corners. You can see that the dicetower section has angled surfaces everywhere, to stop dice getting stuck!
Please note that the dicetower only works when combined with the lower level steps section, which you can see in the photo above (the bright green line on the far side).
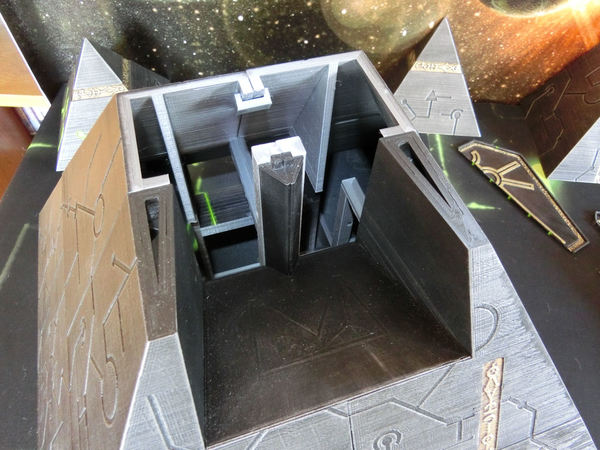
£ The next parts you'll need are the upperslope walls and floors. These come as four files, and each wall will need gluing together with the corresponding floor as shown. There is a slight raised lip on each of the walls, to show where the floor should be glued.

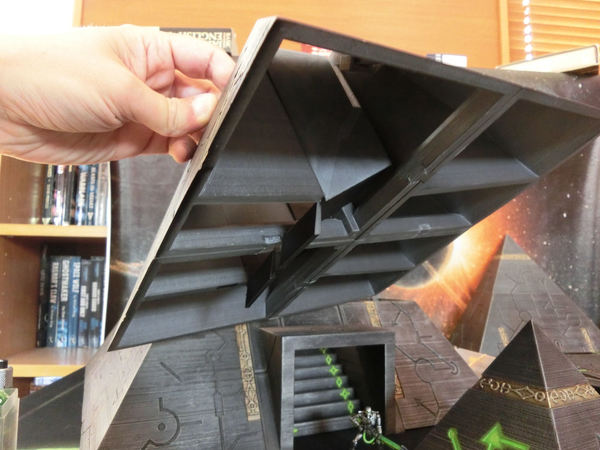
£ You should be able to carefully slide each section in from above, as shown in the picture. You might find it helpful to clip out the 1mm supports from the central column of the front sections (where the light bracket slots in), as this gives you a little extra wiggle room.
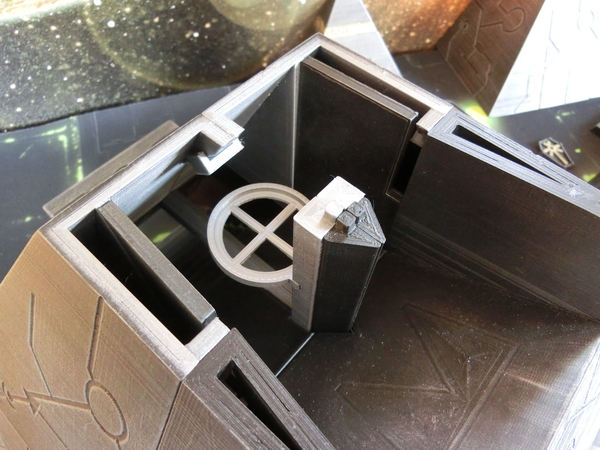
£ With both wall-floor sections pushed down into place, your dice tunnel should look like this. You should have one smooth floor surface, and no wall gaps large enough for dice to fall through.
You could choose to glue those pieces in place if you prefer, but it's optional. If you DON'T glue them in place, then you'll be able to remove them again later.
£ ... and here are the same four sections, seen from below. You'll notice that the lower slope protrudes slightly below the floor level of the front corner sections - if you glue those in place, you might have difficulty fitting those sections with a non-step section beneath.
£ At this point, you are pretty much done - your dice tower is complete. Easy, wasn't it?!
You could, however, slot a light bracket into one side of the main column, so you have somewhere to rest your LED light. This should be a tight fit and does not require glue.
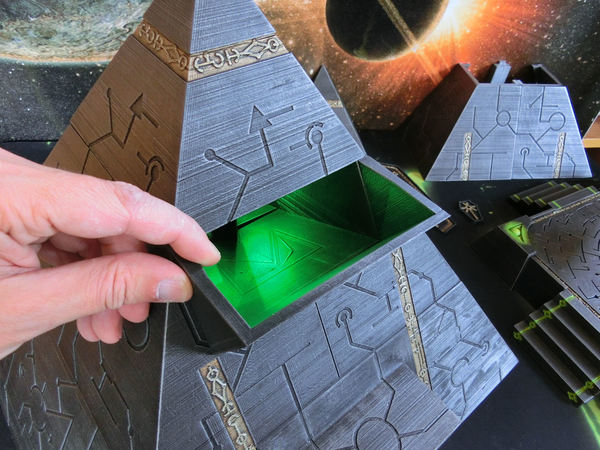
£ One other option for those players who get too excited rolling BIG handfuls of dice, is to glue this dice bucket onto the outside of the pyramid. We haven't glued ours, which is why I'm holding it on in the photo!
That's it - remember, if you have any questions about any of our models, please let us know!
| << Next up for release.... 2018-05-15 | Losing my marbles! >> 2018-05-18 |