3d-printable terrain for all your samurai wargaming needs


| << Making a bamboo forest 2022-08-22 | Samurai Shrine Set available NOW!! >> 2022-09-01 |
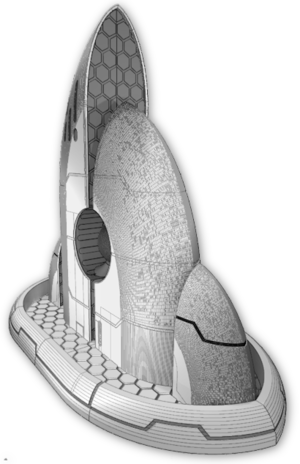
It's time for a painting blog, and today we're looking at the contents of the new Shrine Set!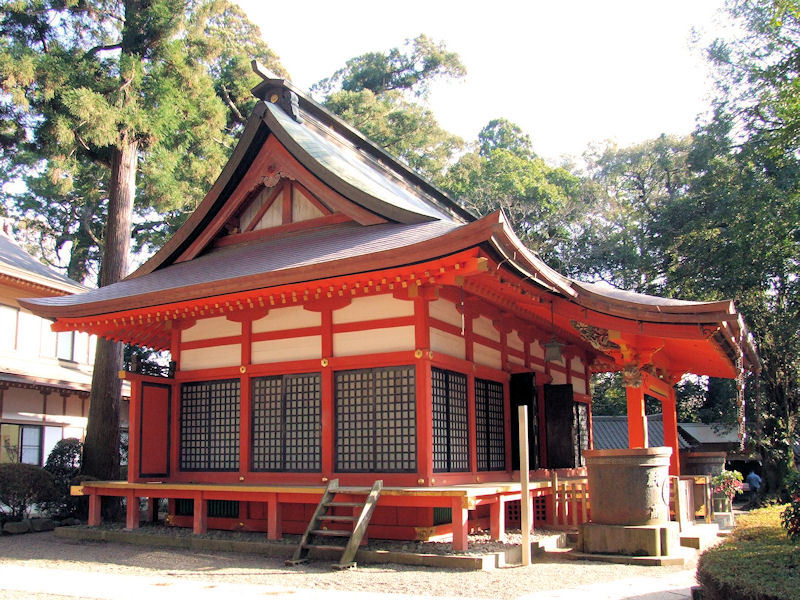
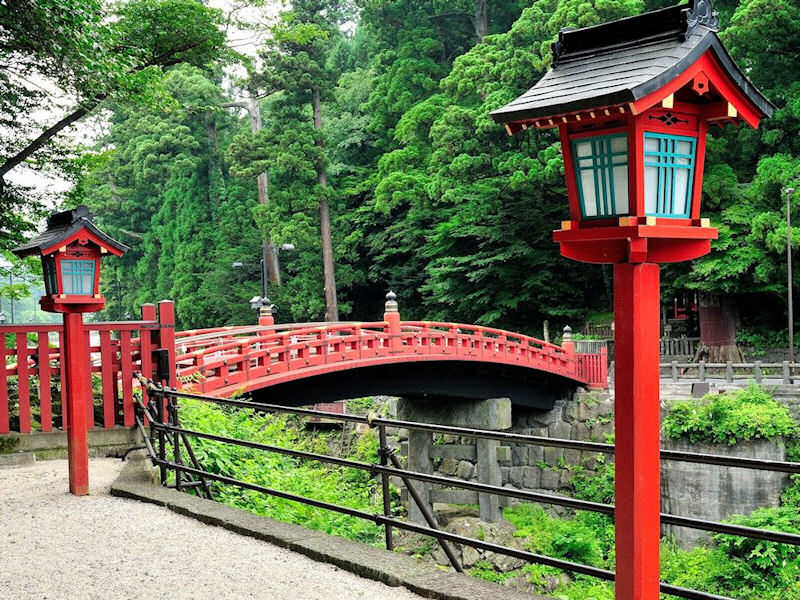
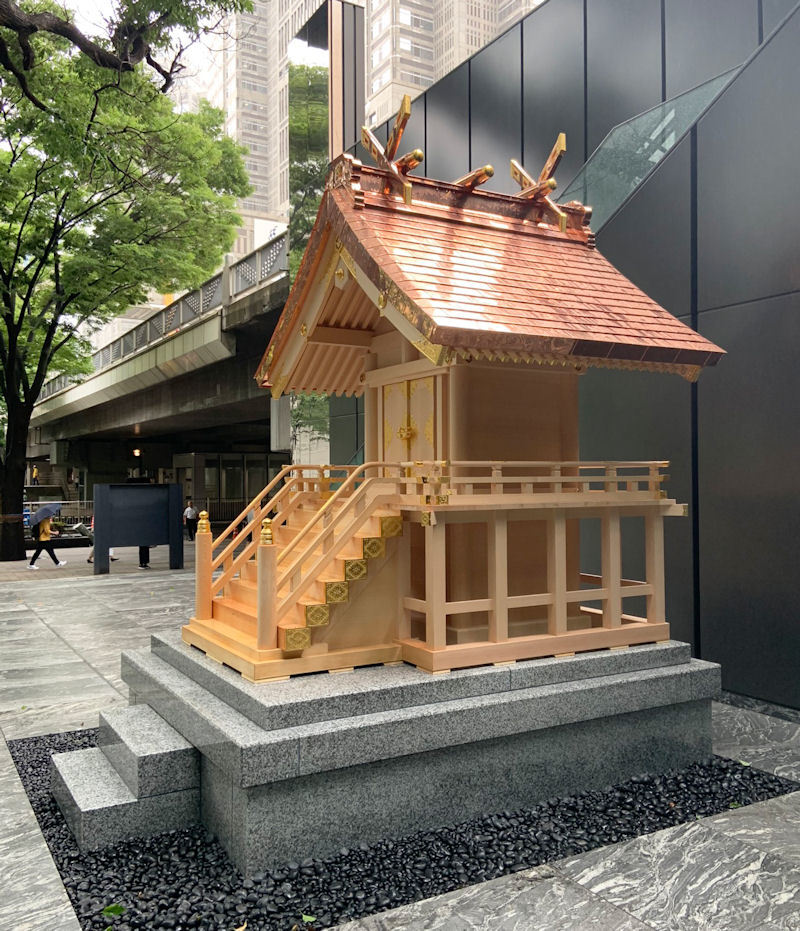
▲ With Japanese shrine buildings, you've got two main choices - you can either paint it in bright reds, like the picture above, or you can choose to paint it in natural wood colours.
So before you start painting your model, do a little research on Google Images, and see what kind of shrine you'd like to build!
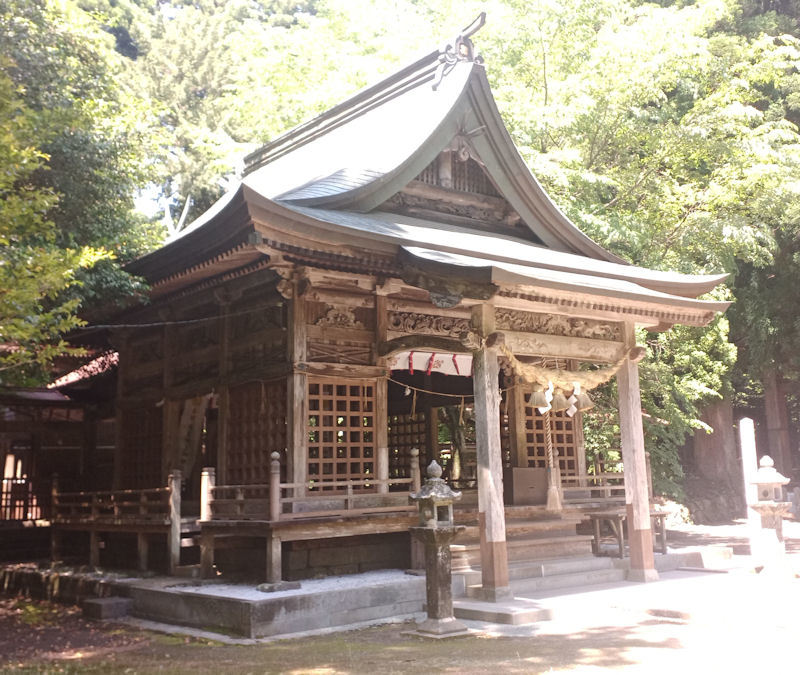
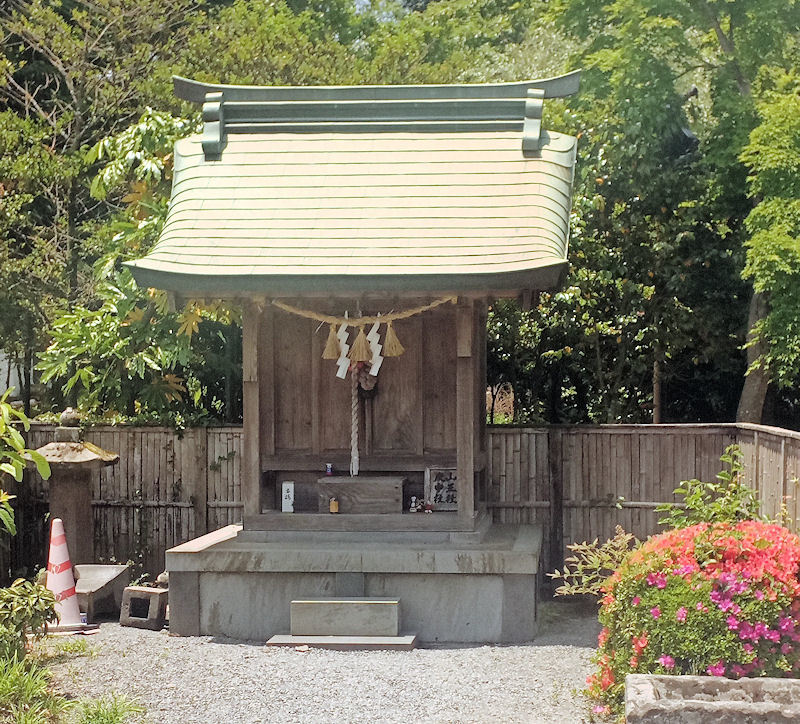
▲ I chose to paint my shrine in natural wood colours, like this photo of the actual shrine the model is based on - Kokuzo Shrine in Kumamoto Prefecture. Whichever colour scheme you choose, you'll love all the little sculpted details on this model, so let's get started....
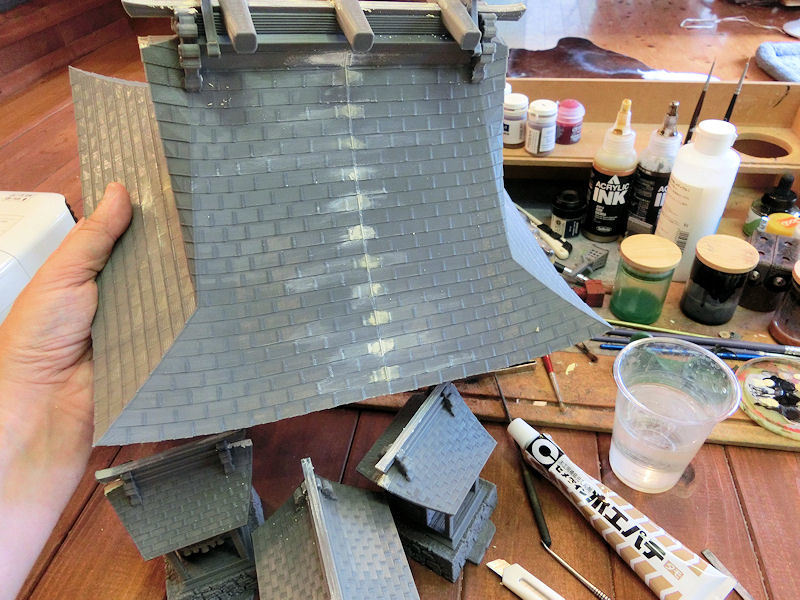
▲ Before I started painting, there were a few gaps in the model that needed covering, particularly in the roof sections. I use the simple method of smearing a dab of wood putty onto each of the gaps, and smoothing it over with a wet finger. Easy!
Then it was off to the spray booth, to get basecoating!
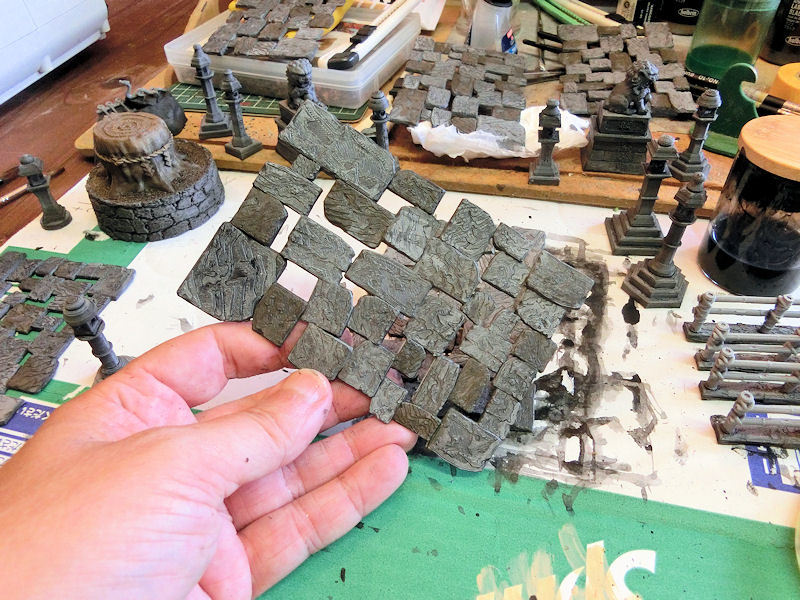
▲ Let's start with the stone path sections. I undercoated these in a light grey spray, then gave everything a heavy black wash to shade in the crevices.
▲ Next I drybrushed up the details with a wide 5cm brush in a light grey colour.
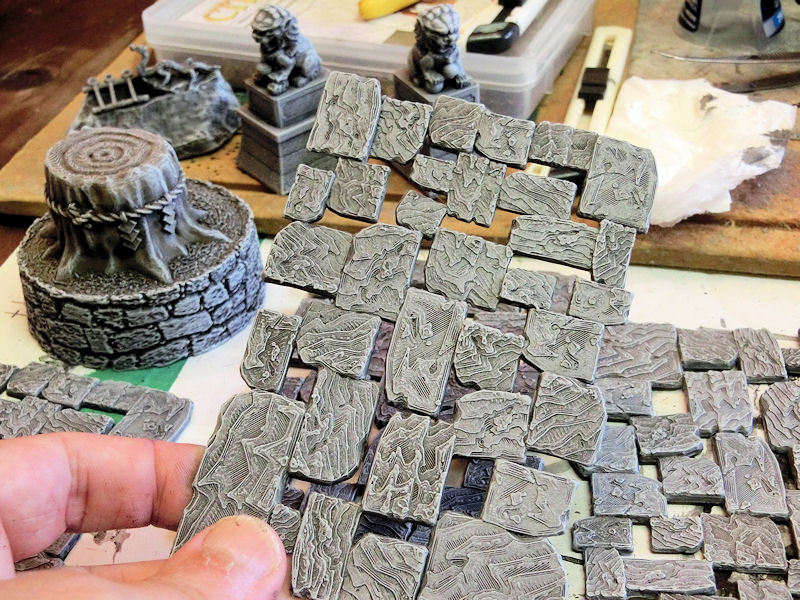
▲ What makes a more realistic paint job for these path sections is adding some variation in the stone colours, and I tried to achieve this by dabbing more colour washes at random on various stones.... black (again!), brown, red brown, and sepia.
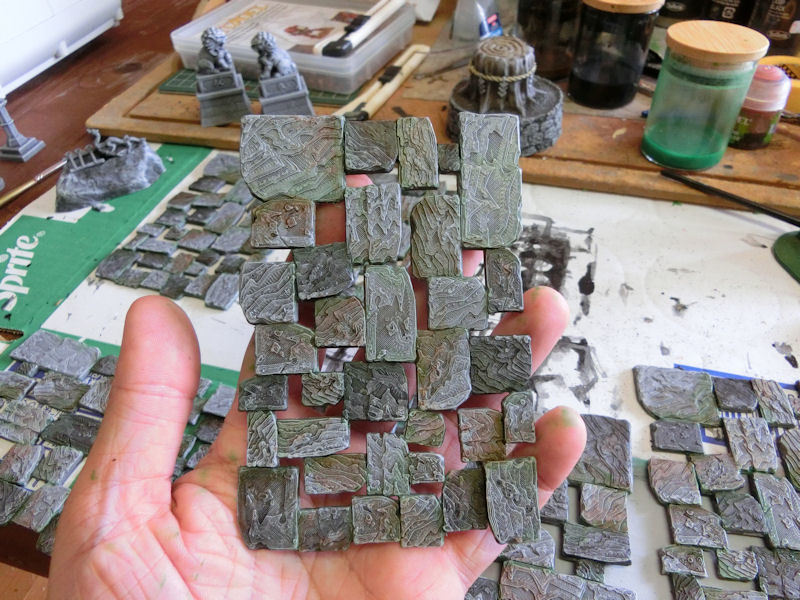
Once I was happy with the effect, I switched to green wash and messily drew a line between each stone where they connected, and then dabbed green at random in the lower spots, where moss growth would naturally occur.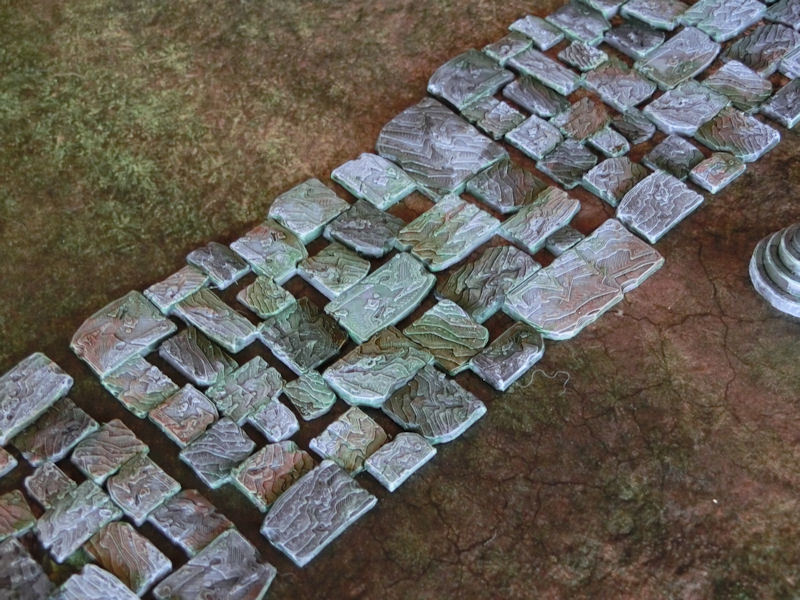
▲ As you can see from this photo, the green helps to blend the path sections to a green battlemat, in addition to simulating age and weathering.
You could also take this a stage further by gluing on small patches of green sponge or flock, to simulate moss growth.
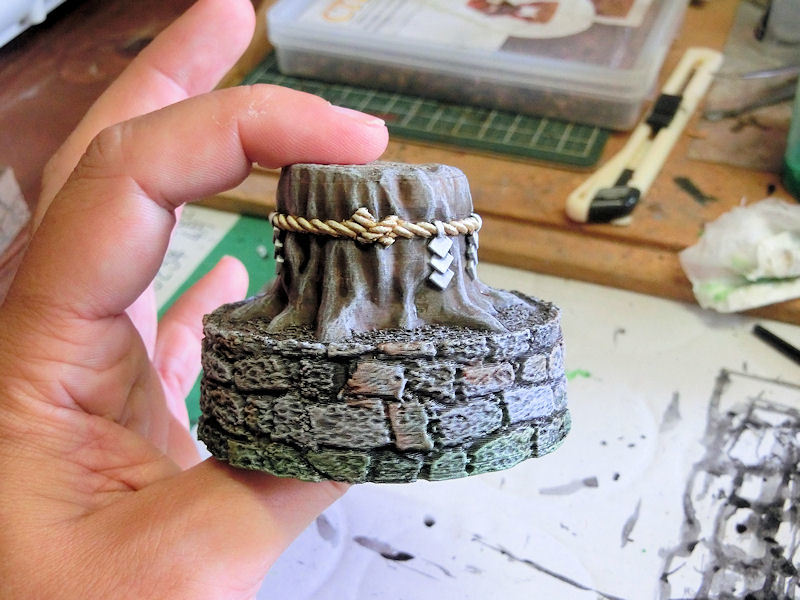
▲ The sacred tree is a great little accessory in this set, and I used the same techniques for basecoating and washing the stone section as I did for the paths. A thick wash of green around the bottom few millimetres of the stone help to blend it to a green mat and make it look older.
The thick rope was basecoated in a cream colour, and then washed in brown and sepia to shade the texture of the rope. Then I carefully added a cream highlight to the top of each rope strand, before painting the paper tassles in light grey and then white.
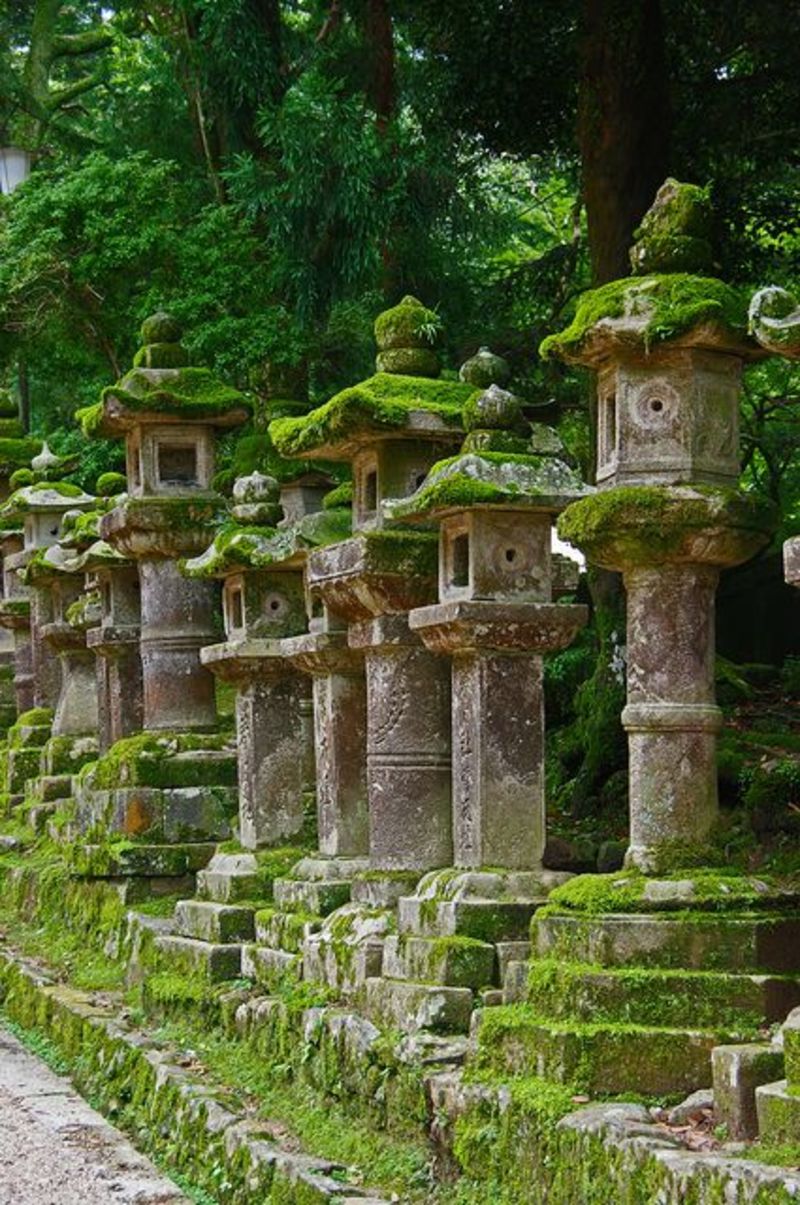
▲ The stone lanterns in this set look great with lots of weathering techniques and stains, like in the photo above. I added green washes at random to my lanterns, but they would also look super-realistic with sponge or flock 'moss' glued on, too!

▲ The ema board rack is another characterful model in this set, and I painted the votive offering boards in a variety of woody colours. The strings are usually white, black or red, by the way. For the text, I dabbed on blobs of black ink in random lines - remember that Japanese text on these boards is traditionally written vertically.
▲ The LED shrine lanterns were the next item on my paint desk, and you can choose to paint these in bright reds, or natural wood tones. They don't necessarily need to match the colour scheme of the main shrine building, by the way.
I decided to paint mine as old wood, so they looked nice and ancient!
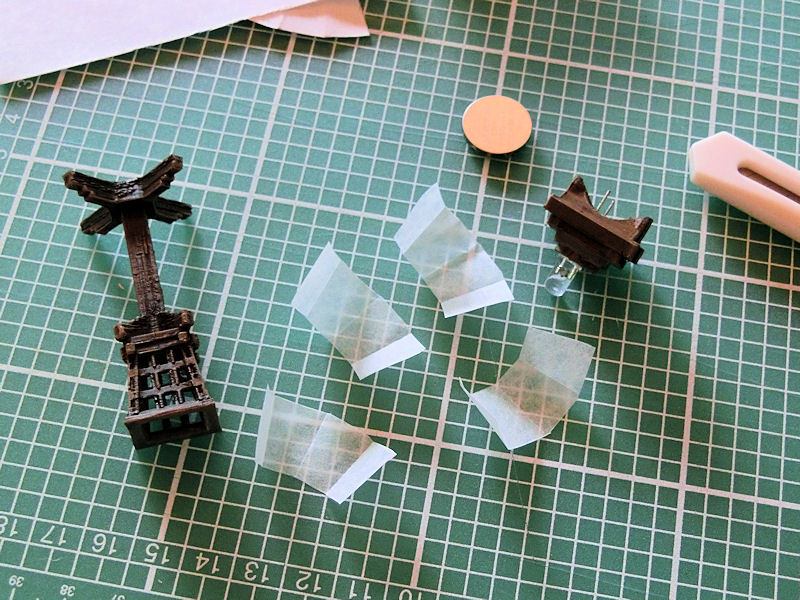
▲ If you print the LED version of the shrine lanterns, you could also cut some paper inserts to diffuse the light from the LED bulbs. You could use normal white paper, but I've found that baking sheet (kitchen paper/sheet) lets more of the light through, so the lanterns are a little brighter.

▲ This is the shape you'll need to print and cut, so you might need to do a few test prints to make sure that the line on the left prints at the 14mm size required to fit the lanterns.
▲ Okay, it's time to deal with the shrine roofs! These are a major part of the shrine set, and they have been modelled with copper sheeting panels. When a shrine is new, the copper sheets look stunning, as in the photo above, but after a while the gleaming copper changes to darker tones, and then to a brilliant verdigris green!
Having said that, you can also find real shrines with painted roofs, usually in dark colours such as dark brown, grey or black. So, again, take a look at some Google image searches, before you decide how you want your shrine to look!
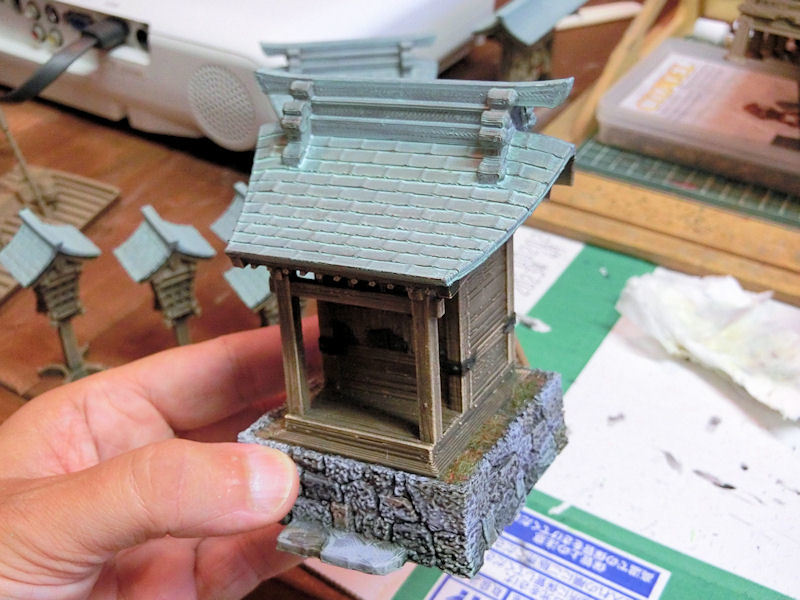
▲ I decided to paint my shrine buildings with a verdigris roof, like in the photo above. The aged wood and green roof sections will look right at home in the bamboo forest board I'm planning, as an ancient and forgotten forest shrine.
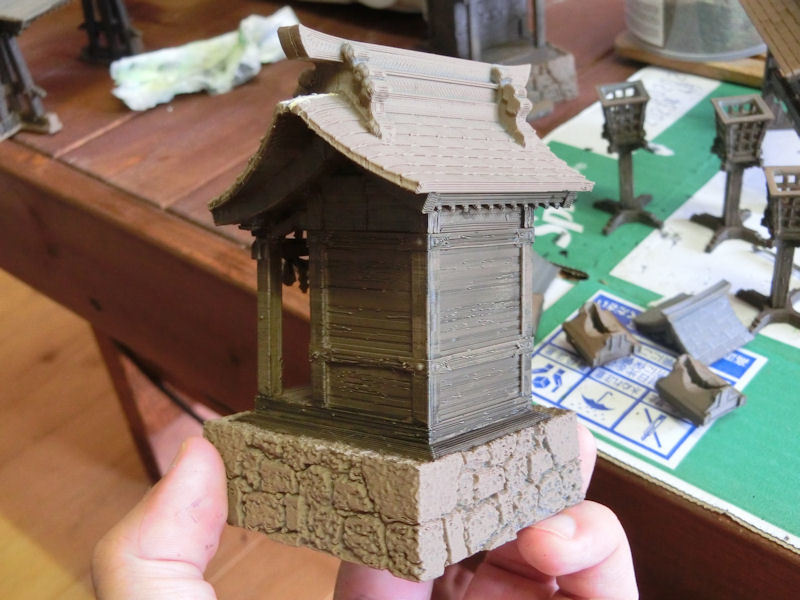
▲ I undercoated all my wood models in light brown, and then gave them a heavy black wash to shade the woodgrain patterns. This technique was also used on the main shrine building model, but for this painting blog I've taken pics of the mini-shrine instead.
▲ Next I drybrushed the wood sections in light brown again, and then a very light drybrush with a sandy brown to just pick out the edges of posts and panels.
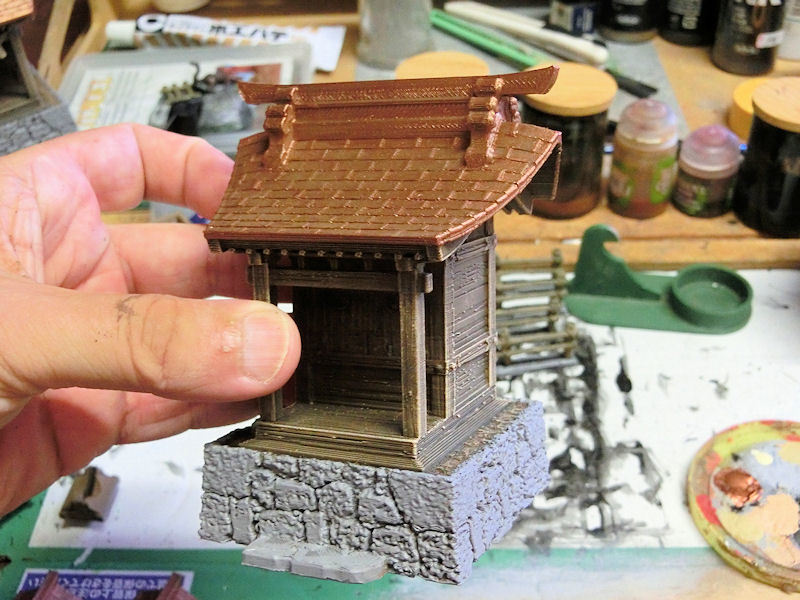
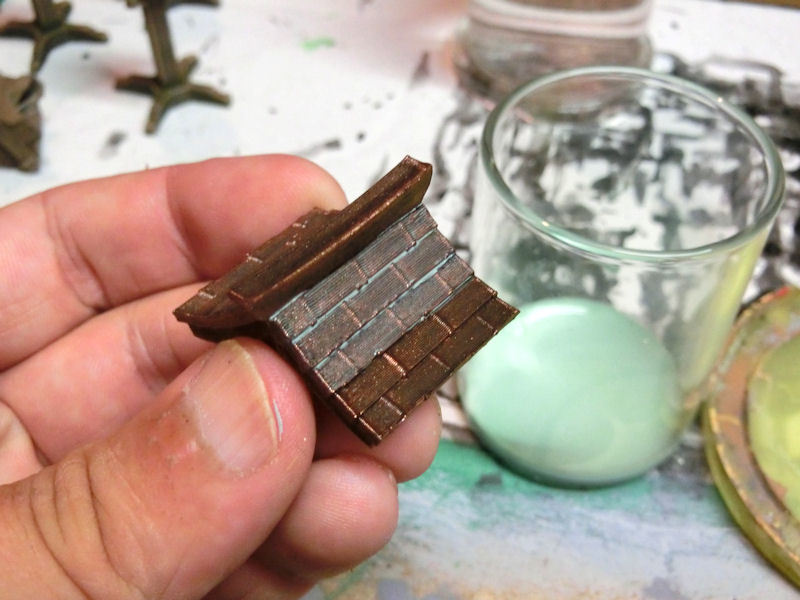
▲ A medium grey was painted over the stone base section, and then a gleaming copper on the entire roof section. This is probably what the shrine would look like when new (of course it would need brighter wood, too!).
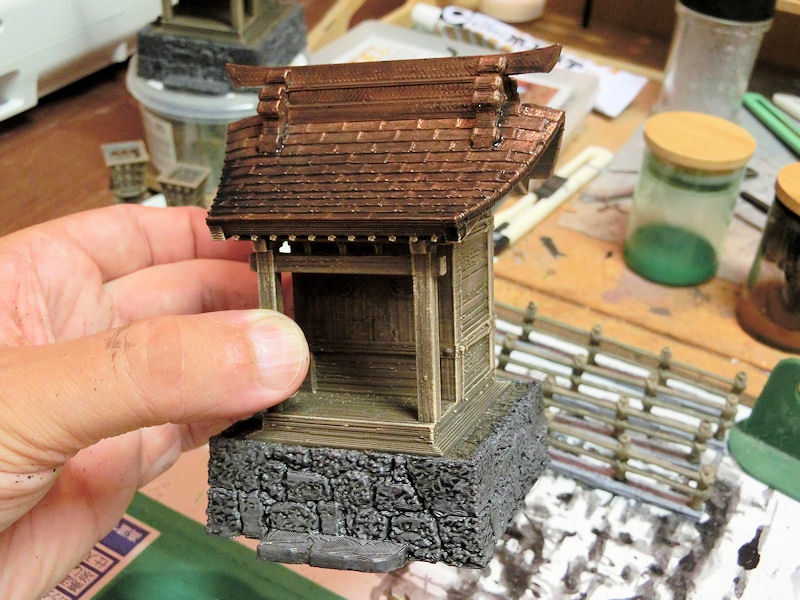
▲ Next, I dulled down the copper on the roof with a heavy wash of black. The stone was also given a black wash at this stage.
▲ Whe the black wash was completely dry, I drybrushed the stone base section with light grey...
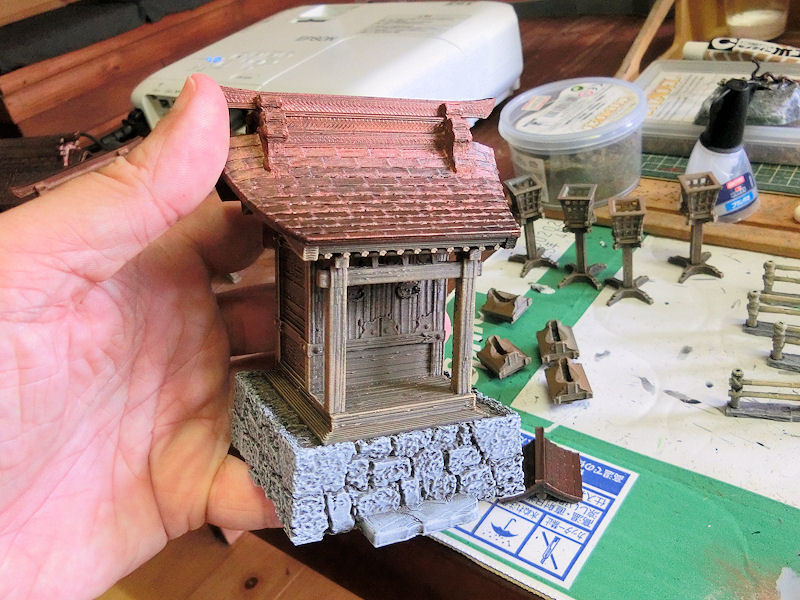
▲ ... and then randomly dabbed colour washes on some stones to create a little variety. Again, I used a green wash on the bottom of each stone face to suggest moss growth.
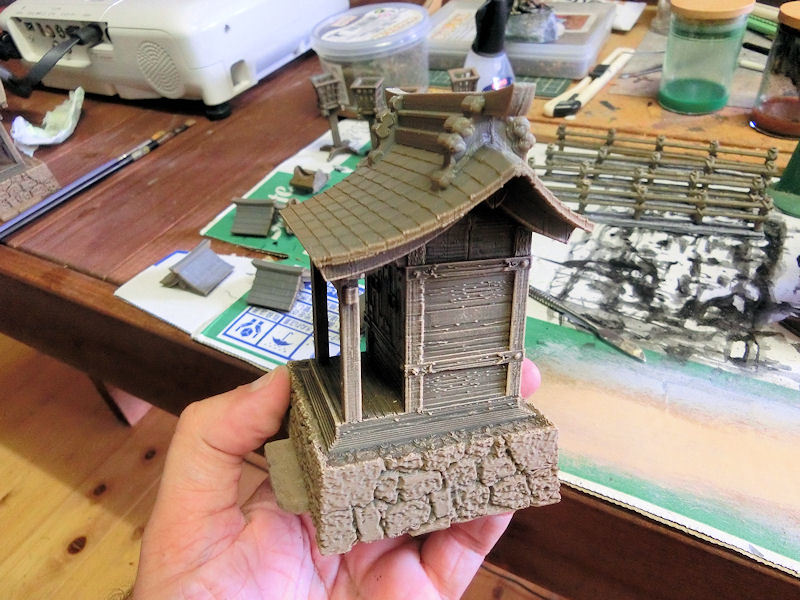
▲ Finally, it was time to start weathering that lovely copper. I mixed a mint green acrylic paint with water, to the consistency of milk, and then brushed it on all the copper surfaces. Don't go too heavy with this verdigris wash, or it will pool in funny places. It's better to do multiple thin washes, so you can better control the finished look.
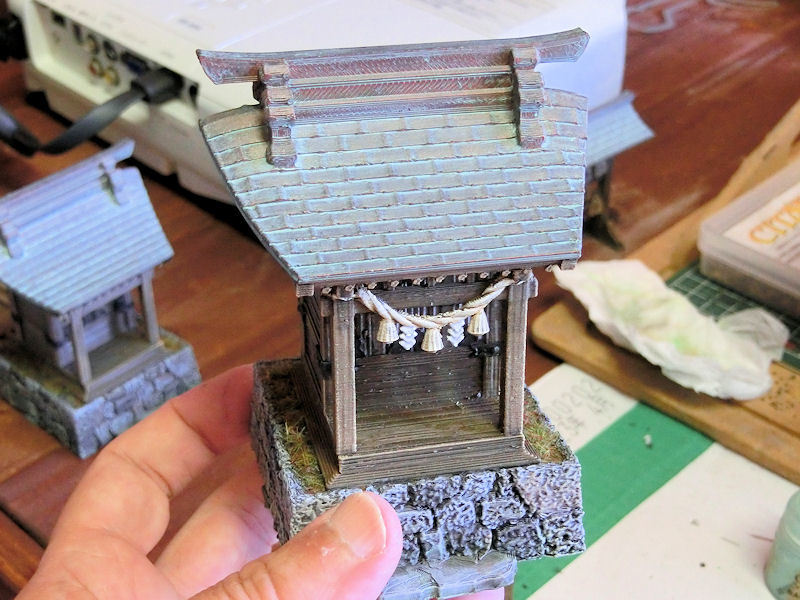
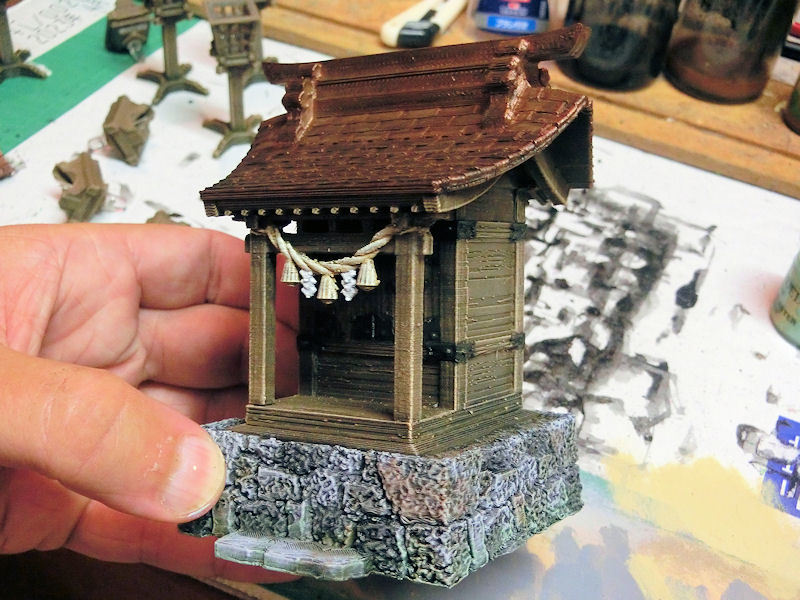
▲ This was how my roof looked after one verdigris wash had dried, so I decided to do it one more time.
▲ And here is the second verdigris wash after it dried. I was happy with this, as it had fallen into the crevices nicely, while still leaving a little hint of the copper underneath.
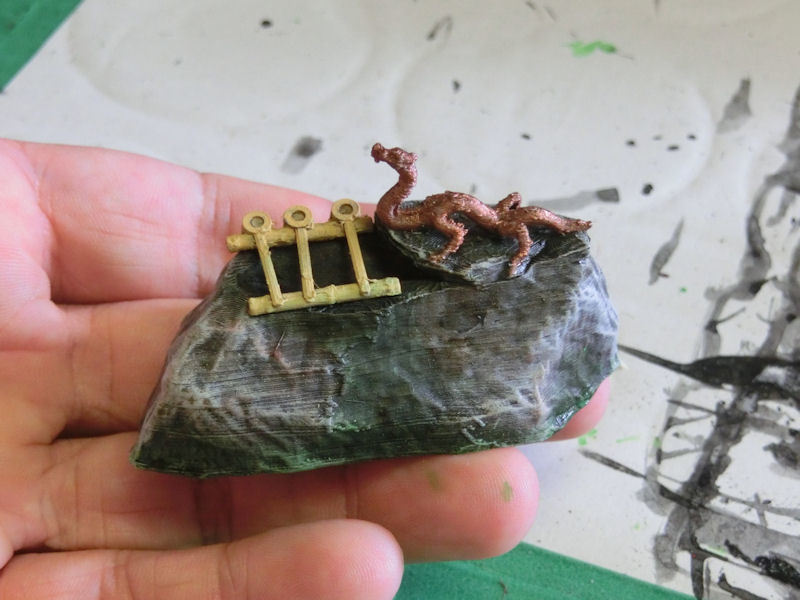
▲ The handwashing basin, known as a temizuya, has quite a few interesting textures. I painted the stone with various washes and drybrushes, and decided to paint the dragon fountain in verdigris copper, to match the roof.
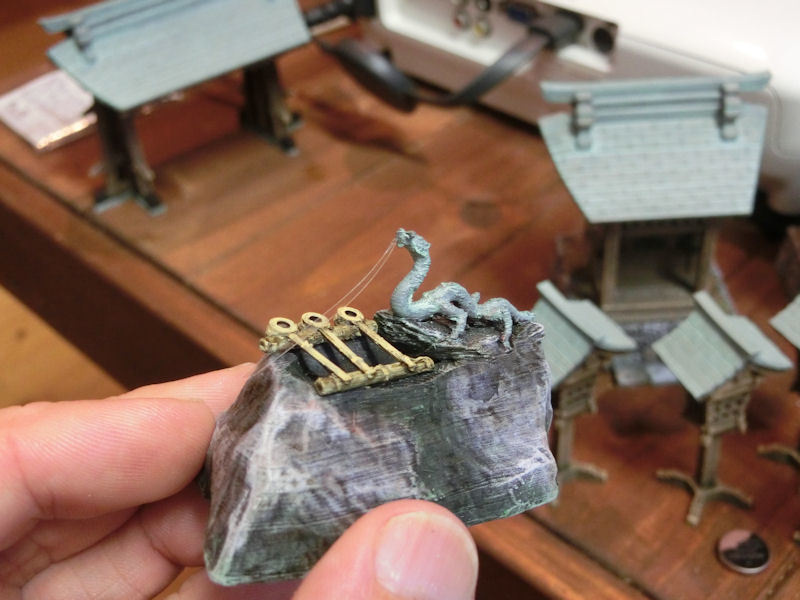
▲ After I had added the verdigris wash to the dragon, I cut a thin strip of clear plastic from a plastic bag, and superglued the top end to the dragon's mouth. Be warned - this IS a bit fiddly!
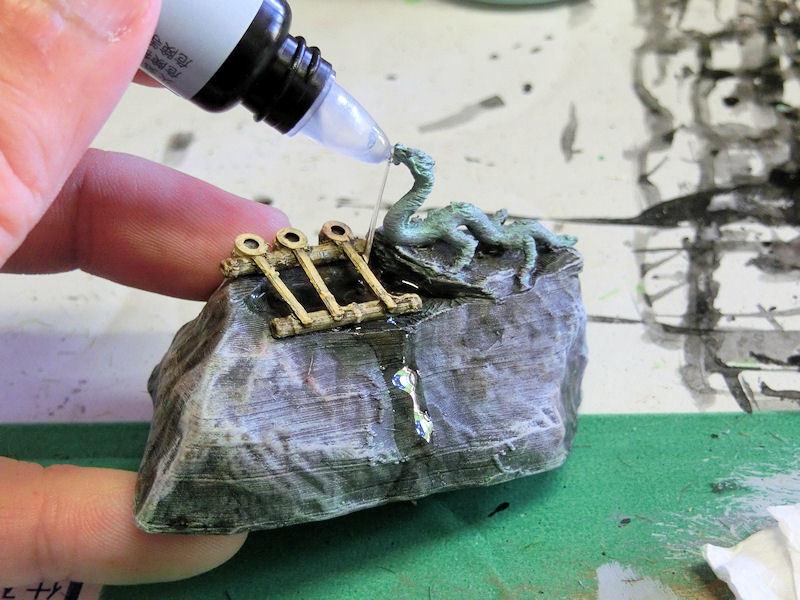
▲ After the superglue had dried, I gently pushed the clear plastic strip down into the basin, to show the water spouting from its mouth. I then used a tiny bottle of clear UV resin (bought for $1 in the jewellery/craft section of my local 100yen shop) to drip resin down the plastic strip and into the basin. I also carefully poured a drop down the front of the rock, where the overflow water would run.
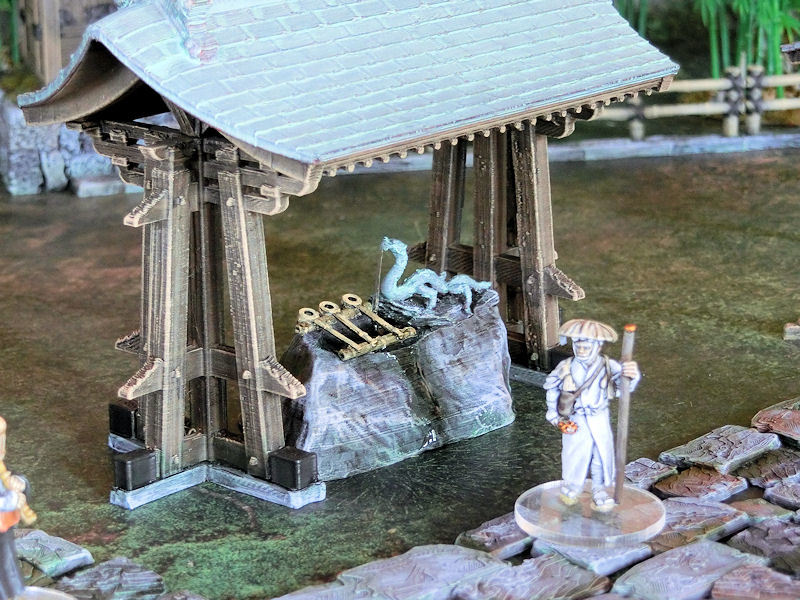
▲ And there you are... a finished washbasin and dragon fountain!
The main shrine building is just having the last few coats of paint added to it now, so this set will be ready for release in just a few days! Watch this space....
| << Making a bamboo forest 2022-08-22 | Samurai Shrine Set available NOW!! >> 2022-09-01 |