3d-printable terrain for all your samurai wargaming needs


| << Wiring the shrine lantern LED 2022-08-13 | Introducing SCALE 3D, our new UK print partner... >> 2022-08-15 |
We have lots of great photos of the printed Shrine Set models to show you today, but first we're going to show you how to assemble the main shrine building.
Ready? Here we go....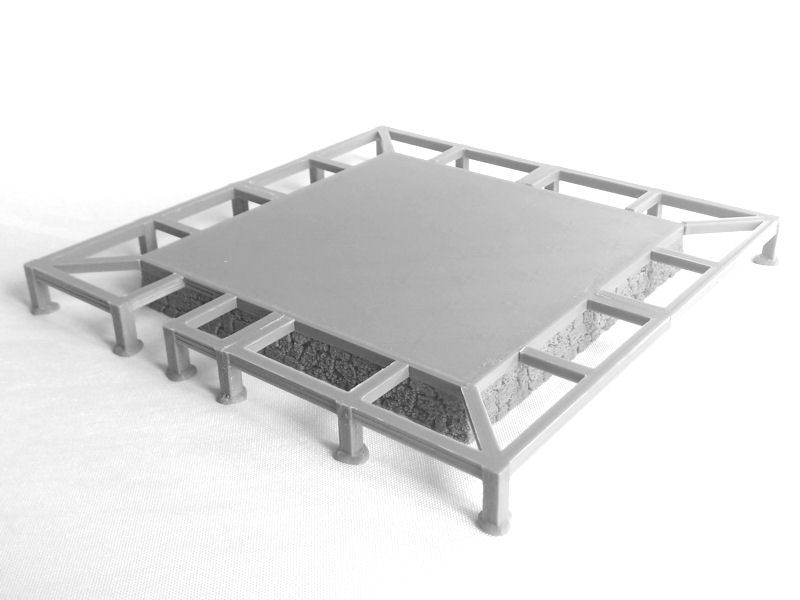
▲ The base of the shrine building consists of this large stone base (included as a one-piece print, and also in 4 sections for smaller printers) surrounded by a wooden frame for the balcony. The balcony frame pieces print upside down, and don't require supports.
Note the gap in the frame, on the left side.
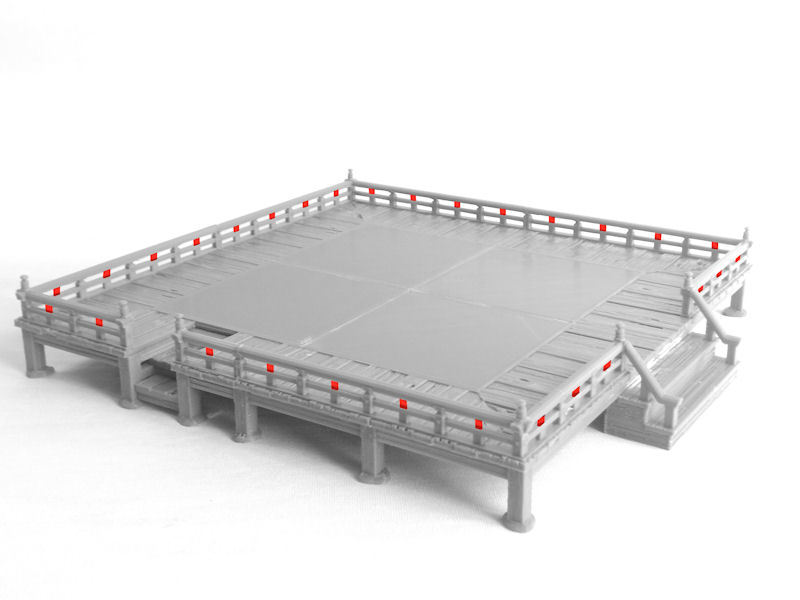
▲ Next you'll need to print the 4 sections of the balcony. In the photo above you can see that there are some built-in print supports marked in red. You can cut those out after printing, if you prefer, to make a more authentic shape of handrail.
After you've glued down the balcony sections, you should fit the wide steps at the front, and then the small steps at the side. Those are the 'backdoor' steps for the priests. You can finish the balcony off with 8 knobs at the corners, but those are optional.
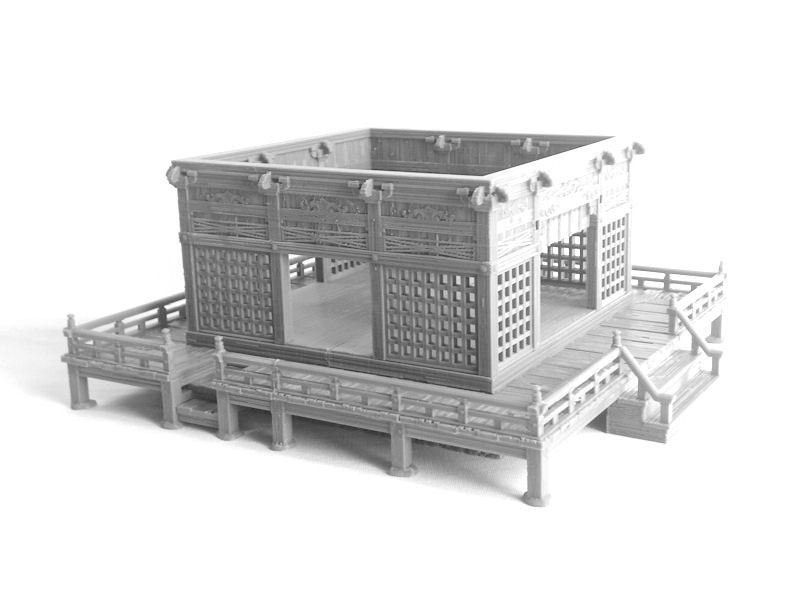
▲ Next comes the large floor for the building, which is printed in 2 halves. Then on top of that you can place the walls of the shrine building. If you have a larger print bed, I recommend printing the walls in one piece (upside down, so no print supports are required), but of course 4 separate wall pieces are also included for smaller printers.
▲ Next we start building the front of the shrine, with two curved beams and the arch structure with rope tassles. You'll need to turn on print supports for those 3 pieces, to get the best results.
Then it's time for the big roof! That prints in 4 quarters. Please note that the roof quarters are quite large, and will require a print bed size of 141mm to fit each piece. Sorry about that! Everything else on the model can be fitted on a normal 125mm print bed.
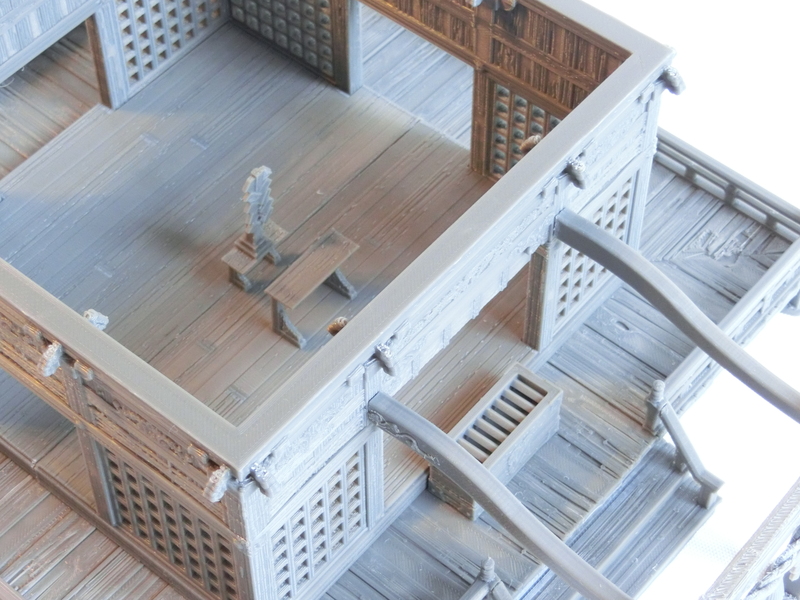
▲ We're almost done now! There are just a few finishing touches. First is the offering box in front of the curtained entrance, into which coins are dropped by visitors. Inside the shrine we find the simple wooden tables, onto which the paper tassled structure is glued.
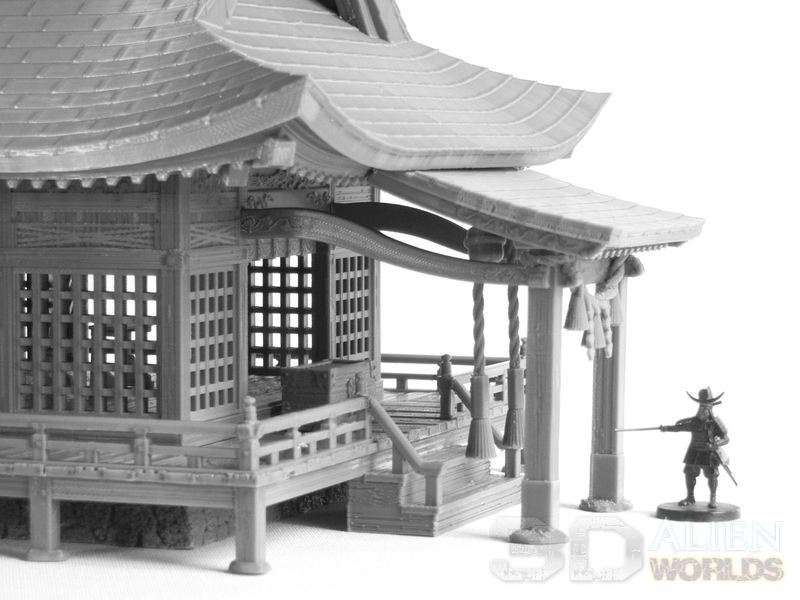
▲ To finish that front section, we need to print one last roof piece, which slots into place on top of those front posts. Two thick ropes with bells are hung from the underside of the front roof, and print supports are required for those pieces.
* Note: You can print the building without the front posts and front roof section, if you don't want to use it as a shrine. It could just be an awesome, fancy building!
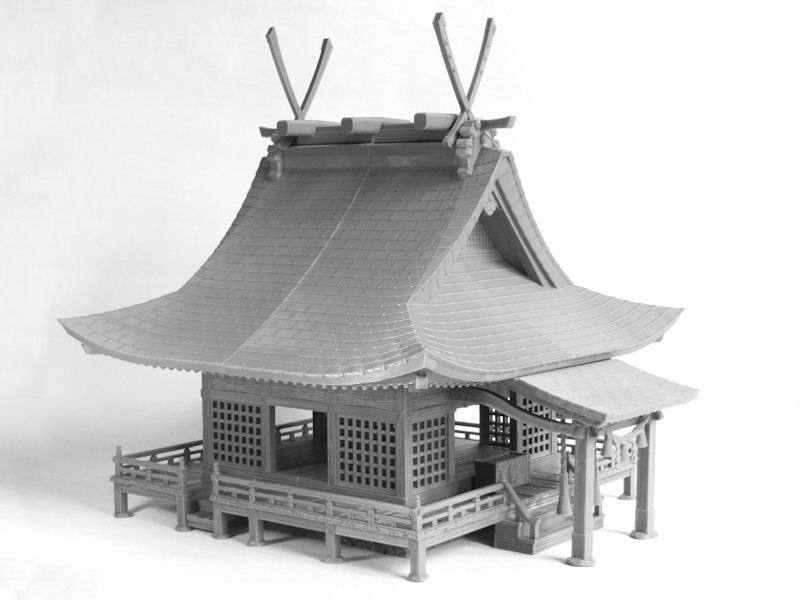
The last parts needed to complete the shrine building are those extra roof decorations, which are simply glued into place on top. They are optional parts, so you don't need to add them if you prefer a simpler shape of building.
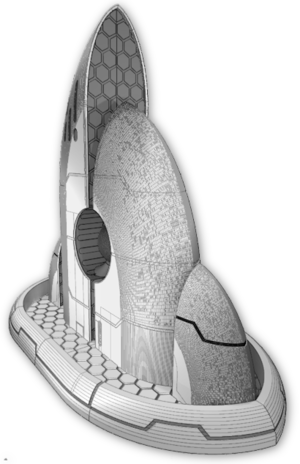
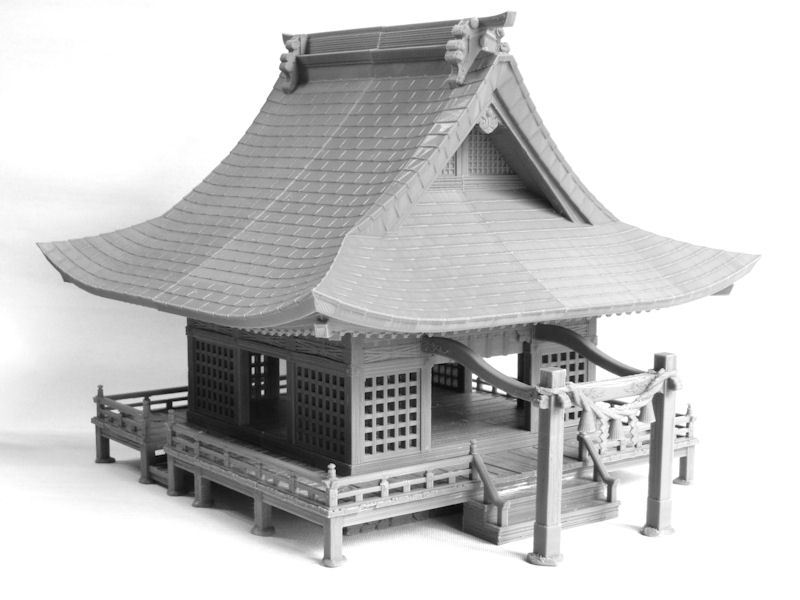
▲ That's it! The shrine building is complete! Isn't it HUGE?! Didn't those wooden carving details come out great?
But a shrine wouldn't be a shrine without lots of extra accessories, so let's take a look at those....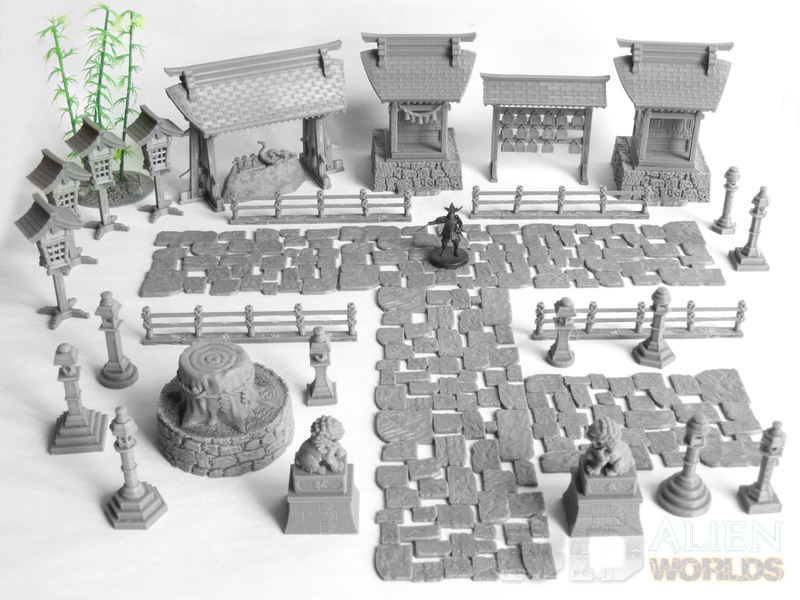
▲ Here's the full set of accessories included in the shrine set! There's probably enough here to cover a small gaming table. 
▲ We'll start with a look at the mini-shrine. This is a small auxiliary shrine, and is a very easy and quick print.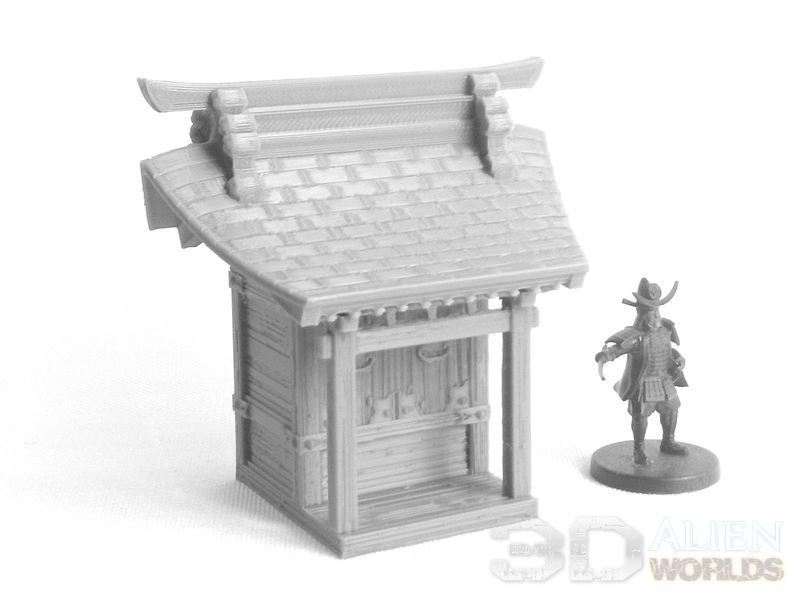
▲ You can also remove the mini-shrine from its stone base, if you prefer to make it smaller. This photo shows the version without the rope tassles at the front, and would make a great game objective (approximately 50mm at the base).
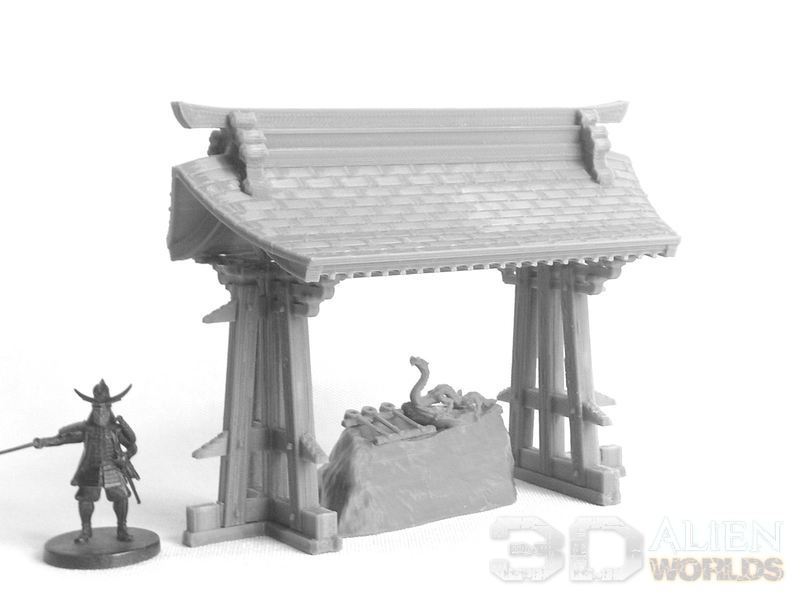
▲ This is the fancy handwash basin, which is found near the entrance to a shrine complex. This model also doesn't need supports, because the wooden frame prints upside down. I'm quite pleased with how well the bamboo water cups came out on my FDM printer, and also the lovely waterspout dragon on the rock. Sadly, I dropped it almost immediately, and snapped off a whisker!
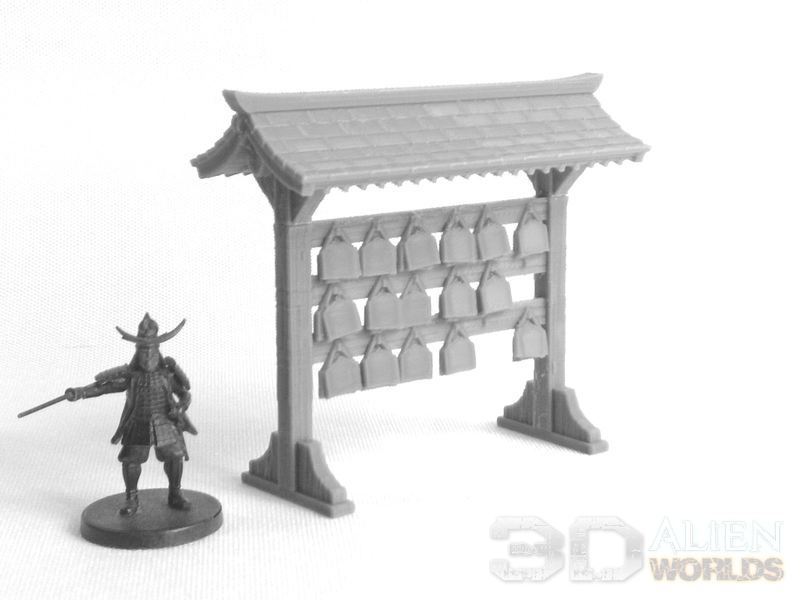
▲ Another essential piece of any Japanese shrine is this board of ema votive offerings. These are wooden boards onto which visitors will write their wishes (for good health etc), and then hung on the pegs.
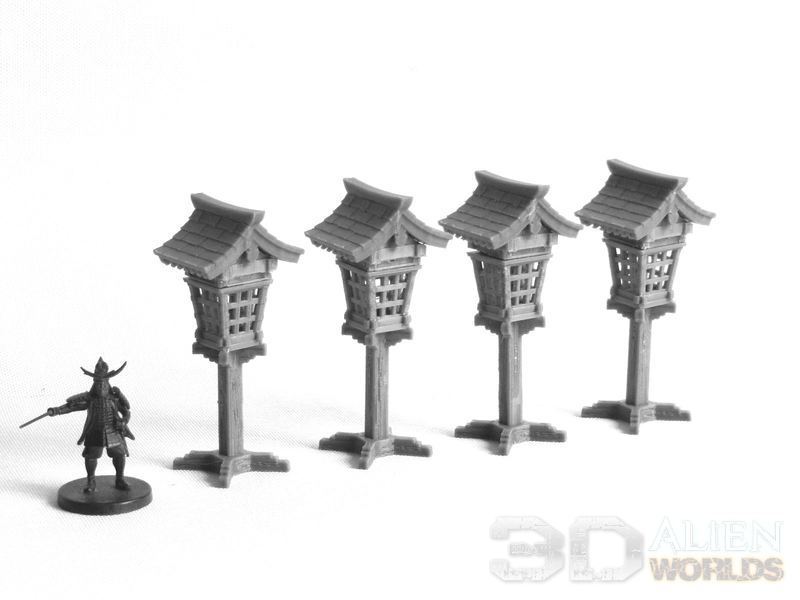
▲ In yesterday's blog we showed off this new shrine lantern design, and I printed 4 of them with the wooden base option.
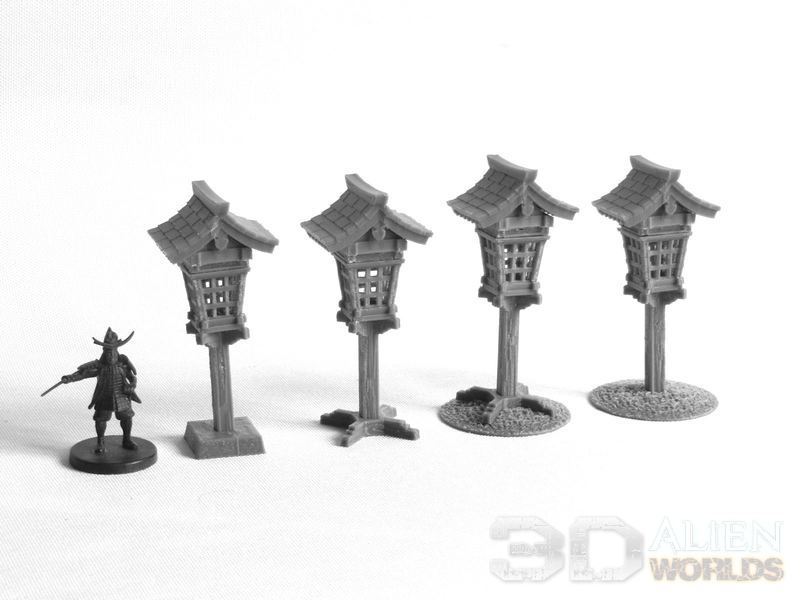
▲ There are actually 4 base options included in the set, as shown in the photo above.
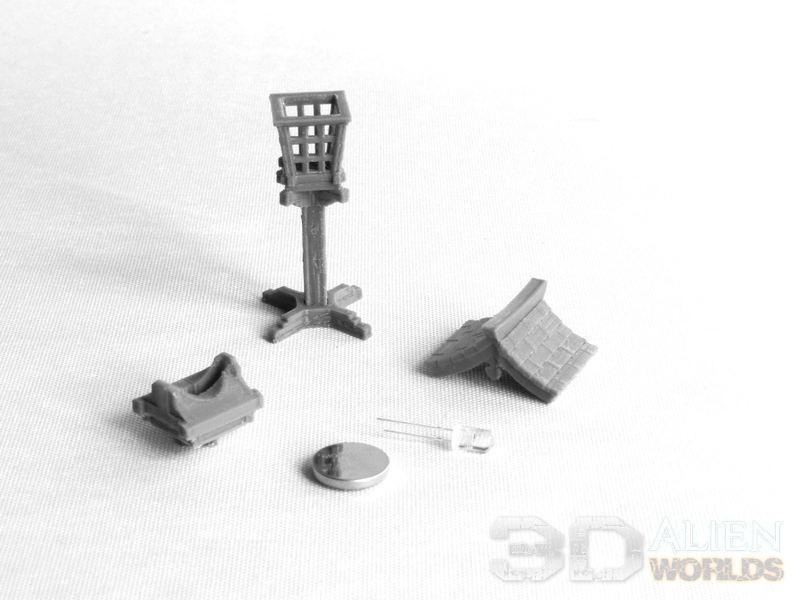
▲ The shrine lanterns can be fitted with a CR1632 coin battery and a small LED, to give a realistic glow to your gaming board.
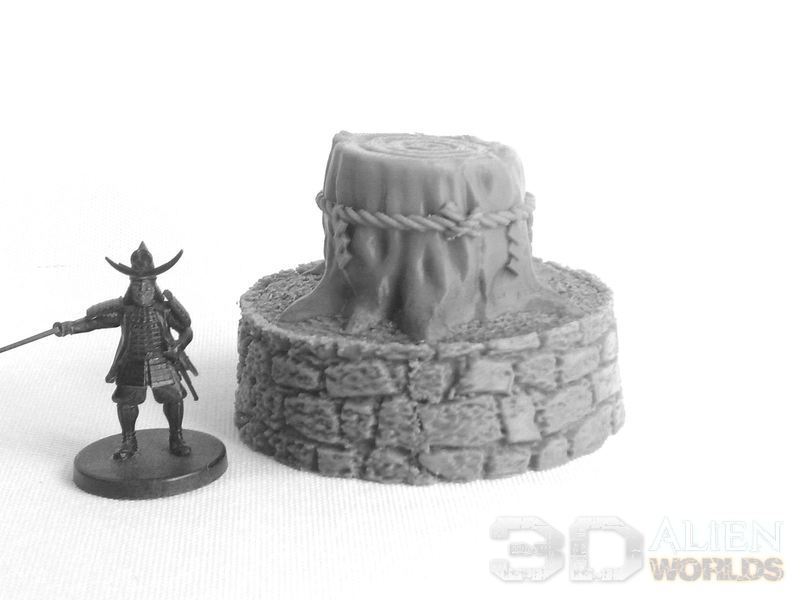
▲ This is the sacred tree stump, wrapped in a thick rope and paper tassles. These can often be found at Shinto shrines.

▲ The approach path to a shrine is usually made up of assorted stone slabs, worn smooth by the passage of feet over the years. These are easy prints, and can be used as straight paths and junctions in many samurai settings.
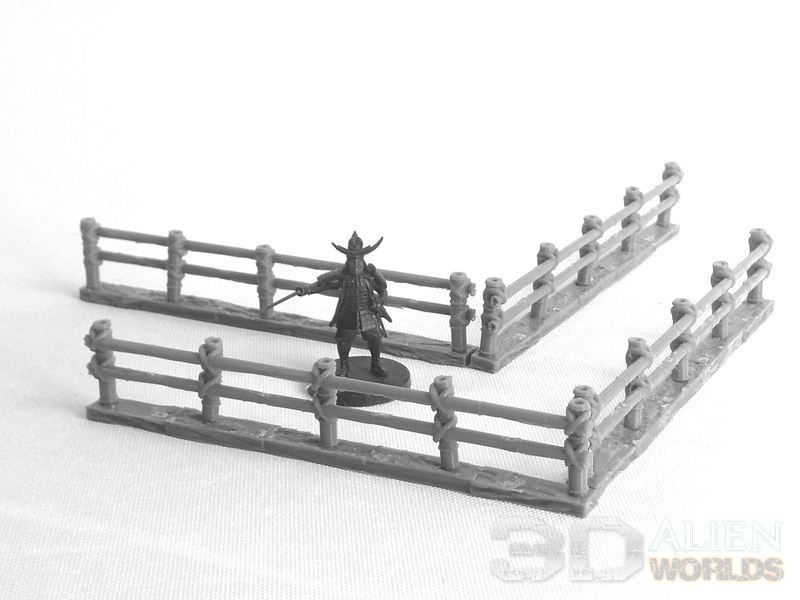
▲ Alongside the stone paths you'll often find simple bamboo fences, tied together by rough twine.
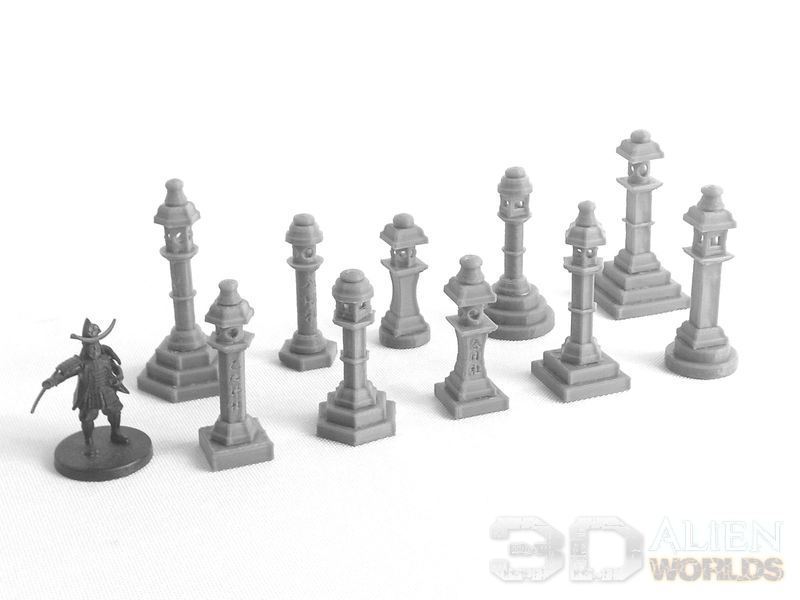
▲ At the sides of the path in a shrine you'll find many stone lanterns, in various shapes and sizes. These 10 lanterns were mixed and assembled from the contents of the ready-prepared set STL file.
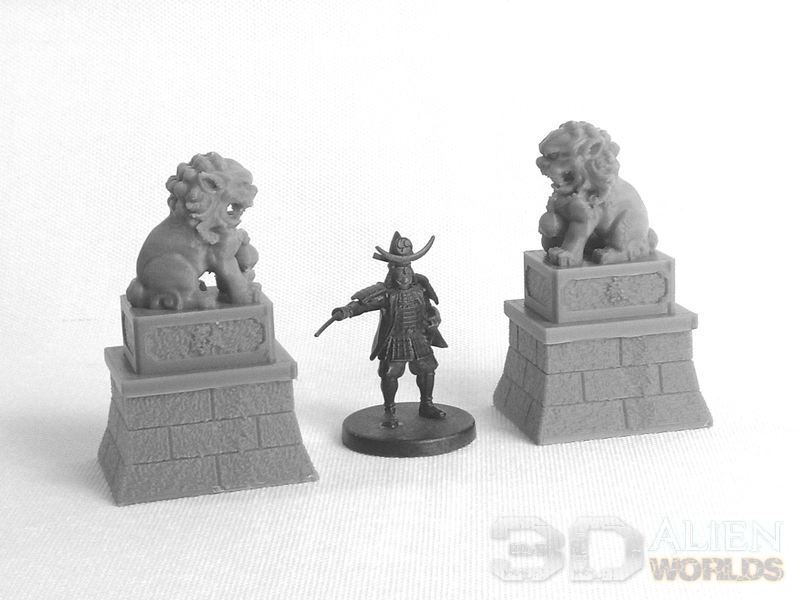
▲ This pair of komainu lion-dogs guard the entrance path to a shrine, and these are mounted on heavy stone plinths.
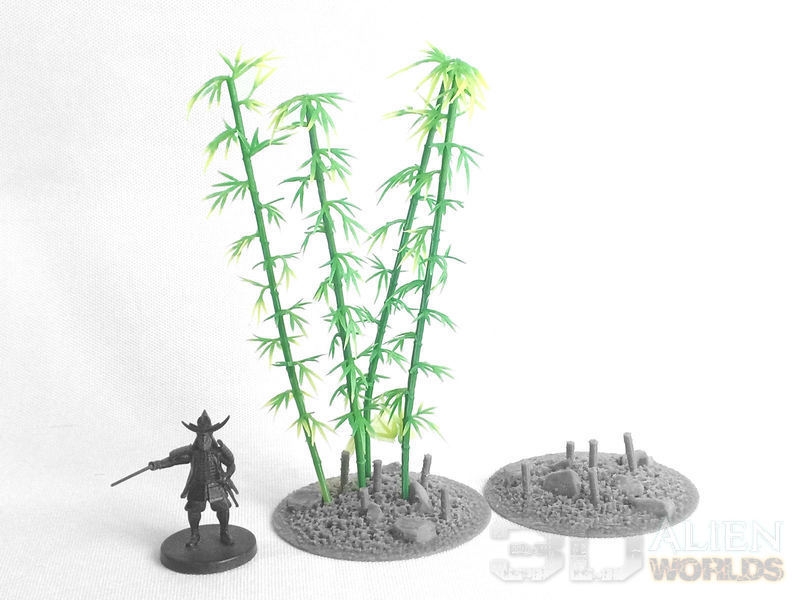
▲ Finally, we have this 60mm base for creating a bamboo forest to surround your shrine, into which you can insert these thin plastic bamboo trees. Please note that only the base is included in the set (shown in grey in the photo above). The green plastic bamboo trees are NOT included in the set, so you should grab some of those online!
Wow! It's a pretty big set, yes?
Please let us know what you think of everything, by sending us your comments below!
| << Wiring the shrine lantern LED 2022-08-13 | Introducing SCALE 3D, our new UK print partner... >> 2022-08-15 |