3d-printable terrain for all your samurai wargaming needs


| << Printed pics of the Samurai Dojo 2022-06-27 | Samurai Dojo available NOW! >> 2022-06-30 |
The new Samurai Dojo is a large building, but surprisingly it paints up quite quickly, with a few simple techniques. The majority of your painting time will probably be spent on the interior and exterior panels, but even so, I completed the whole thing in a couple of days.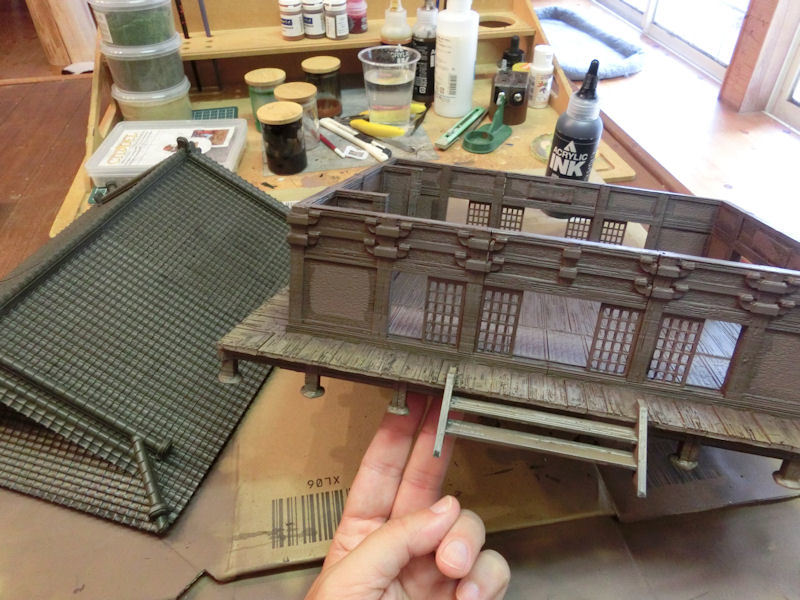
▲ Save yourself some time and do the undercoating with some suitable spray paints. The roof was sprayed in a 'Deep Olive', which works really well for grey tiles, and the rest of the building was sprayed with a 'Burnt Umber'. I took an extra minute to carefully spray the edges of the balcony in a light brown, too, to help show a weathering effect.
My next step was to give the whole roof and building a heavy black wash. I used a homemade wash to save lots of money!
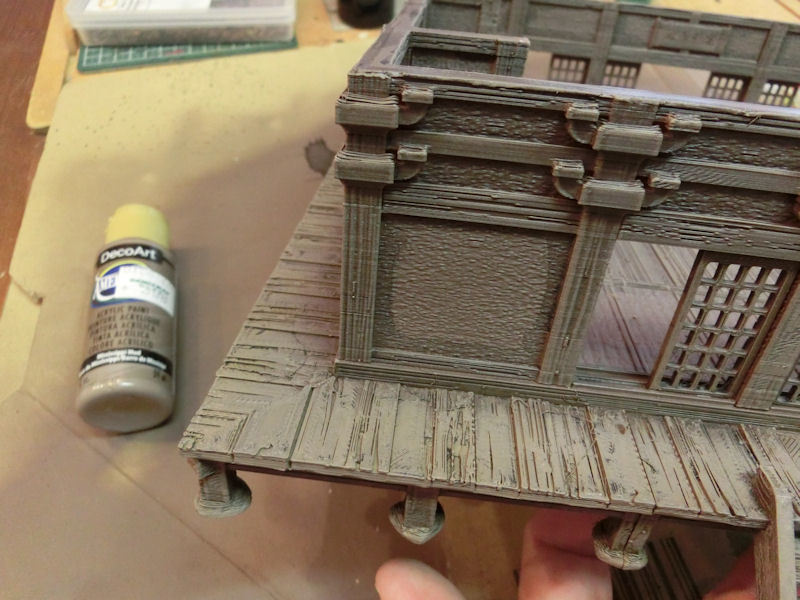
▲ Using a large 5cm (2") wide brush, I slowly and lightly drybrushed a light brown (sandy brown?) on the wood of the walls, inside and out. In the photo above you can see how it brings out the wood patterns nicely, while also leaving the black wash in the deeper crevices. I didn't want to go too light on this building, as I wanted to show a very dark old wood to contrast with the white walls.
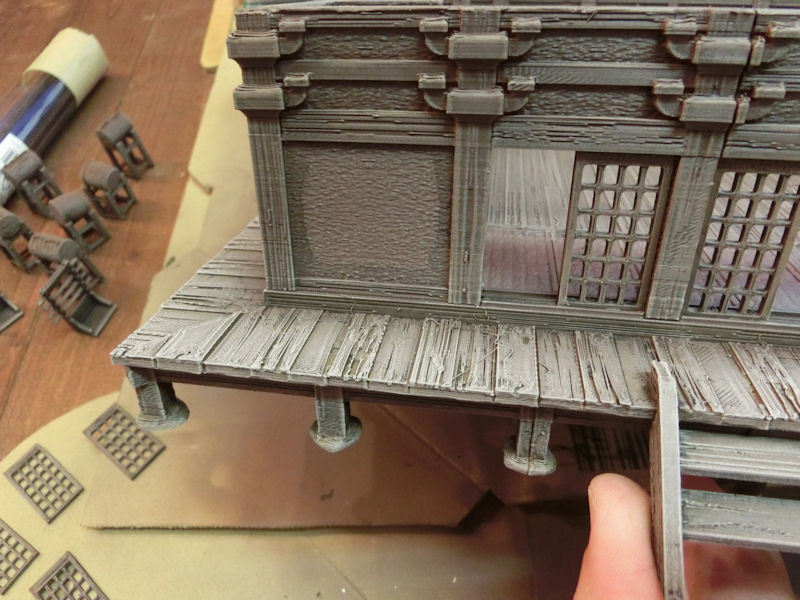
▲ Using the same wide brush, I then gave a super-light drybrush of light grey on the edges of the balcony planks, and the bottom 1cm of the wall posts. This will show where the sun and rain has slowly aged the wood over the years.
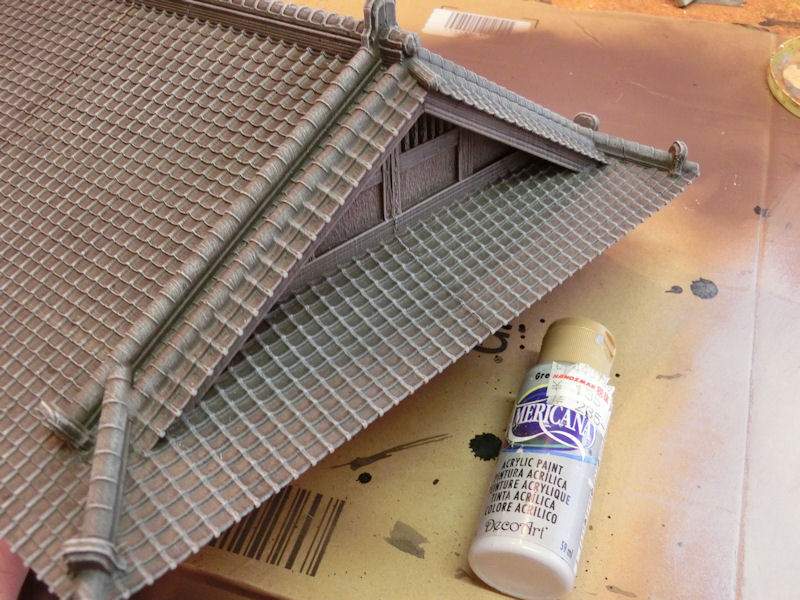
▲ The roof was also given a careful edge drybrush of the rooftiles, using the same light grey. Pay attention to the direction you're dragging the bristles - going from bottom to top brings out the great detail of the intricate tiles, and then from side to side.Take your time and build it up slowly.
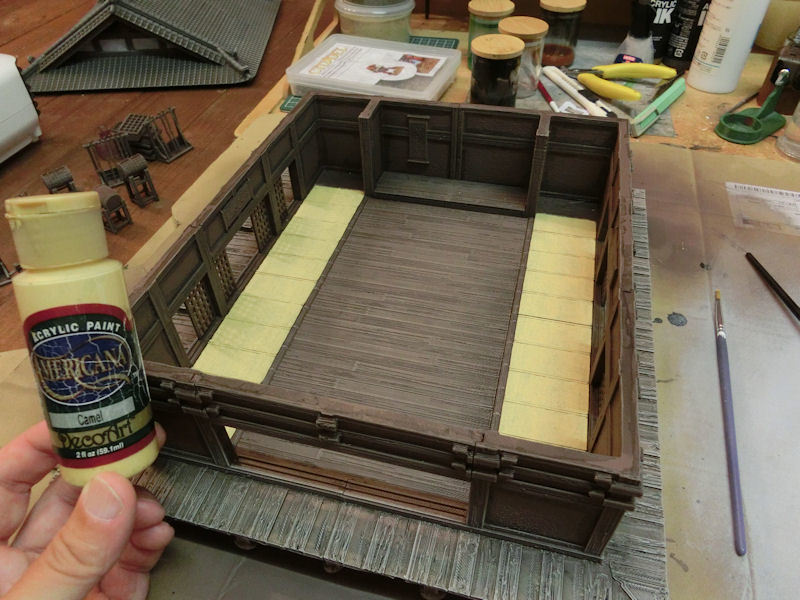
▲ It was time to start working on the dojo interior, so I used two coats of 'Camel' to give the tatami mats an even coverage, and then gave them a sepia wash to bring out the texture of the mats.
▲ The floor also contains a couple of strips of bamboo, between the tatami and wood sections. Bamboo naturally turns quite grey over time, and I tried to show this by lightly adding a few touches of careful grey drybrush on those bamboo strips.
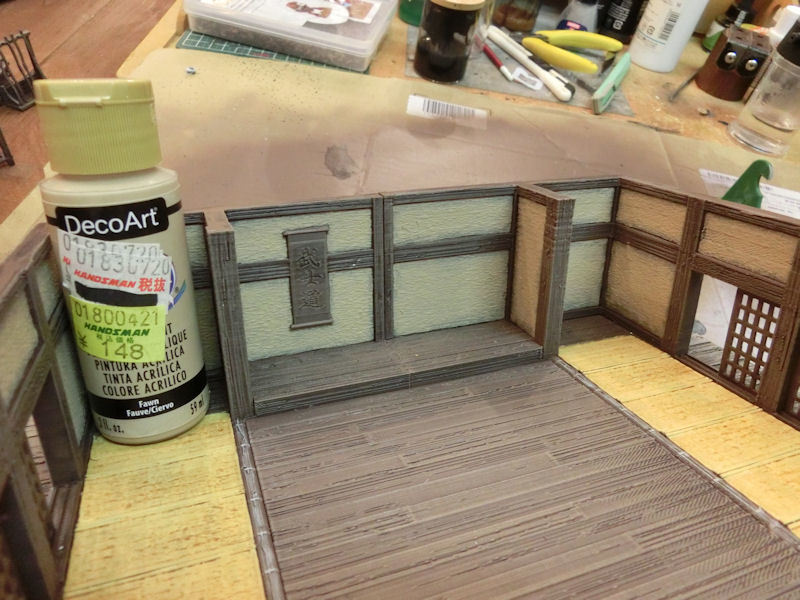
The interior walls needed to be very subdued for my 'old building' scheme, and I found that two coats of this 'Fawn' paint gave a perfect effect. The first coat covers each panel slightly roughly, and then a second coat is painted and stippled from the centre of each panel outwards. If you're careful you can blend/push the second coat, so that it leaves the edges darker, which looks great!
TIP: I glued half of the doors into their frames, and only left the other half to slide. This helps to keep them all in place, and prevents them from being bumped out so easily.
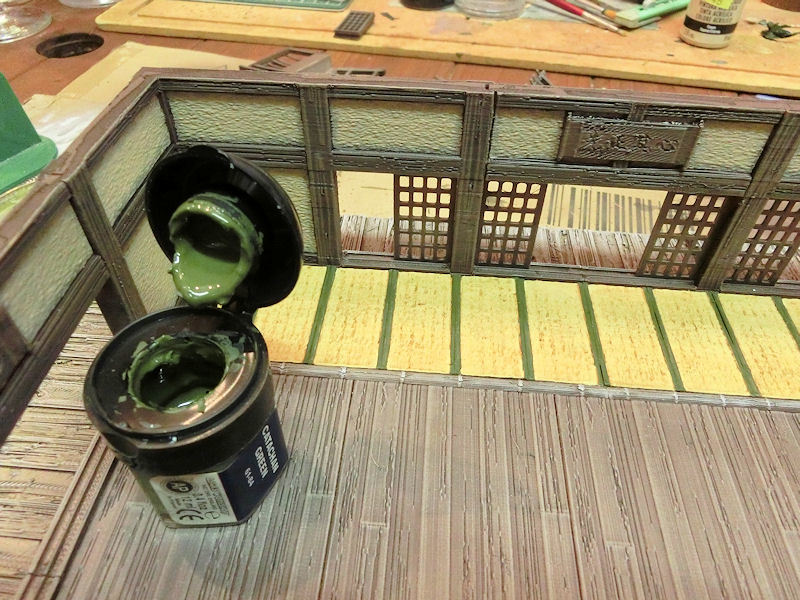
▲ For the fabric edges of the tatami mats, green or navy is commonly found, or even grey/black. I wanted a subdued green, so I carefully painted two coats of this khaki colour. I'll admit it's a bit nerve-wracking not to slip from the raised edges!
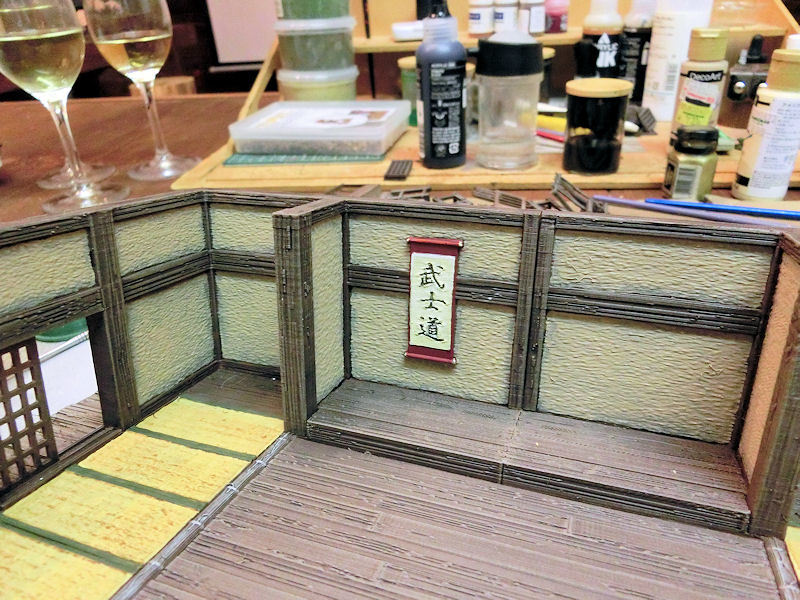
▲ Yay! Now it's time to finish some interior details, starting with the scrolls. There is a scroll on each wall, and this one above the stage is the biggest... and therefore a good place to start practising! It says 'Bushido', by the way, which was their samurai warrior code!
I gave the paper a pale flesh tone, and then carefully nudged some black wash (thinned ink works well too!) into the kanji shapes. It should run fairly naturally into the right crevices, and then maybe a couple of touches of flesh colour to neaten things up?
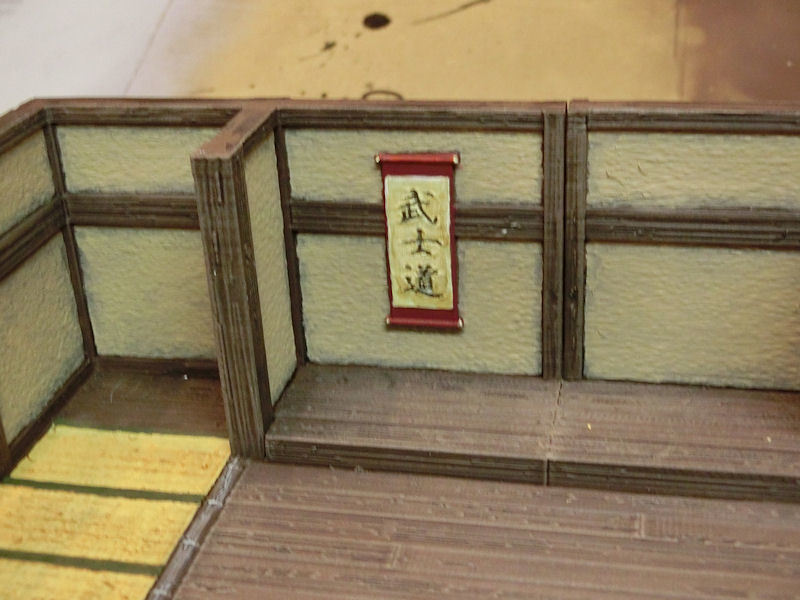
▲ I didn't want the paper to look too new, so I started experimenting with some sepia washes, randomly splodged on the paper. I found it looks best with the edges and corners of the paper yellowed with age - but see what suits you!
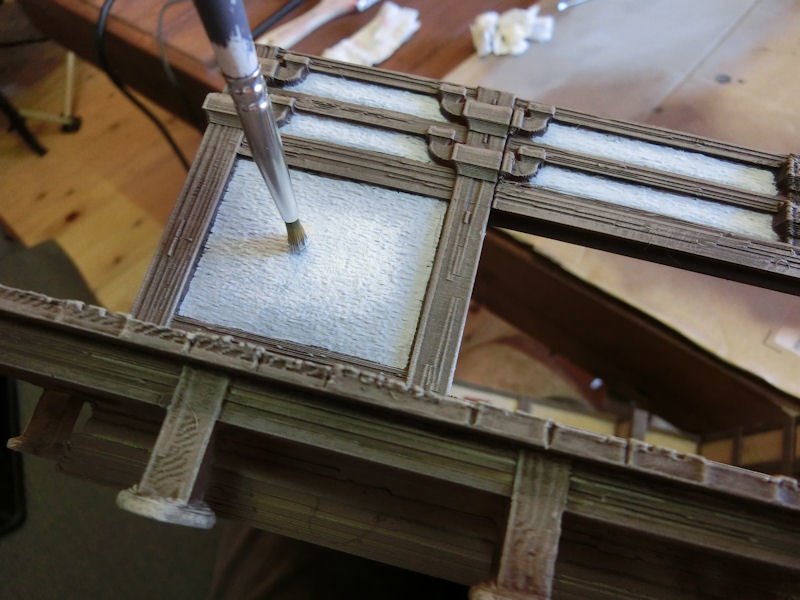
▲ The end is close now!! For the outside wall panels, I gave a careful coat of light grey, and then went back to stipple a second coat in the centre of each panel. Finally, I stippled a little white into the very centre of each panel, leaving plenty of contrast with the darker tones at the edges.
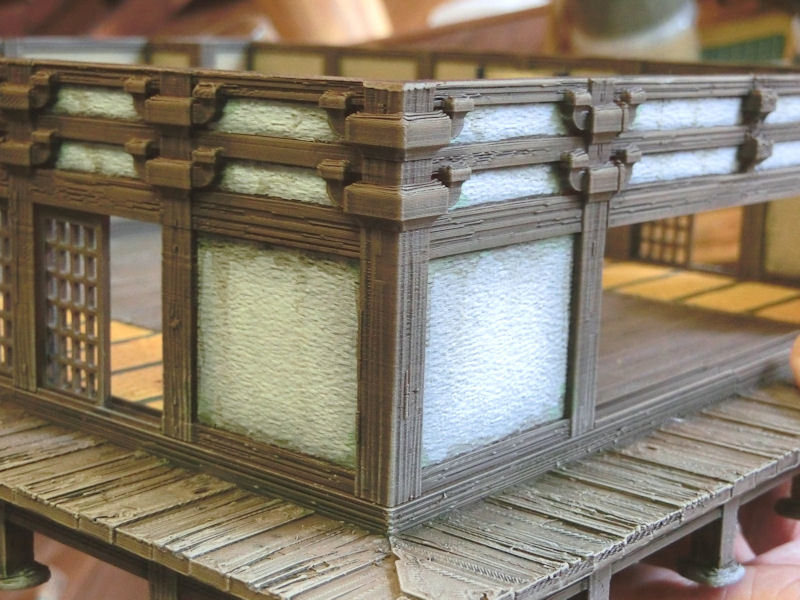
▲ The last step was to dab some add some streaks of discolouration to the outside panels using brown washes, and then dab a little green wash in the corner of each panel. This works brilliantly to age the building!
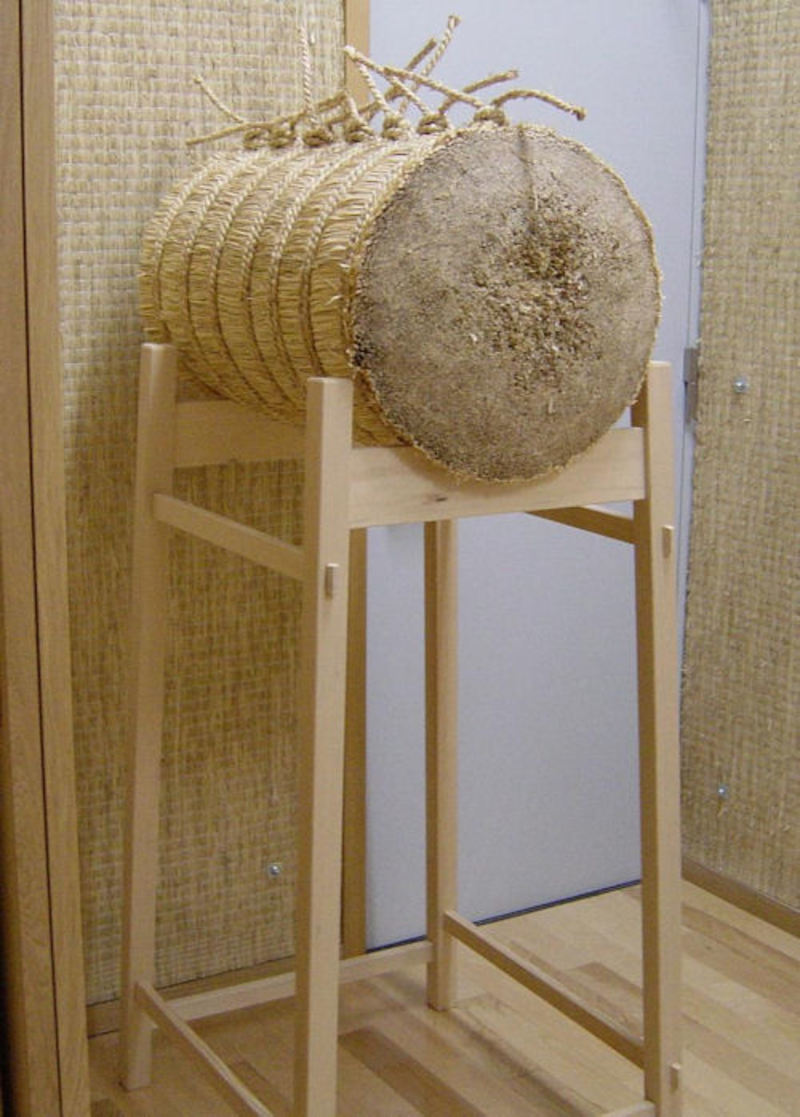
▲ I'll just show one of the accessories here - the photo above was my inspiration for the design of those large straw archery targets.
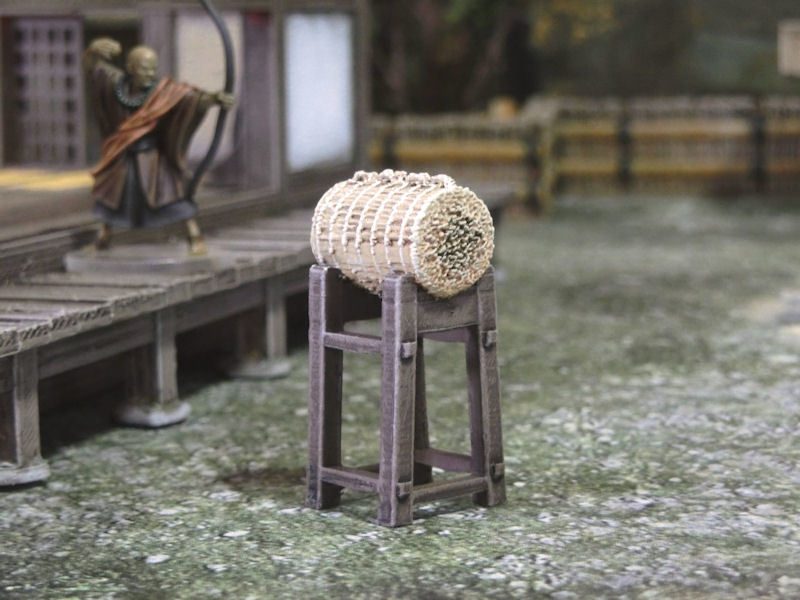
▲ I used the same dark wood for the frame as I used on the building, and the straw was a flesh colour with a heavy sepia wash added later. Then I went back to drybrush more pale flesh on the raised edges, and a final dab of brown wash in the centre of each end. I'm strangely proud of the detail and realism on this little accessory! It even prints support-free!
So that's it - the dojo is fully painted, and will be ready for release in a few short days! Watch this space...
| << Printed pics of the Samurai Dojo 2022-06-27 | Samurai Dojo available NOW! >> 2022-06-30 |