| << Designing the samurai watchtower 2020-02-12 | Assembling the Samurai Watchtower : Part 2 >> 2020-02-14 |
The new samurai watchtower is quite a feat of engineering, and a true "kit" experience to assemble. In an effort to reduce the need for print supports (only the roof section needs them), the model has been separated into multiple easy-to-assemble sections.
However, this guide requires quite a few photos to show some tips and advice, so the assembly guide is being split across 3 blogs. Today's blog shows you how to assemble the base level of the watchtower... 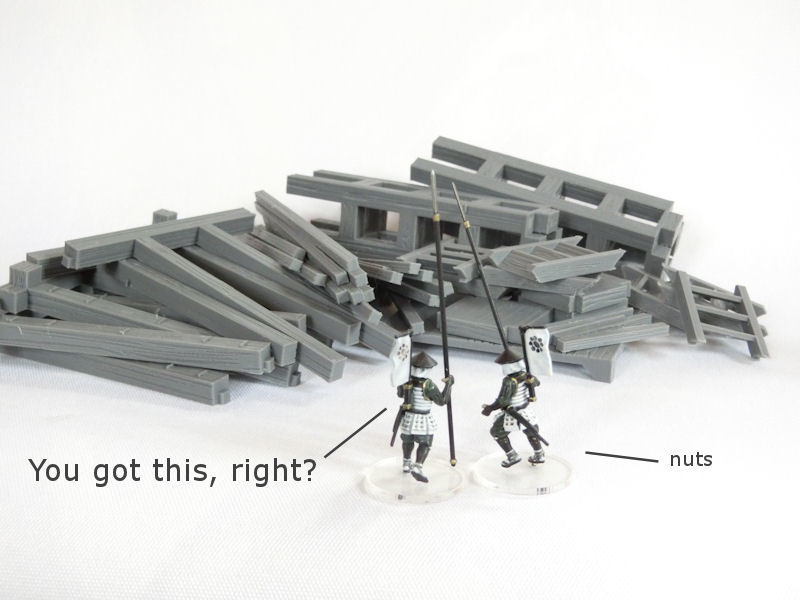
£ Don't be daunted by the number of parts! Yes, the horizontal beams on the outside are numerous, but it's not hard to glue together. I printed these parts mostly at 0.2mm layers, since the wood grain patterns have mostly been combined with the printer lines where possible.
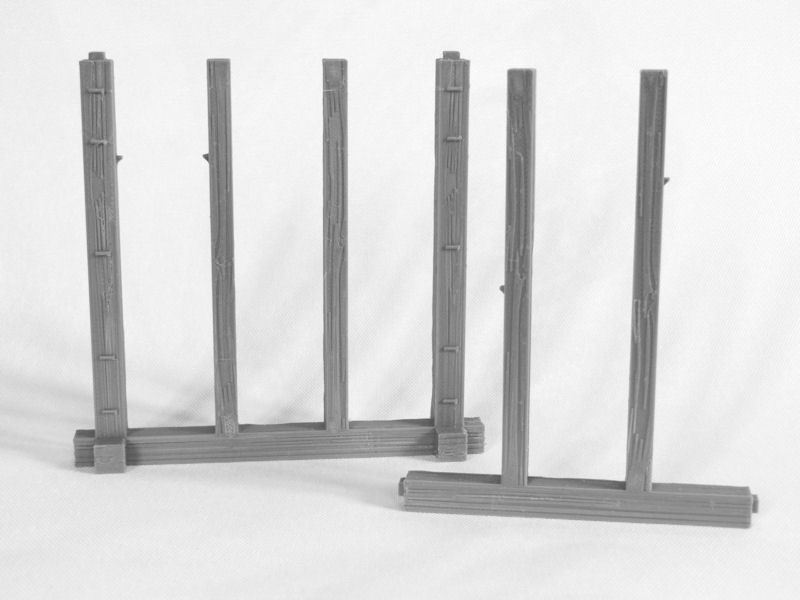
£ First, a note on the outside walls. You'll notice that they have little triangular bumps in various places. These are actually supports for the staircase platforms, and their location is quite important.....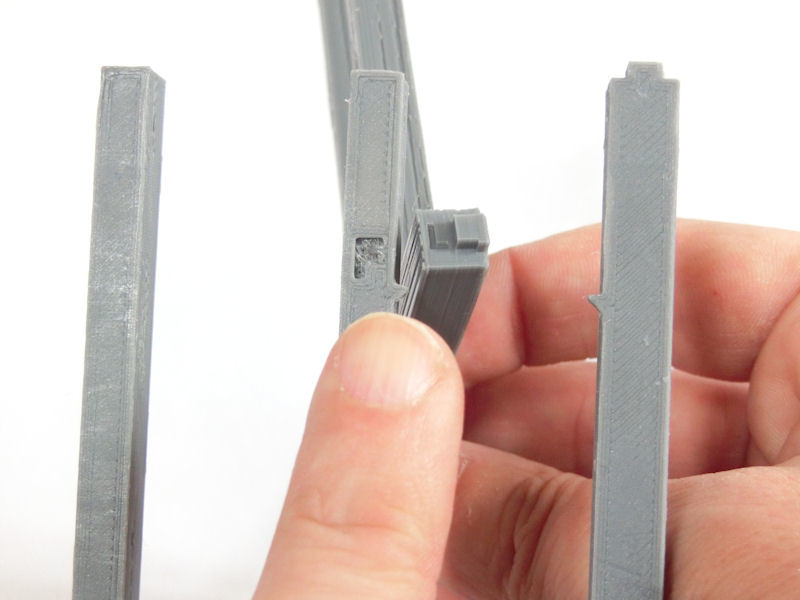
£ .... so, in order to make sure you can glue them in the correct place, some of the pieces have letters stamped on them. In the photo above, you can see one piece has a "F" (for Front) on it, and the other piece has an "L" (for Left) on it. These letters will be hidden once glued together.
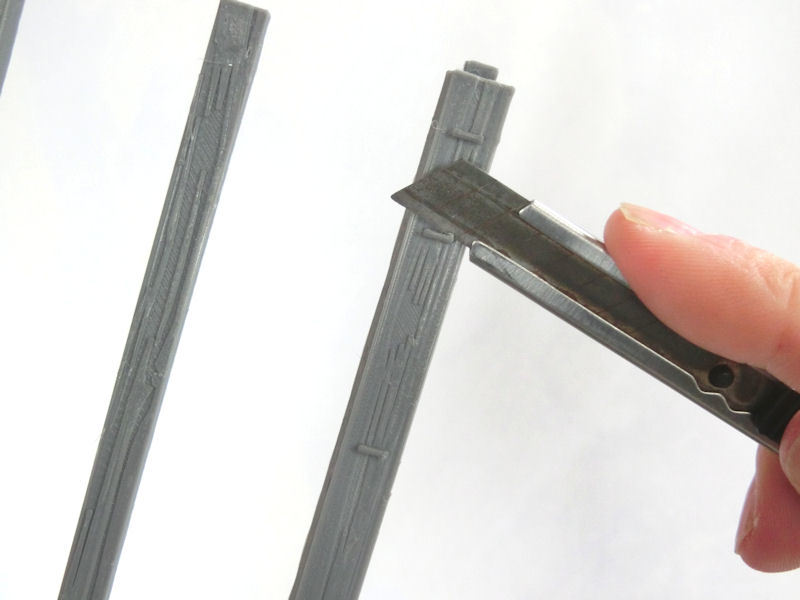
£ One other thing you will notice is that the outside wall sections (front and back) have these little nubs printed on them. These are locator pegs, which act as guides when gluing on the horizontal beams to the outside at the end. They are not historically accurate, so you can always choose to cut them off before assembly if you really don't want them. Most of them will be mostly hidden after assembly, except when viewing the tower from below.
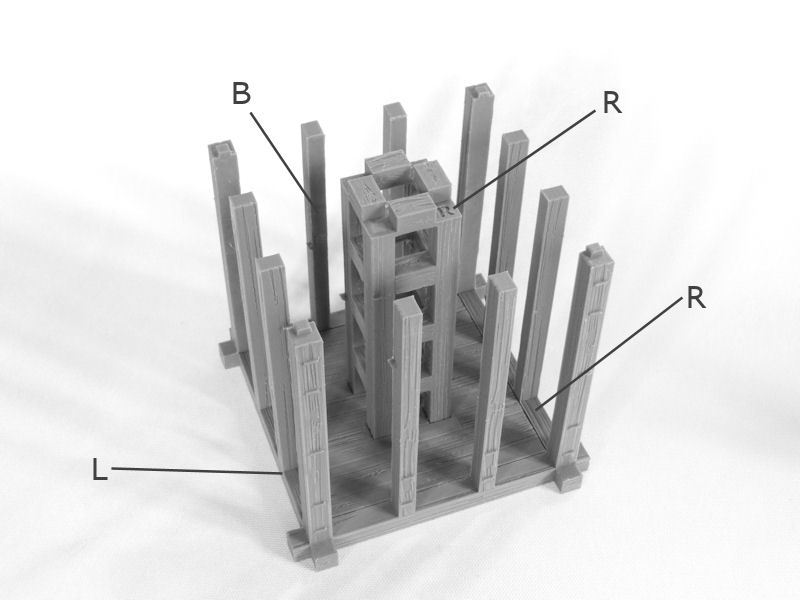
£ Okay, on with assembly! We start by printing the four outer wall sections, the floor, and the central column. Please pay attention to the correct arrangement of labelled pieces : L on the Left, R on the Right, and B at the Back. The front section has some additional nubs on the front.
In particular, please make sure that the central column has the "R" (at the top) on the Right when you glue it in place, as shown in the photo.
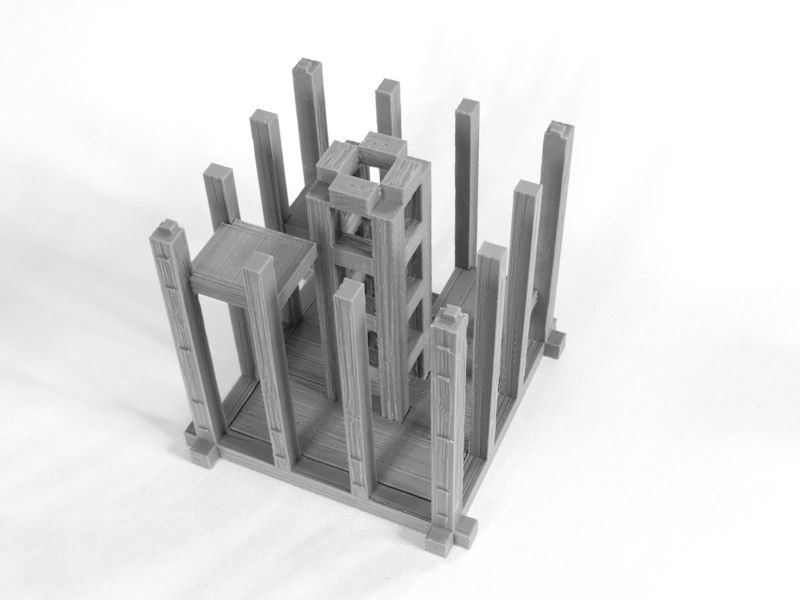
£ Next, you need to print 3 of the staircase platforms, and glue them in place as shown. They should rest neatly on the support triangles. Easy, right?
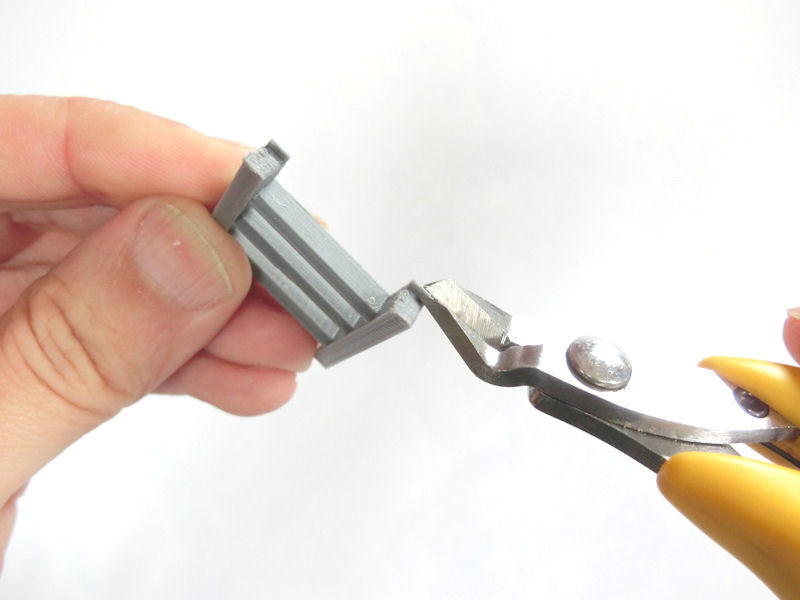
£ Each tower section requires 4 staircases to be printed, all without print supports. Before you glue the LOWEST of the staircases in place (to the floor section), please cut off the bottom 2mm of the staircase, as shown in the photo above. This will ensure that the steps glue flat to the base.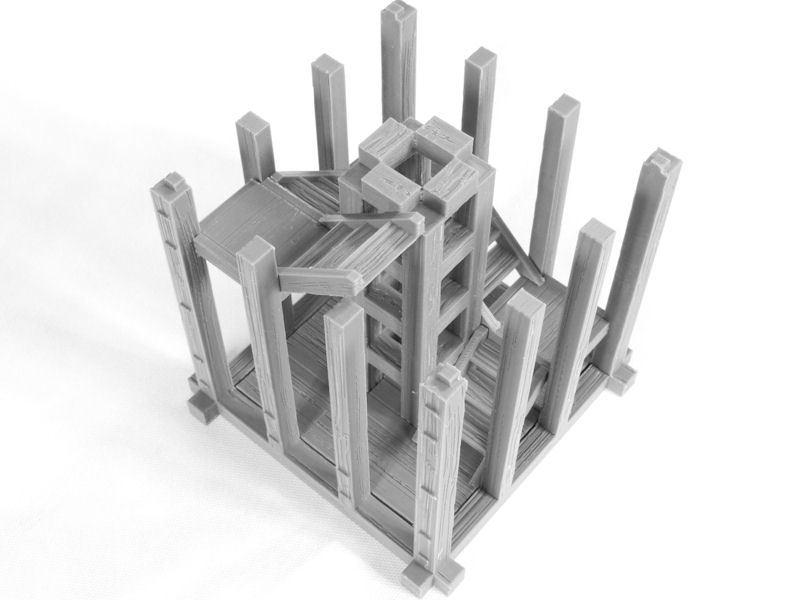
£ Then simply glue the 4 staircases in place, as shown. The top staircase projects above the rest of the section, and should have its front edge in line with the central column. If in doubt, wait until the mid-level section is complete, to make sure everything fits.
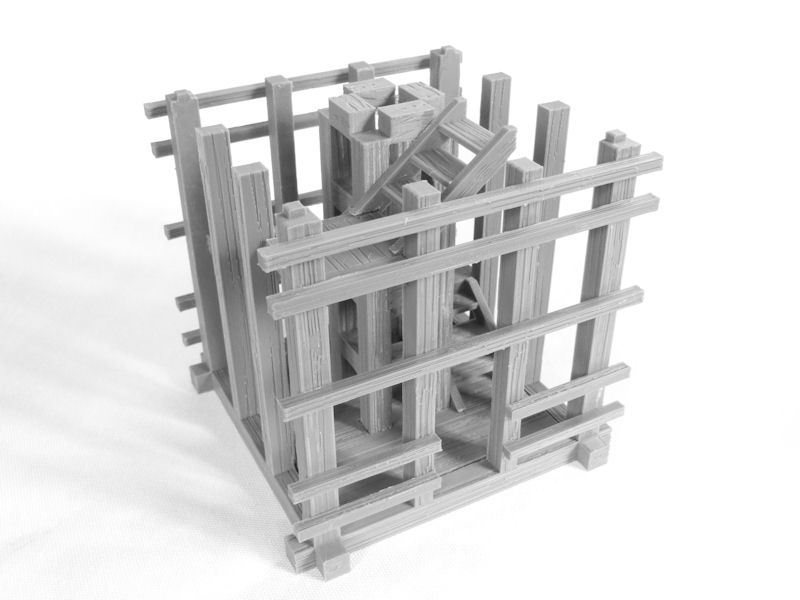
£ We're on to the last part - adding horizontal beams to the outside. Start by gluing beams in place on the front and back, resting on those little nubs to make sure they're in the right location.
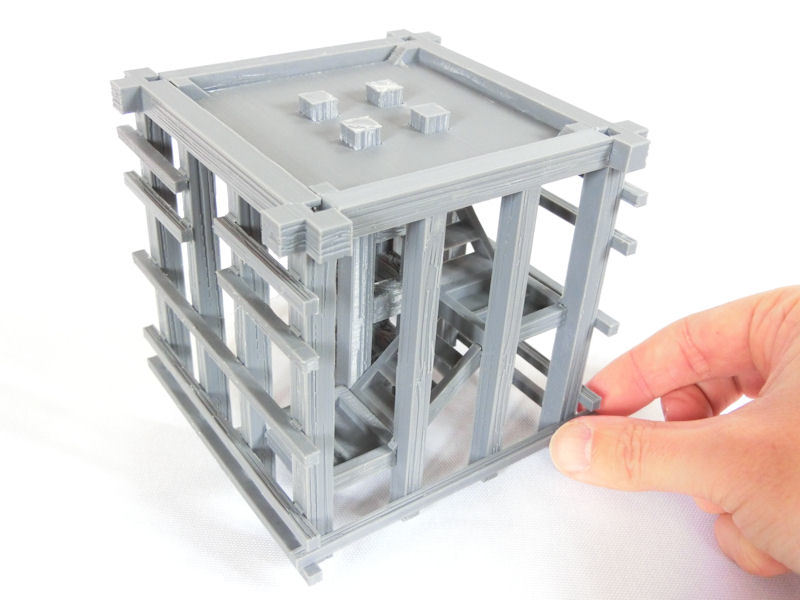
£ Once the beams on the front and back have dried in place, gently turn the model over, and start gluing beams on the sides, as shown. These side beams simply rest on the previously-affixed beams for gluing, so once you turn the finished section over to its normal shape, it should look .....
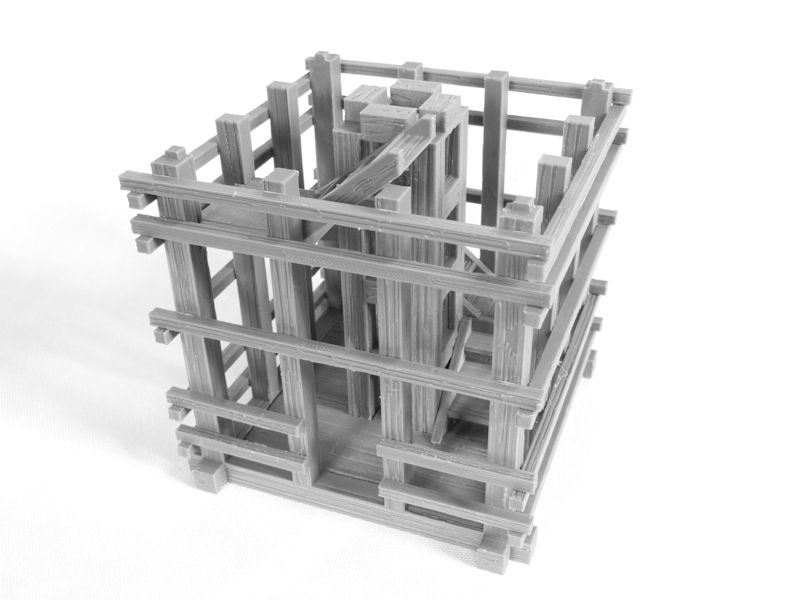
£... like this!
Congratulations, your base section is complete! The other sections are actually simpler to assemble, now that you know the tips for assembly.
The assembly guide continues in Part 2 >>
| << Designing the samurai watchtower 2020-02-12 | Assembling the Samurai Watchtower : Part 2 >> 2020-02-14 |
