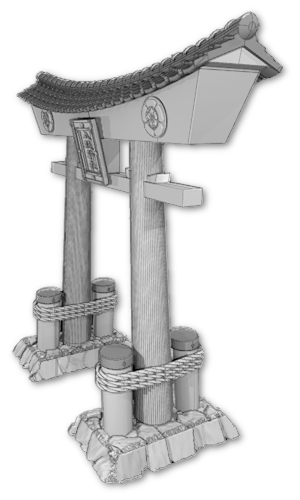
3d-printable terrain for all your samurai wargaming needs


| << Designing the canals 2019-03-15 | Designing the KillTeam Arena scatter terrain >> 2019-03-19 |
We had an interesting comment in a product review recently, mentioning that it was a pity the Samurai Castle Walls Set didn't have an option to print the floor pieces with flat surfaces on both sides, as the texture on one side adds considerably to the print time.
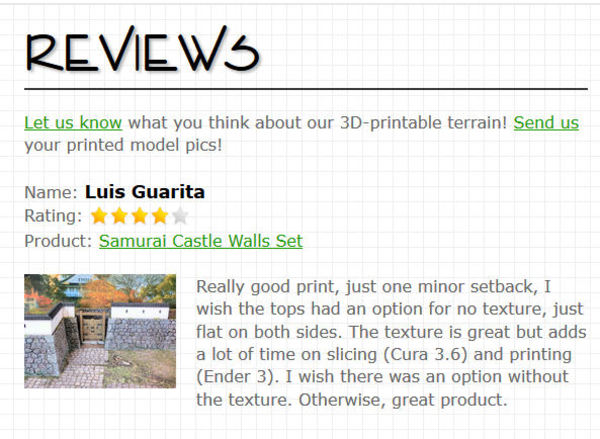
Fair point! Sorry, Luis.
We'll try to bear this in mind for future releases, but for those who are planning to print the castle walls sections with flat floors, here is a quick How-To Guide....
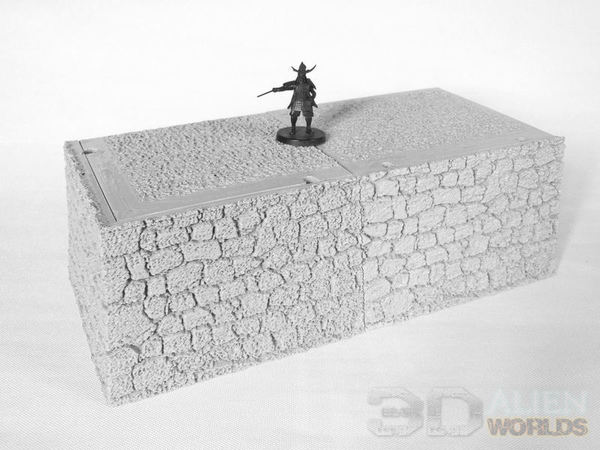
£ Here's a castle wall section, with the offending floor piece. While one side is printed smooth (because it's flat to the printer bed), the textured surface on the other can add hours to print time.
So here's how to quickly remove the textured surface, so both sides of the floor section print smooth - saving time!
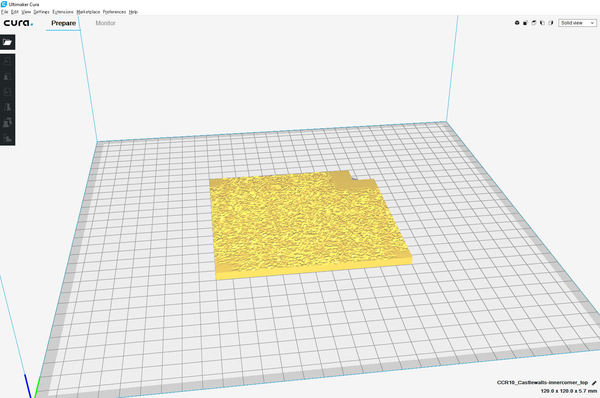
£ Open your floor piece in your slicer software. For these screenshots, I'm using Cura and the inner corner floor piece.

£ Flip the piece over using either the mirror button (circled in red), or you could rotate it through 180 degrees.
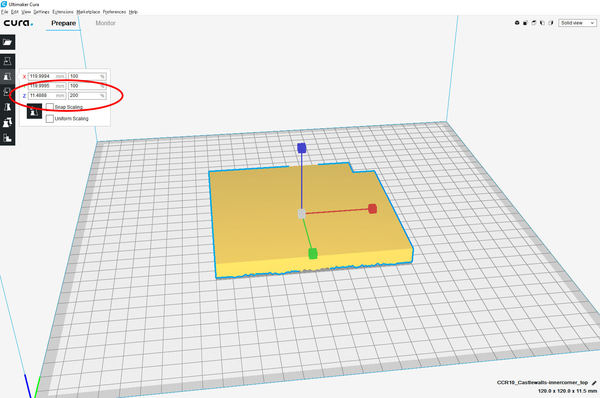
£ Double the z-height using the scale button (at 200%, circled in red).
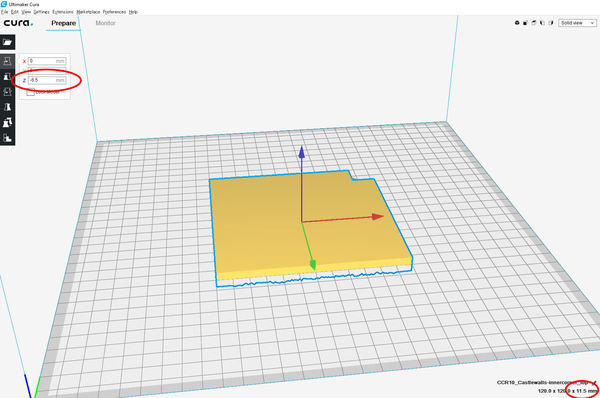
£ Push the piece 6.5mm down through the print bed using the move button. In this example, the double height piece is 11.5mm tall (see the bottom right circle), and we want the printed piece to be 5mm tall to fit the terrain. So subtracting 5mm from the height of 11.5mm gives us the adjustment figure of '-6.5mm' (circled in red on the left).
That's it! Save and print.
| << Designing the canals 2019-03-15 | Designing the KillTeam Arena scatter terrain >> 2019-03-19 |