3d-printable terrain for all your samurai wargaming needs


It's been a while since the last new designs, but today we have a little preview to show off for our samurai range - a set of market stalls, known as yatai in Japanese.
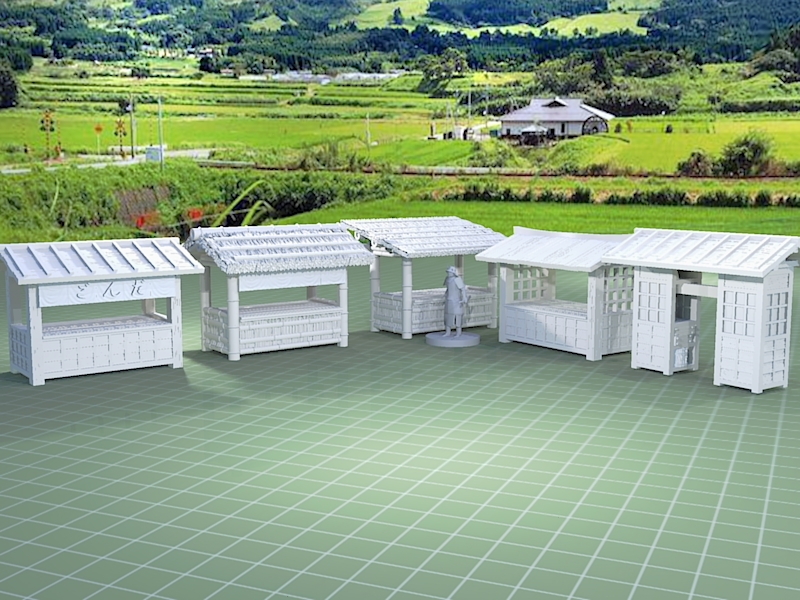
▲ Yatai stalls are temporary market stalls, and you would have typically found them along main streets and at local festivals. They usually sold foodstuffs, although occasionally you'd see yatai stalls selling craft items and toys. They make great small scatter terrain for wargames, too!
So we're working on a set of fairly modular stalls, which can be mixed and matched to create a nice variety of shapes and styles. Of course the set will also contain a selection of typical accessories, so you can decorate your stalls with the following themed items:
Today we're going to look at some of the stall types included in the set.....

▲ First up is this simple wooden stall, found all over Japan!
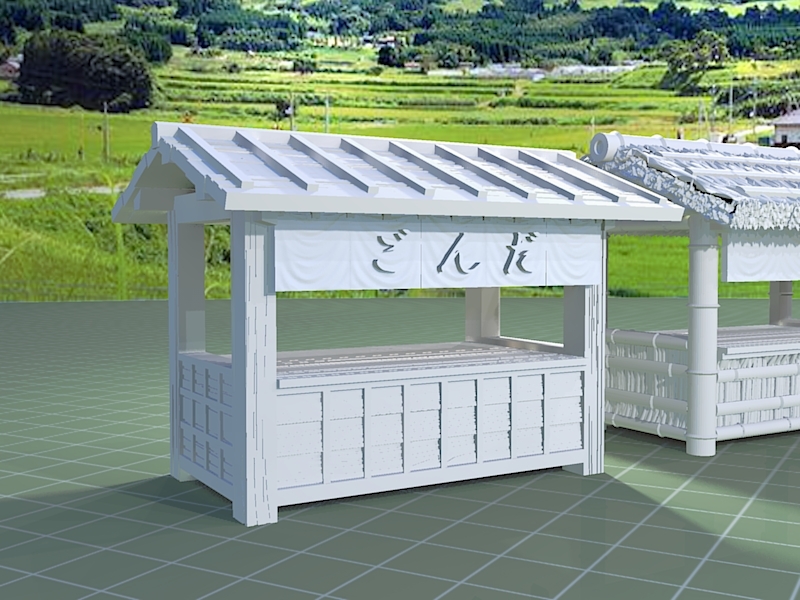
▲ All these pieces will print without supports, and this image shows the first roof type for the wooden stalls.
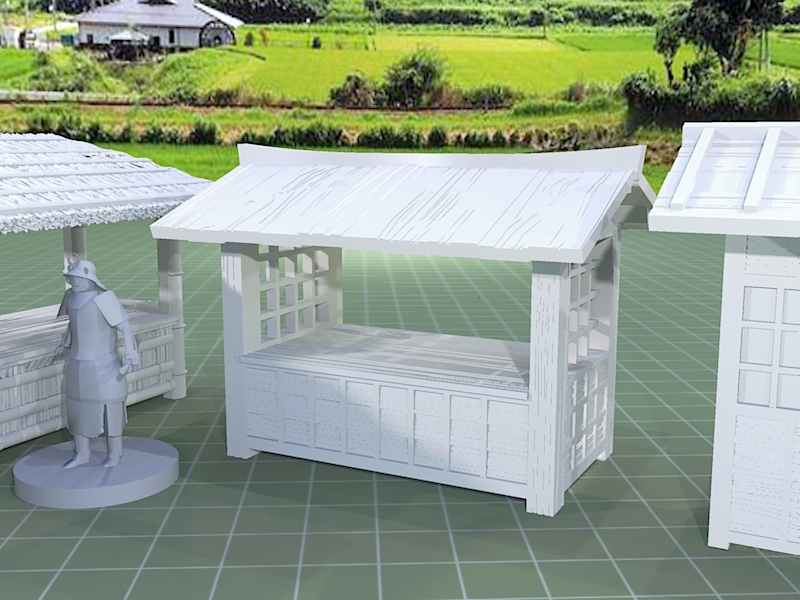
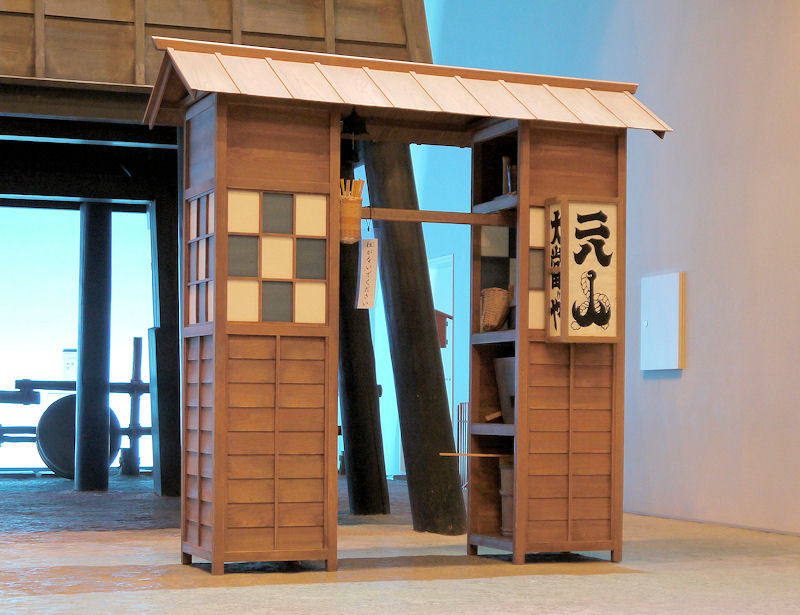
▲ This second wooden stall has a different roof type, and also features different windows at the sides. The idea for these is that you can use them as shown in the picture, or you could add some thin paper to give the effect of shoji paper screens.
In addition, some stalls would have used paper on the outside of the windows, decorated with kanji characters, as an advertising sign for their business.
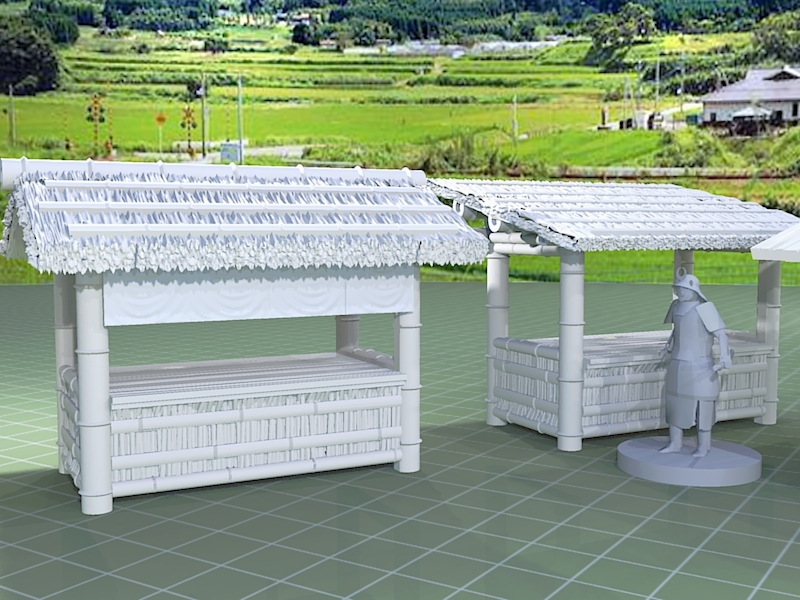
▲ Stall type number 2 is this bamboo version, with a couple of roof variations. You could use a gable roof shape (on the left) or a simpler sloped roof (on the right), and both have thick rushes as thatch, held in place with strips of bamboo on top.
The pieces are modular, so you can even add bamboo sides on to a wooden middle section, or vice-versa.
▲ Stall style number 3 is probably the weirdest! This is a lightweight food stall, that was designed to be mobile!
You see that beam connecting the two halves? You can put your shoulder under that, and lift up the whole structure! So you can carry your entire food stall to a prime location each evening, and serve up some hot cooked food.
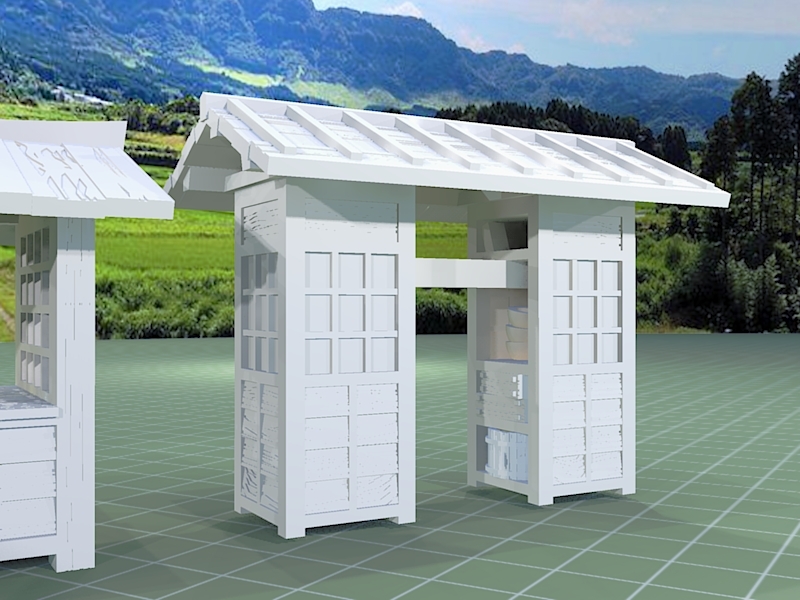
▲ The two sides would contain bowls, cooking utensils and buckets, even a small stove and hotpot, allowing the enterprising owner to serve up such hot food as udon noodles.
This kind of mobile yatai stall is perhaps more commonly found from the Edo period onwards (so later in time than the others), but still makes a great characterful addition to any board.
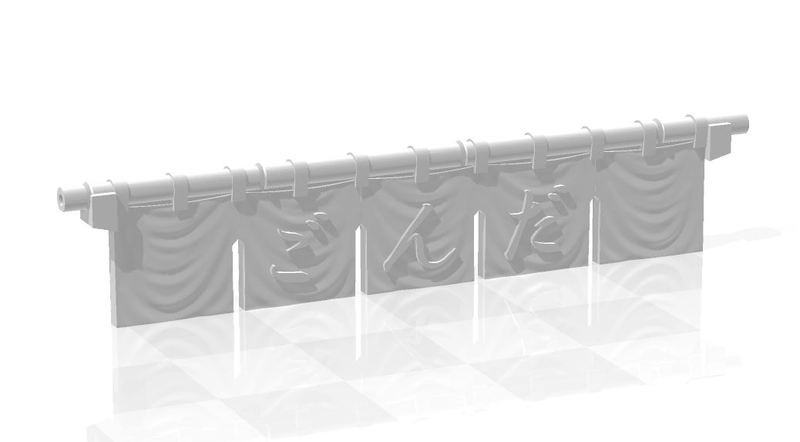
▲ One last image for today, of a noren curtain that can be hung at the front of the stall. The set will contain blank versions of curtains, and also versions with letters for various types of stall.
The image above shows the curtain from a stall selling dango (grilled mochi on a stick), and is written right to left DA-N-GO..... which was the normal way to write at the time. The slightly raised lettering should help those wanting to paint on some realistic signs.
We'll be test printing these stalls over the coming days, and should have some assembled photos to show off shortly!
A while back the lovely folks behind the new Eldfall Chronicles game got in touch, asking if they could use our samurai terrain to show off their awesome models. Of course I was happy to oblige, and sent a bunch of terrain files their way..... and yesterday I finally got to see how it all turned out!
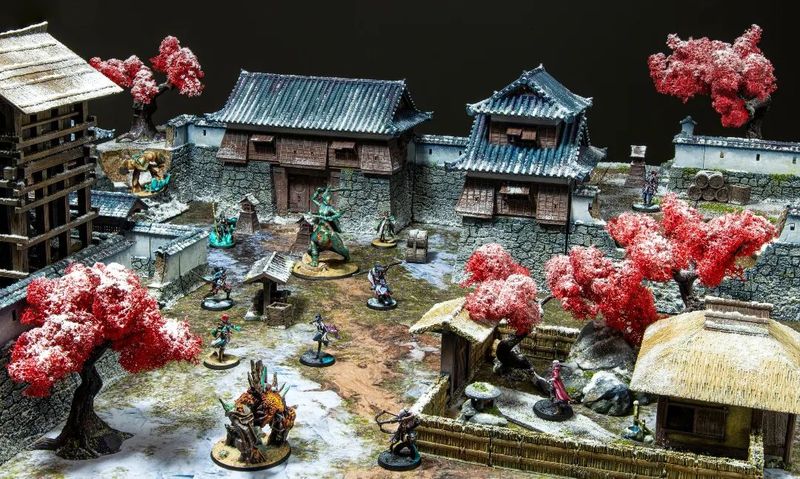
▲ In their own words.....
"The miniature terrain inspired by the Empire of Soga is finally finished! Aaaa so happy!
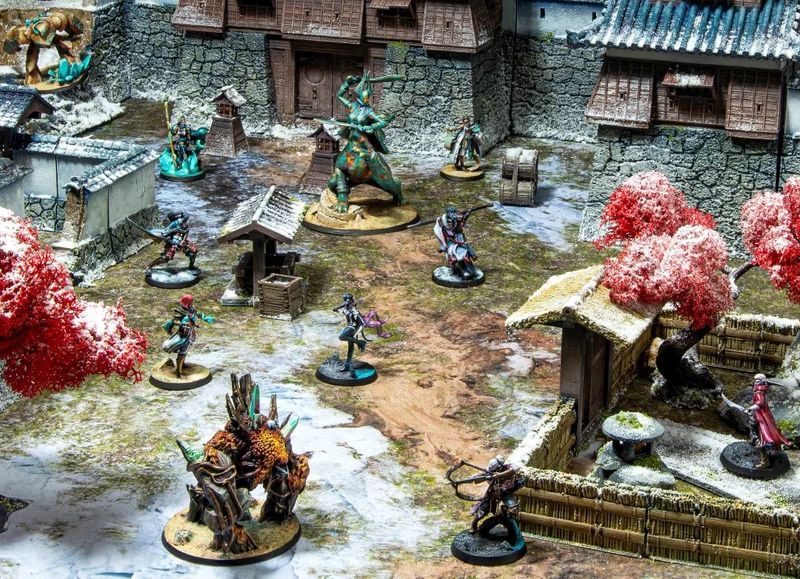
▲ Well done! It looks sooooooo good!
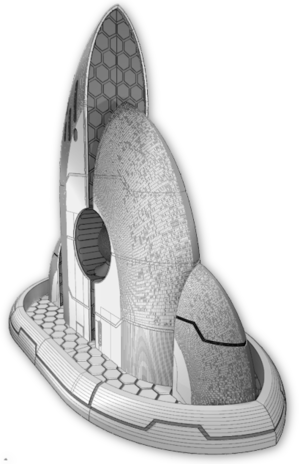
Happy new year to you all! We have a new print partner to announce this week - TRAISER3D, from Germany. They are now selling print versions of our sci-fi Taui, Necrontyr and Eldari models!

▲
It's time to move on to the next terrain project, and I think perhaps a set of modular shops and market stalls might be rather fun!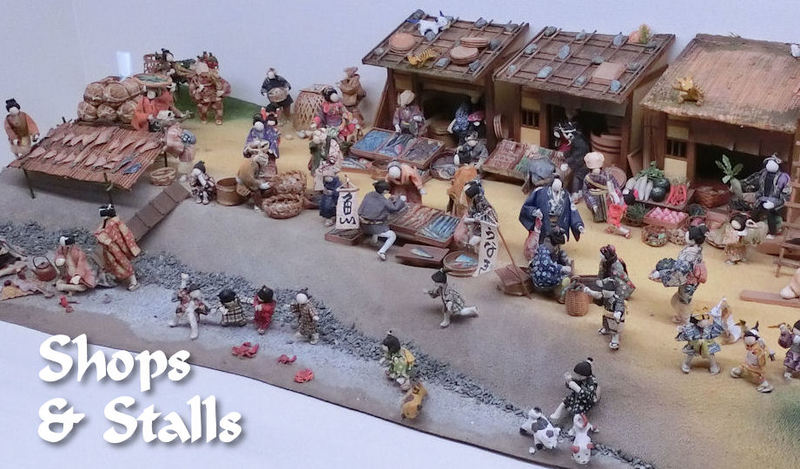
So, what are YOUR ideas for some thematic shops for a samurai town? Let us know in the comments below....
Today's blog is just a quick video of the new Sumo Ring release, on a 360° spin!
We'll be moving on to new projects very shortly, so watch this space for more....


8 Comments :
Vaughan
2022-02-11 (Fri) 13:17PM
The stalls look great, David!
2022-02-11 (Fri) 13:28PM
Blimey, Vaughan! You commented before I'd even finished writing the blog post! lol
Derek Hodge
2022-02-14 (Mon) 9:06AM
i wish you'd do a nice big Samurai house :-)
2022-02-14 (Mon) 9:28AM
Don't worry, it's in the queue, Derek! :)
Derek Hodge
2022-02-14 (Mon) 9:29AM
Glad to hear that :-)
Andrew Collyer
2022-03-12 (Sat) 19:02PM
Nice Designs. Great for test of Honour or any other Japanese Game:)
Piotr Szymkowiak
2022-10-14 (Fri) 18:33PM
Are they designed as a supportless models, or should I add auto supports?
2022-10-14 (Fri) 19:37PM
They should all print fine without supports, Piotr.
Write a comment :