| << Printing & assembling the House 2024-03-05 | Painting the Lord's House set >> 2024-03-23 |
This is the last blog about assembling the Lord's House set, because today we are taking a very quick look at the final element - the garden!

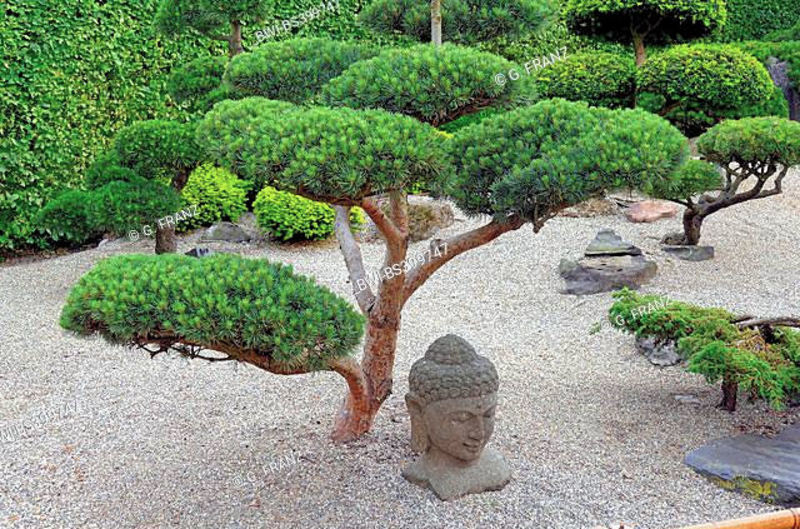
▲ More specifically, we're looking at how to print and assemble the multipart tree! The design is based on a juniper tree, which you'll often find trimmed into these curious topiary shapes in some Japanese gardens.

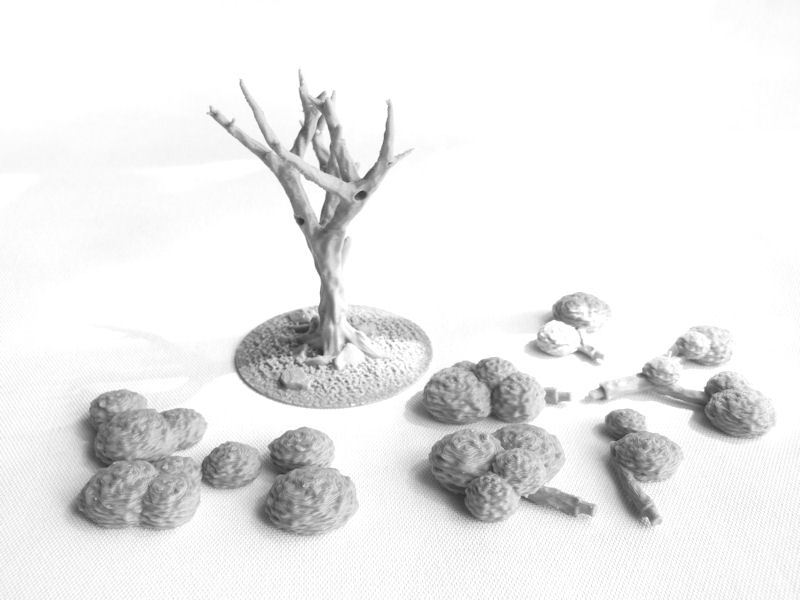
▲ To give you maximum flexibility, the tree prints separately from the branches, and uses the same 60mm round base I designed for those cherry blossom trees a while back. It also has a small magnet hole in the base, in case you want to magnetise your trees for easy transport.
The tree and base, as you can see in the photo above, are printed as one piece, and it prints fine without supports. You'll need to print the set of five branches separately, and they do need just a tiny bit of print supports for the first few layers. The set of five 'bushes' (on the left) are actually designed to be glued on top of the tree, as you see fit, and don't require print supports.
You'll notice that the tree itself has several holes in it. These are designed to fit the branches, although you might find that for the shallower holes near the top of the tree you should cut off a millimetre or two from each branch's end to make them fit better.

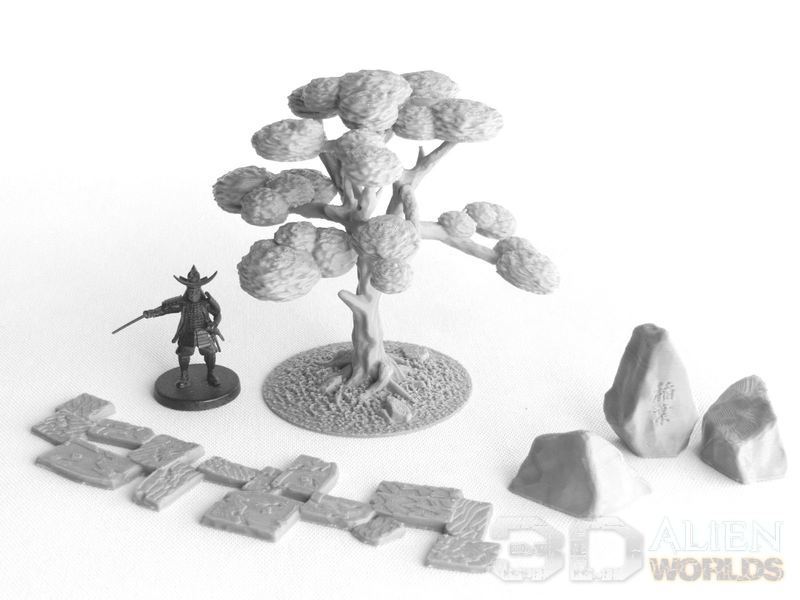
▲ And here's the end result - one large juniper tree with distinctive Japanese topiary, along with the thin garden stone path, and some oversized rocks! I'm planning on printing 4 or 5 of these trees for my Lord's House board, plus 5 or 6 curved paths.
Photos of the complete set will be coming very soon, so watch this space...
| << Printing & assembling the House 2024-03-05 | Painting the Lord's House set >> 2024-03-23 |
