3d-printable terrain for all your samurai wargaming needs


| << Printing & assembling the Ruined Hut 2022-11-30 | Samurai Ruined Hut available NOW!! >> 2022-12-07 |
It's painting time, and for the new Ruined Hut model it's going to be useful to get some good real-life examples to use as reference photos.
There are a few in the recent blog article about designing the ruined hut, and I'm going to be using this photo as my main colour scheme, which should fit nicely with the existing farmhouse models in my collection....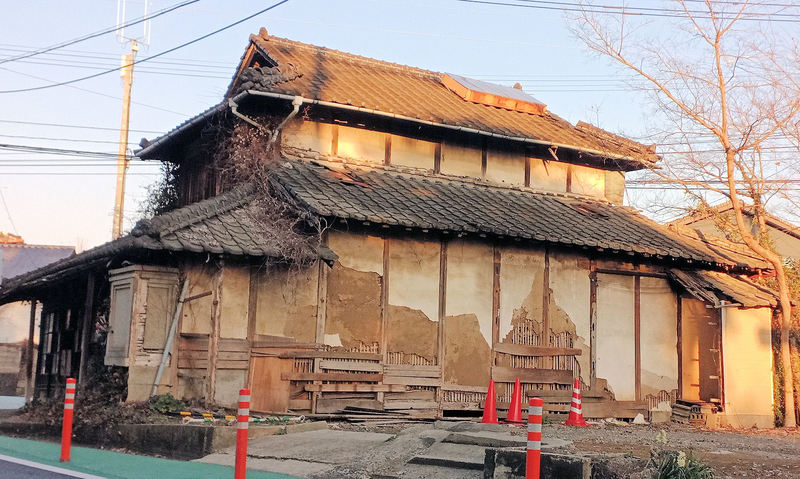
▲ The walls are dried mud reinforced with strips of bamboo latticework, which takes on an orangey-brown colour. On top of that is a cream-coloured layer of finer plaster, which contrasts brilliantly with the ruined patches.
The wood may have started as brown, and moves through golden yellow to a darker brown as it ages, and then finally to faded light brown when it's very old. Once the rainwater starts getting into the wood (as you'll find on ruined houses), it bleaches to a light grey and starts to crumble away.
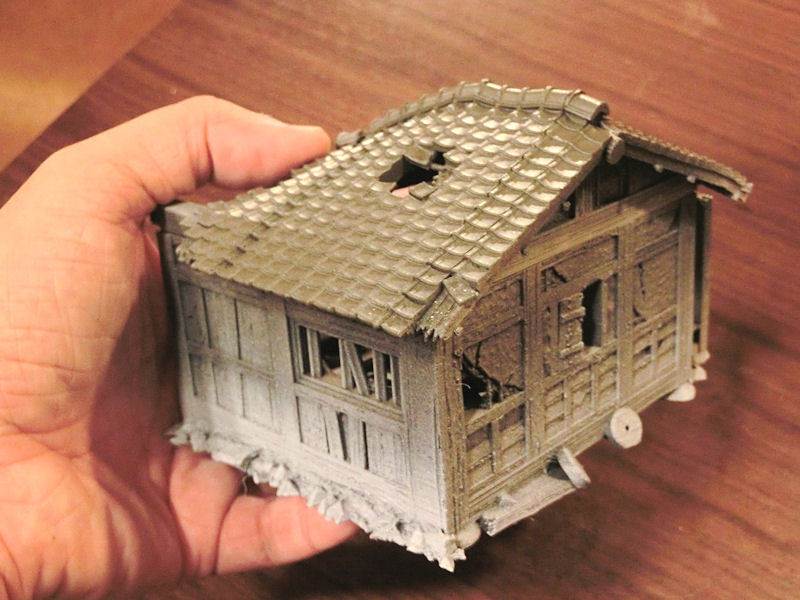
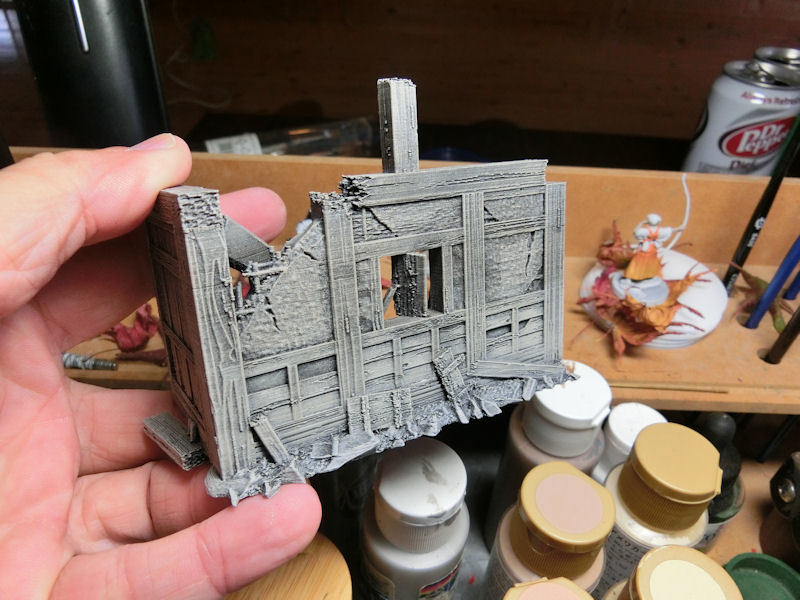
▲ I spray undercoated everything in matt black, before covering all the sections in a light brown spray.
I then gave a very gentle dusting of lightgrey spray on the very bottom of each exterior wall, where the rainwater and sun would have faded it naturally. The floor of both sections was also dusted with light grey.
The final colour to be sprayed was a slate grey, for the rooftile section.
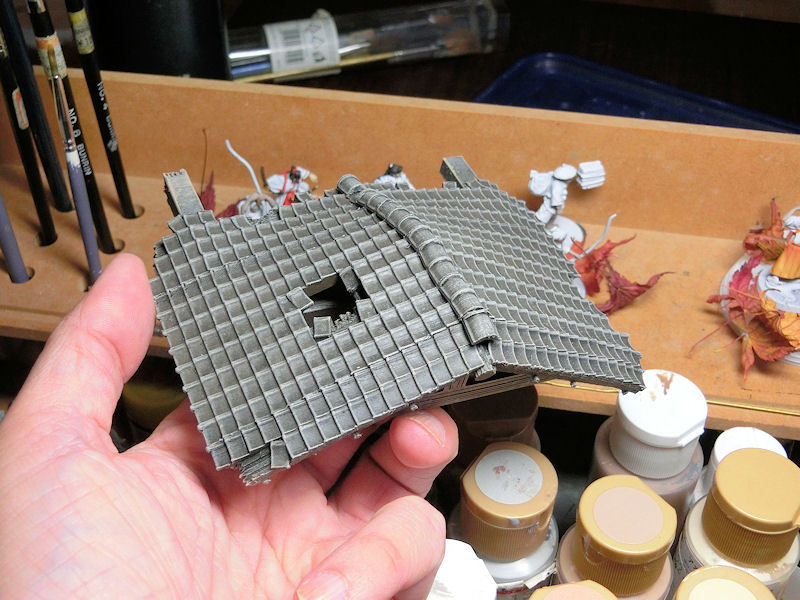
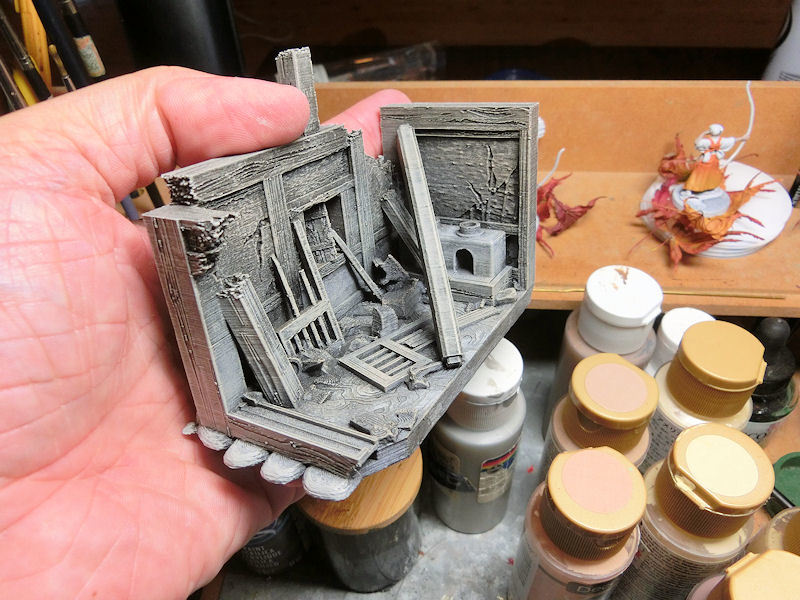
▲ Once the undercoats sprays had dried, I washed every piece with a heavy black wash. This naturally falls into all the crevices and corners, creating shadows.
After the wash had completely dried, I carefully drybrushed the rooftile edges with a medium grey, and then again with a very light grey.
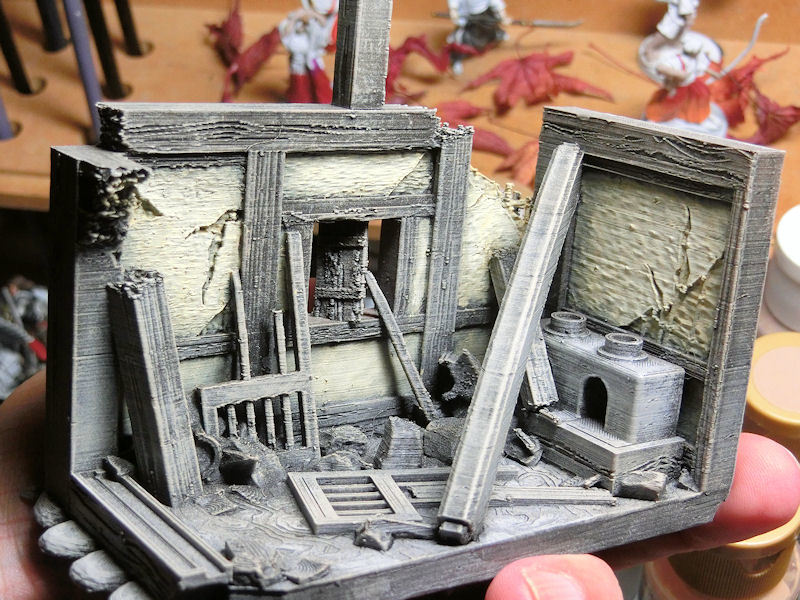
▲ Next it was time to drybrush the building sections with a light brown, on all exterior and interior walls and every piece of wood.
A second drybrush was done in very light grey, just on the very edges of the wood pieces and more heavily on the floors and lower exposed walls. Since it's a ruin, you don't need to worry about being too neat!
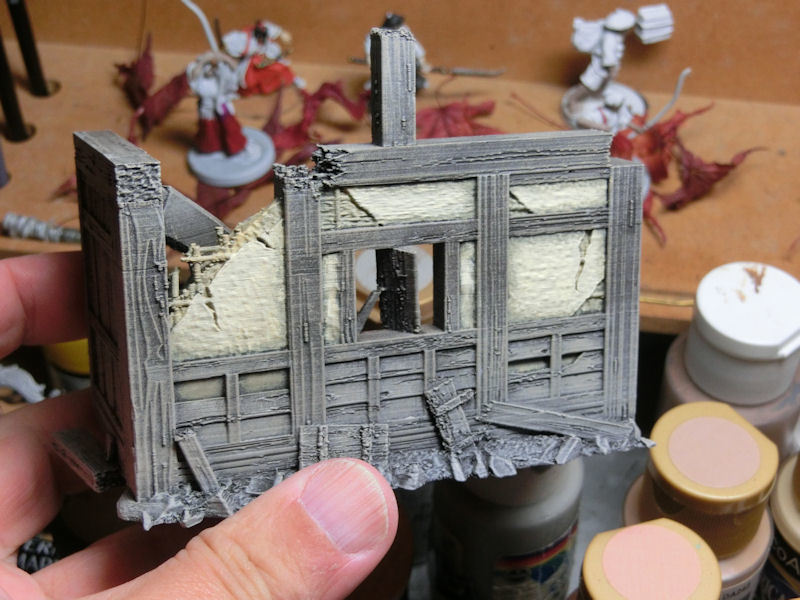
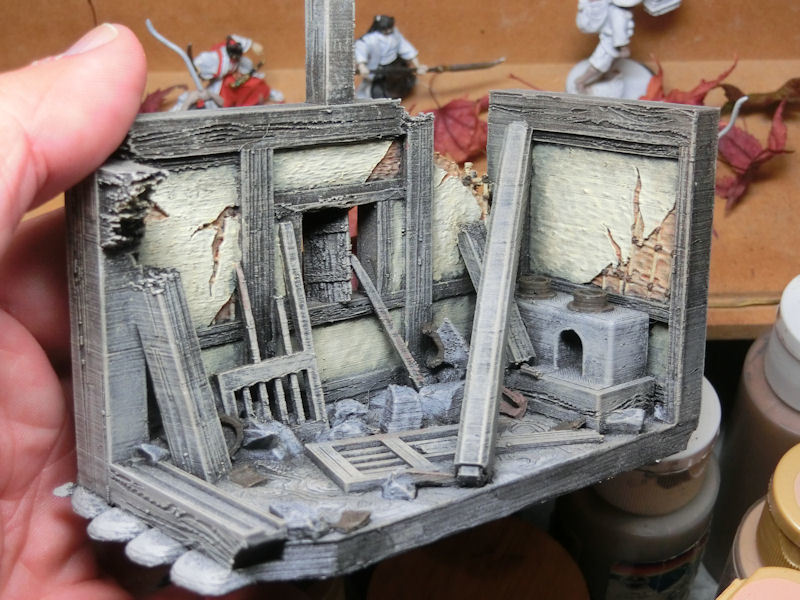
▲ It was time to move on to the wall panels, and I started with a light sand undercoat on the wall panels and internal dried mud and bamboo.
For the topcoat layers of wall panel, I roughly highlighted up with flesh tones to a light cream in the centre of each panel and on the broken edges.
At this stage I'd be perfectly happy to use it as a finished model on the tabletop, but there are a few simple tricks with washes to give it some extra age and detail.....

▲ First, wash those internal chunks of dried mud with a red-brown wash (Reikland Flesh), and then repaint the bamboo sticks in the light sand colour. You might also want to paint some dark grey dots on the rough string that ties the bamboo pieces together.
There are also a few roof tiles scattered around the model on the floor (inside and outside), which can use the same dark grey to pick them out.

▲ Green wash is your secret weapon to age this model!! It sounds odd, but roughly poke green wash into every corner and crevice, and along the bottom edge of the outside walls.
I even decided to use a little green wash on the bottom few rows of roof tiles, and under the central spine tiles.
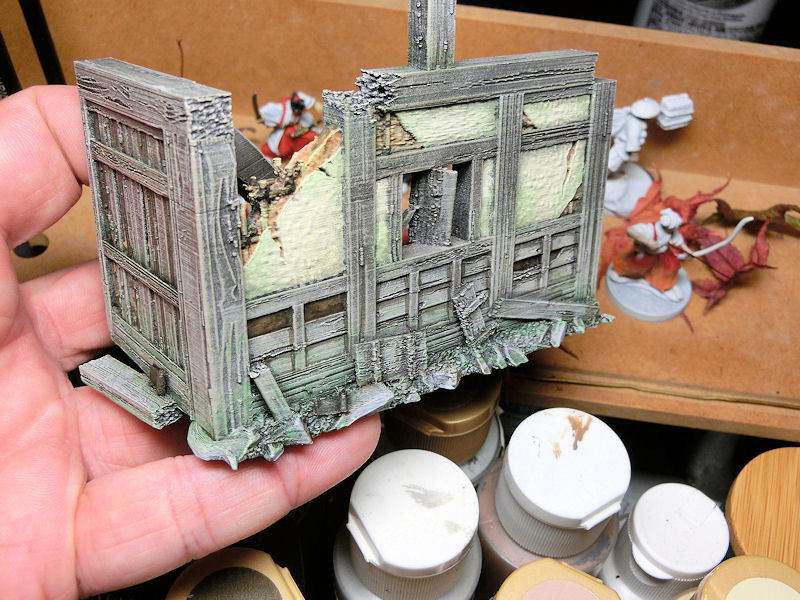
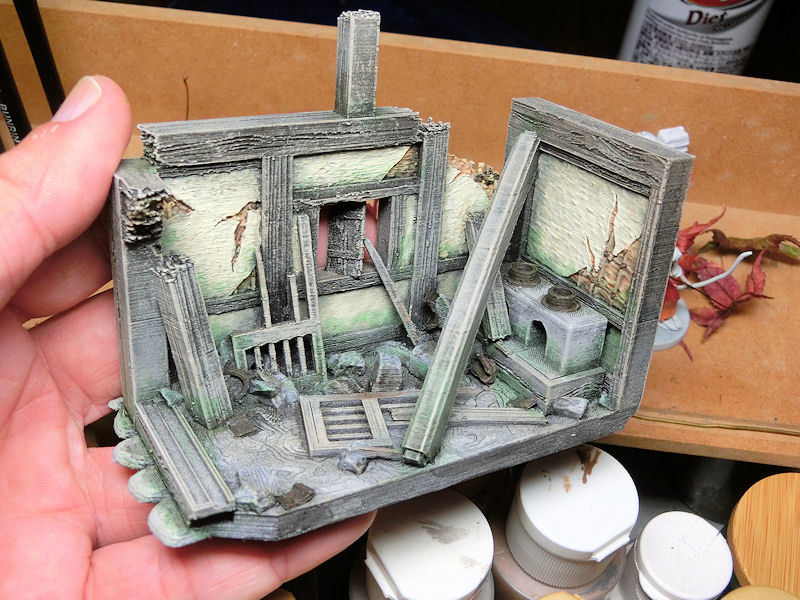
▲ Here's how it looks with plenty of green wash used inside and out. Rather like a Ghibli movie, right? Even the interior of the section with a roof will have green mould starting to take hold after a couple of seasons with water and creatures coming in.
Note that the stove tops are usually black or dark grey, and there's a broken wooden lid just next to the stove.
As a last touch, I went back and added a few lines of brown wash around some of the wooden wall panels, just to add a little more depth.
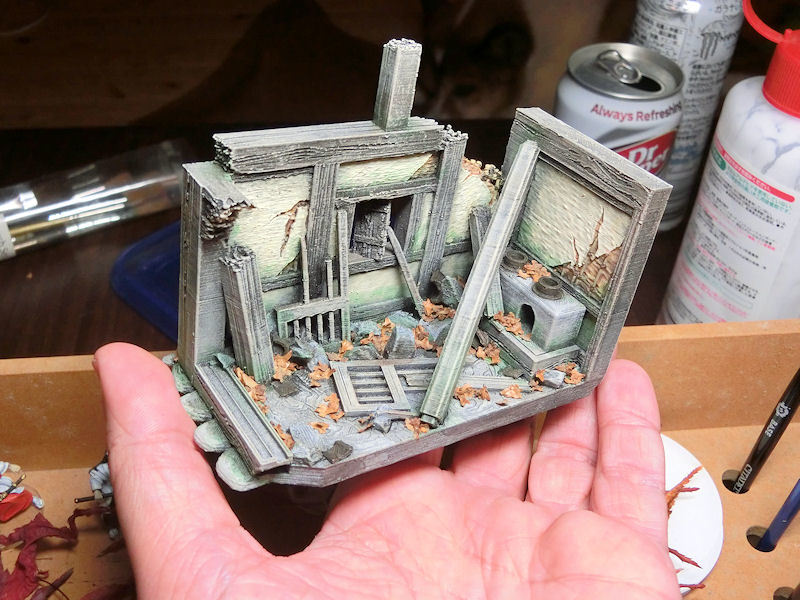
▲ If you have some of these little leaf-shaped herbs (sorry, not sure what type they are!), you might want to try scattering a few around in corners and crevices. I attached mine with PVA glue poked into corners with an old brush.
Alternatively, you can put some dried brown leaves in a blender and shred them to a suitable size.
And that's it - all done! This model will be ready for release tomorrow, so watch this space!
| << Printing & assembling the Ruined Hut 2022-11-30 | Samurai Ruined Hut available NOW!! >> 2022-12-07 |