3d-printable terrain for all your samurai wargaming needs


| << Designing the samurai ruined hut 2022-11-28 | Painting the ruined hut >> 2022-12-06 |
Printing the new Ruined Hut model was super easy, and assembly is almost as easy, too!
Let's take a look....
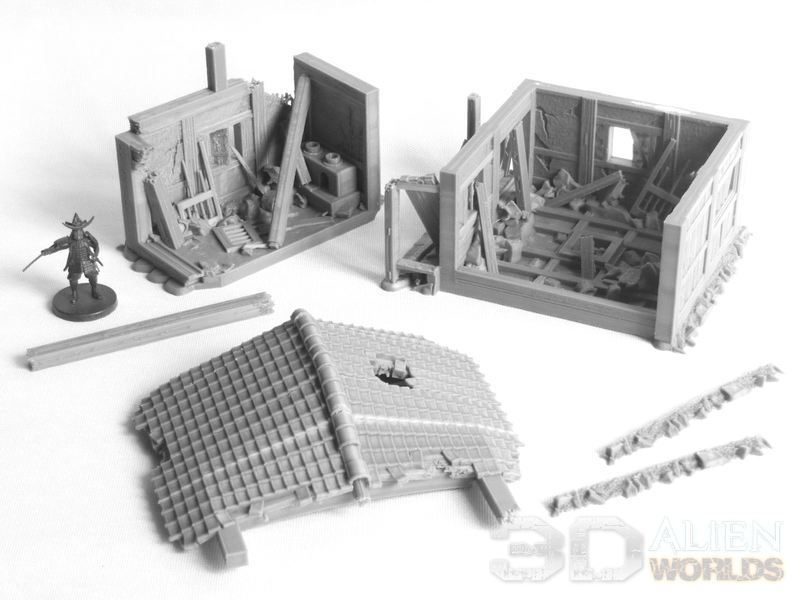
▲ Here are the contents of the Ruined Hut model files. The two building pieces print in one part each, and the roof prints in 4 parts. Everything should print fine without print supports!
Also included in the set is a broken wooden beam (shown on the left of the photo), and a thin rubble strip (shown on the right of the photo). They are optional parts, for anybody wanting to customise their models.
▲ The roof section prints in 4 support-free pieces, and assembles as shown in the photo above.
You can even miss out the middle section if you really want to create a shorter roof (perhaps useful if you are printing multiple models?).
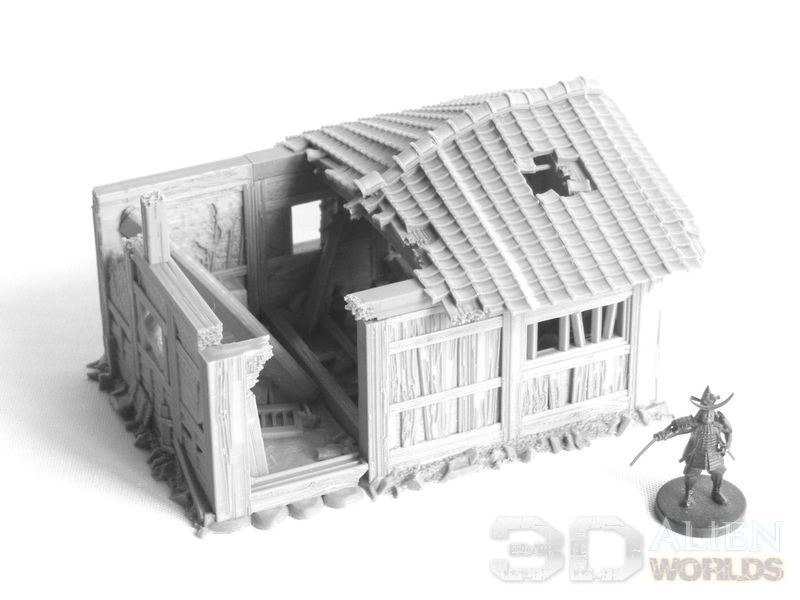
▲ So here is the completed model! Since I'm only printing this model once (my shelves are already groaning under the weight of too many other samurai buildings!), I decided to print at 0.1mm layers rather than my normal 0.2mm layer height. And I have to say the added day it took was really worth it - there are so many awesome little details in this model that it's well worth printing at high resolution if you have the time to spare?
You can see that half of the roof has collapsed inwards, and some of the roof tiles are scattered on the floor inside. The front doorway frame has also broken off, and the splintered doors are in pieces inside.

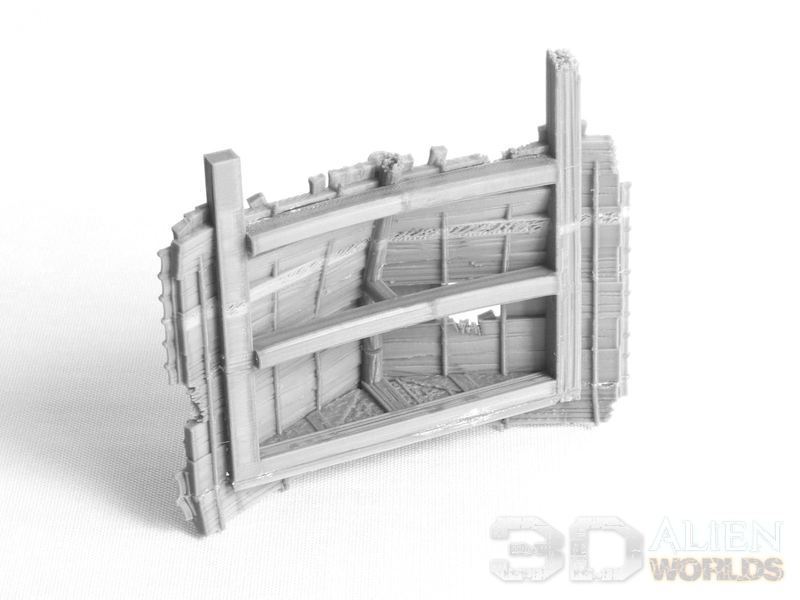
▲ The rear of the farmhouse features this detailed balcony framework, which has completely fallen apart. All the windows feature smashed shutters and frames, and these give excellent vantage points for archers and gunners.
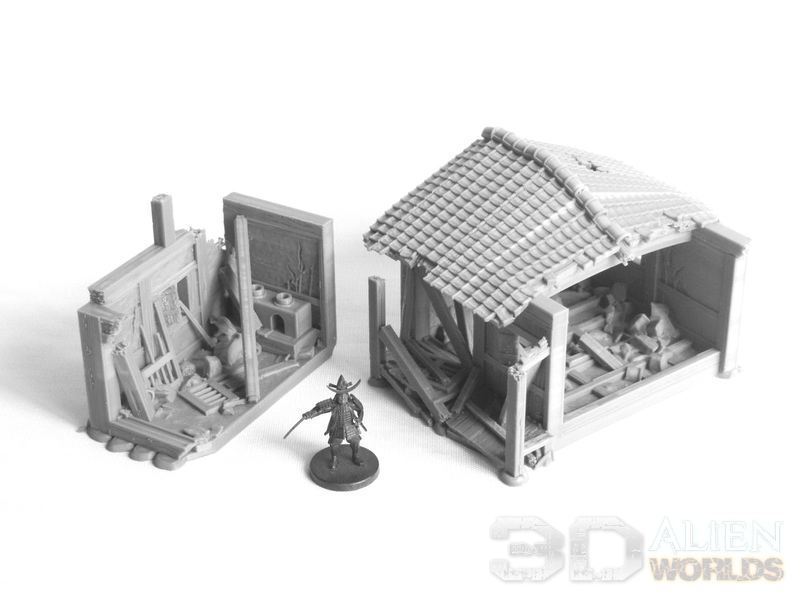
▲ You might find it useful NOT to glue the two building pieces together, as this gives you the option to use the model as two separate terrain pieces.
The roof piece is carefully designed to only cover one half of the building, just for this reason.

▲ I printed two of the optional rubble strips, which can be placed (or glued) against the flat join lines of the two sections, as in the photo above. That way, the two terrain pieces should blend better with your tabletop!
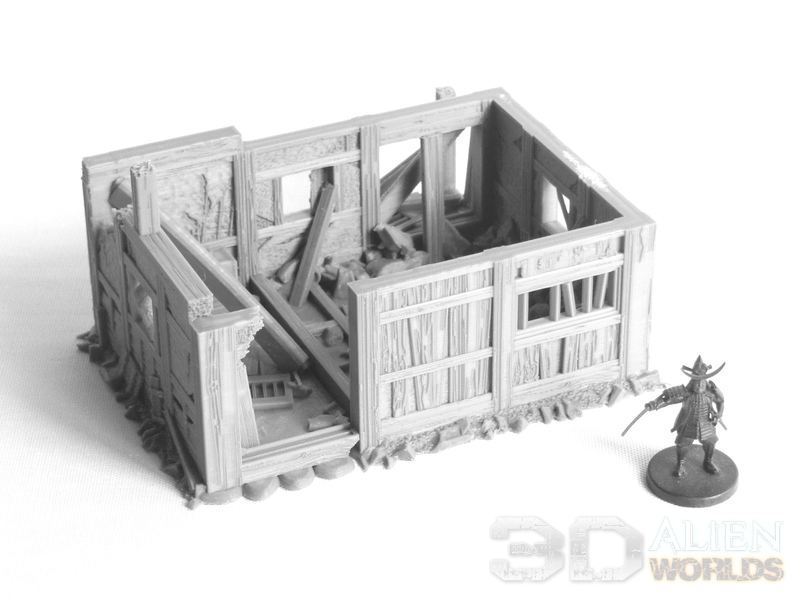
▲ You can always leave off the roof section (or remove it during play) for full access to the interior - and it's a pretty fabulous interior!!
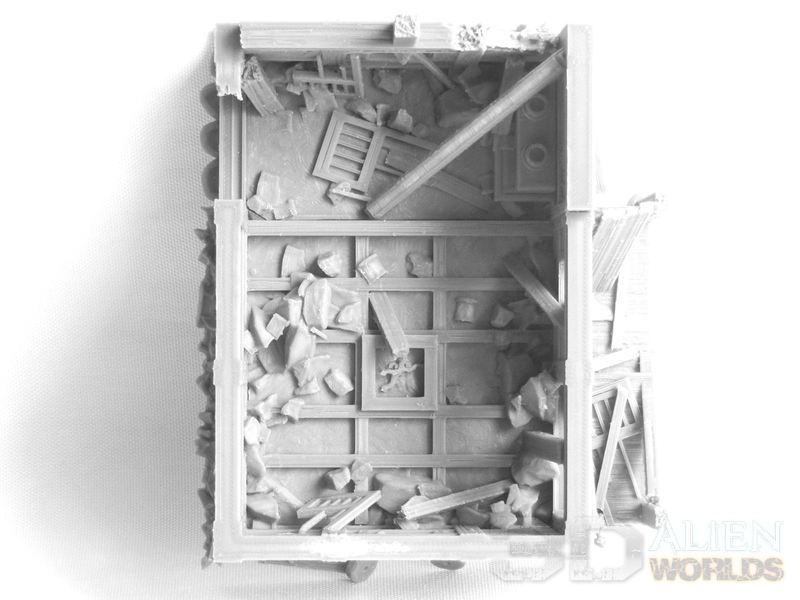
▲ Here's a top-down view of the interior. You can see the genkan (entrance area) at the top with its cooking stove, and the central firepit and floor beams in the room area. The tatami mats would have rotted very quickly, so now the floor is just a mess of rock and wood debris.
So that's it - a fairly flexible multipart ruined hut model that adds great detail to any battlefield. This will be hitting the paint desk today, and should be ready for release early next week!
| << Designing the samurai ruined hut 2022-11-28 | Painting the ruined hut >> 2022-12-06 |