3d-printable terrain for all your samurai wargaming needs


| << Samurai Battle Report - Blood Wedding 2021-09-09 | New temple pagoda video added >> 2021-09-23 |
With two new 3D printers sitting in their new custom-built enclosure, it's time to get printing on some of the new designs we've been previewing over the last few weeks!
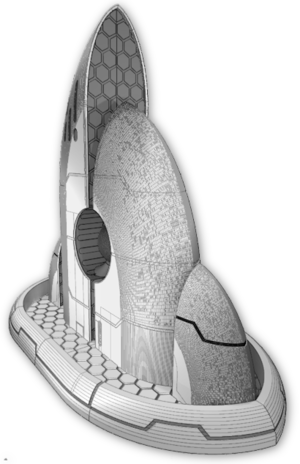
First off the printer is this set of Rooftile Panels for the samurai range, and it seemed a good idea to show you exactly how versatile they can be for your old card or MDF buildings...
£ The set contains two full sets of panels - SIMPLE rooftiles (for houses) and FANCY rooftiles (for temples, pagodas etc). For this assembly guide we'll be using the fancier versions as an example.
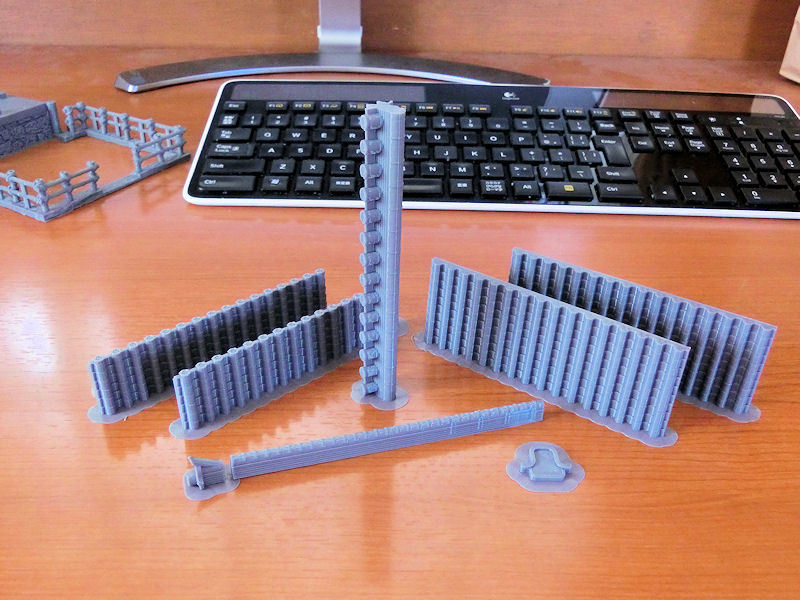
This photos shows the various parts of the set, straight off the printer bed. The large panels of tiles should be printed vertically as shown, and for this we would recommend printing with a brim to prevent them from falling over as they print.
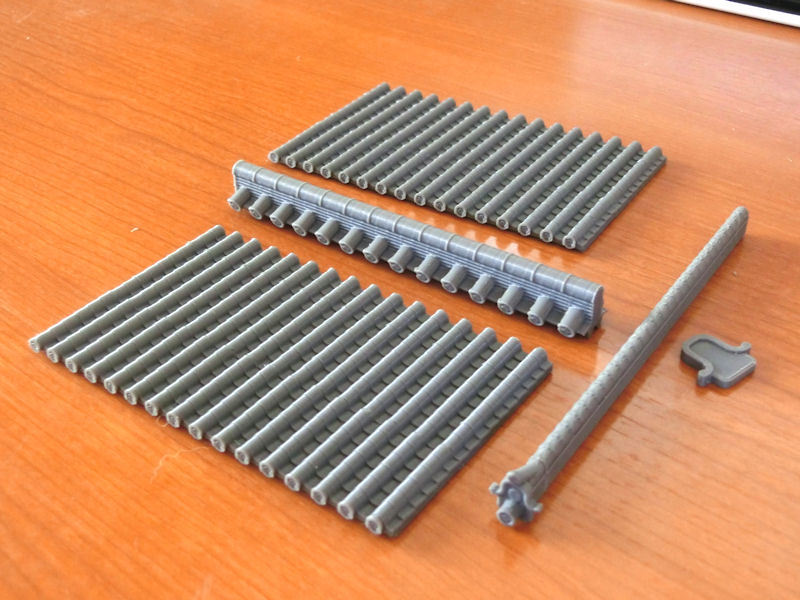
£ After the brims were removed, I glued each edge panel to a matching main panel, as shown above.
I also glued the end of the corner strip (that part with the 'ears' in the centre foreground) to the long corner strip.
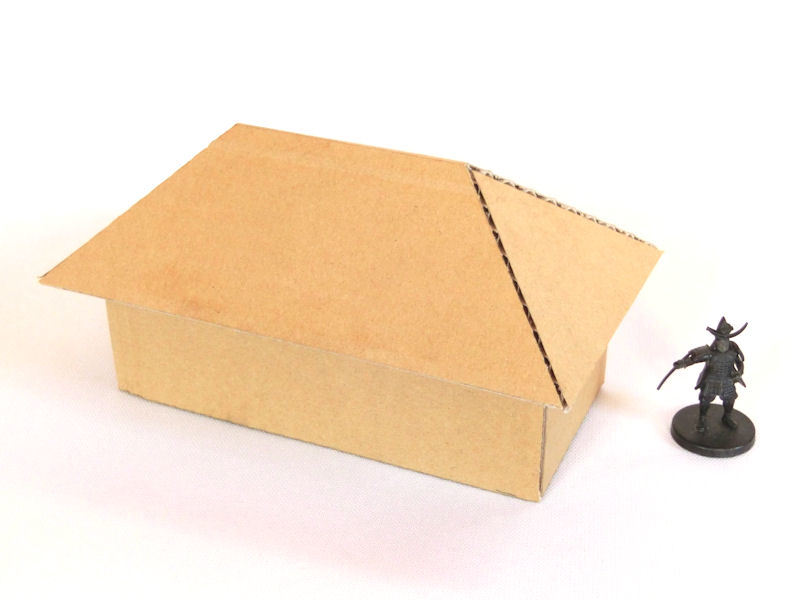
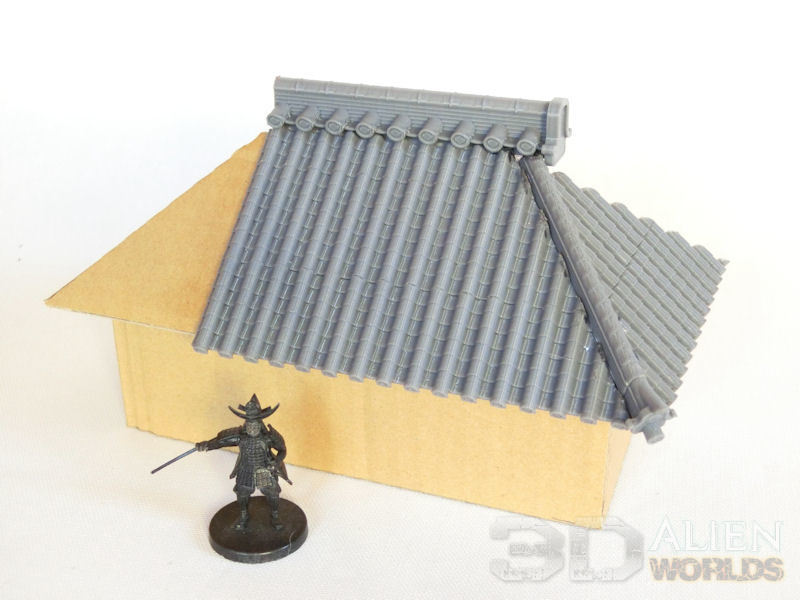
£ Here's our example building, made from spare cardboard. You can also use MDF buildings you already own, which are in need of more realistic roofing!
For your reference, those roof sections are 60mm from top to bottom, which will be neatly covered by the 65mm rooftile panels (when a main panel is glued to an edging panel). The triangles were cut at 45mm from each end on this example building, but shallower roof shapes will work equally well.
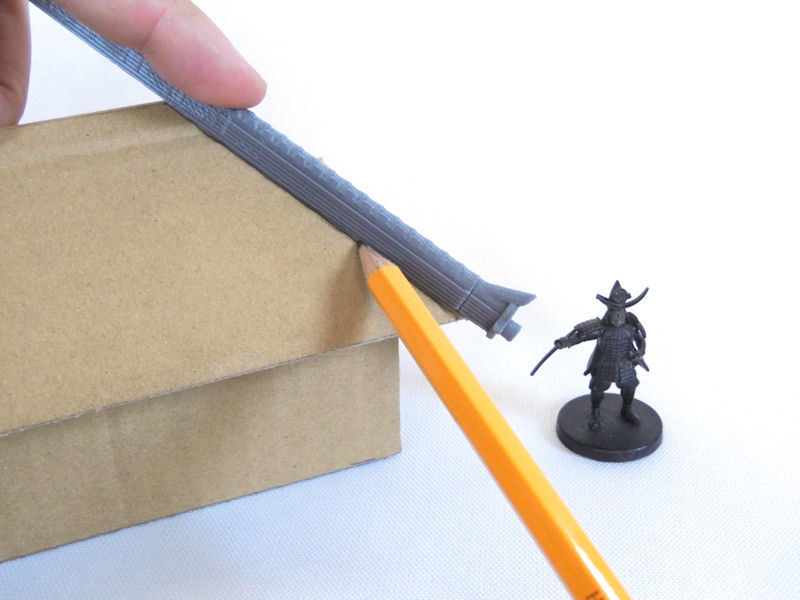
£ Start with the corner diagonals. I placed the corner ridge strip on the join of the two surfaces, and marked both edges with a pencil.
£ Next, mark the big panel along the pencil lines from the previous step and carefully cut. You might find it helps to cut at a slight angle or sand it down later.
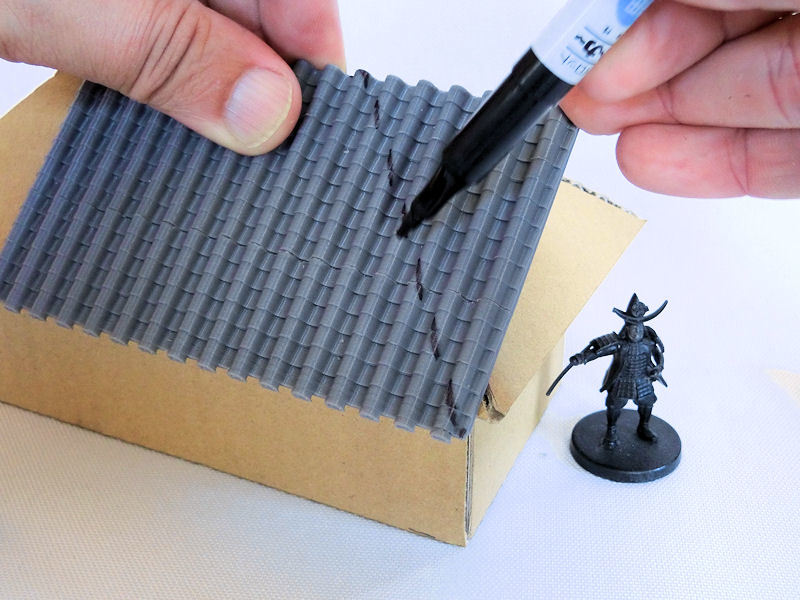
£ Repeat the previous step for the other side of the corner, by marking and cutting the panel. I would recommend that you don't glue the ridge strip in place yet, as you will need to cut it to length later.
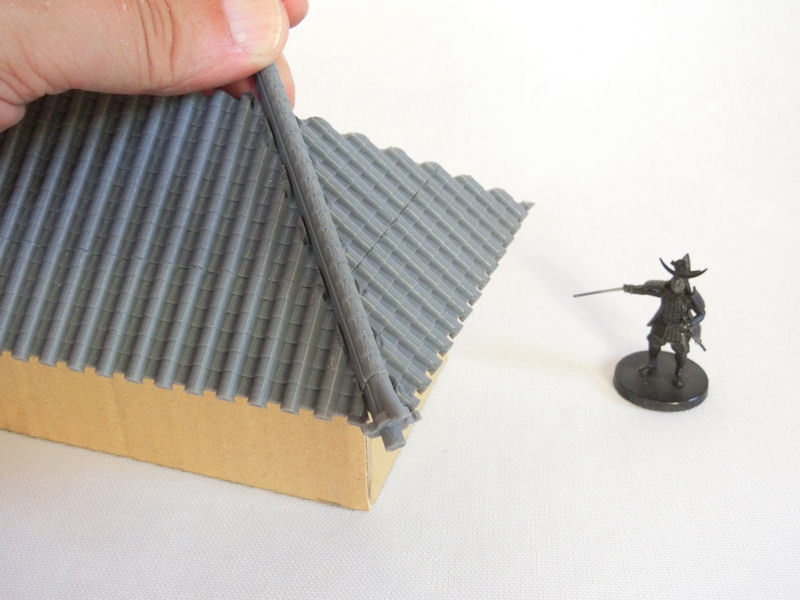
£ Carefully cut the corner ridge strip to the correct length, to allow the roof spine to sit in place. Take it slowly, and remove small chunks at a time, and keep dry fitting until you're satisfied.
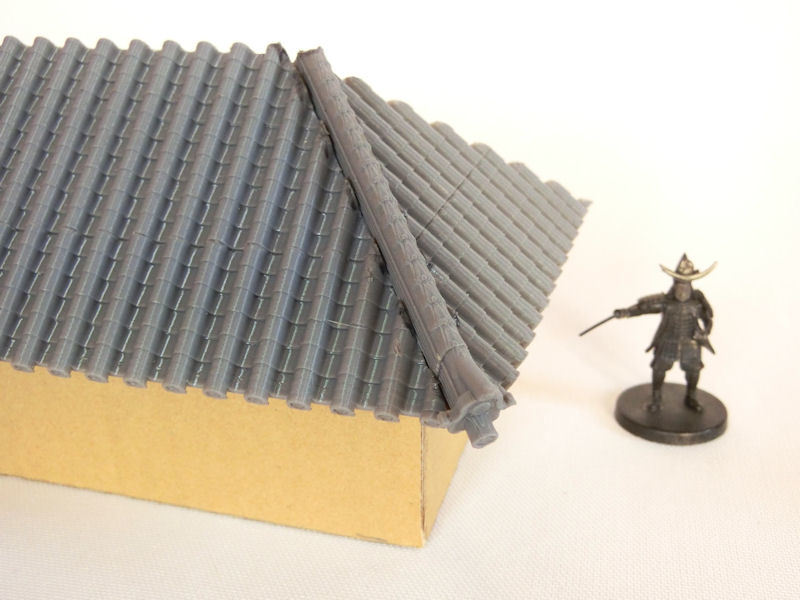
£ Lastly, glue the top spine of the roof in place, and add the end cap.
Repeat this for all 4 corners of the roof, and don't worry too much about small gaps - they can be filled with greenstuff or putty if necessary, and nobody will notice once the model has been painted!
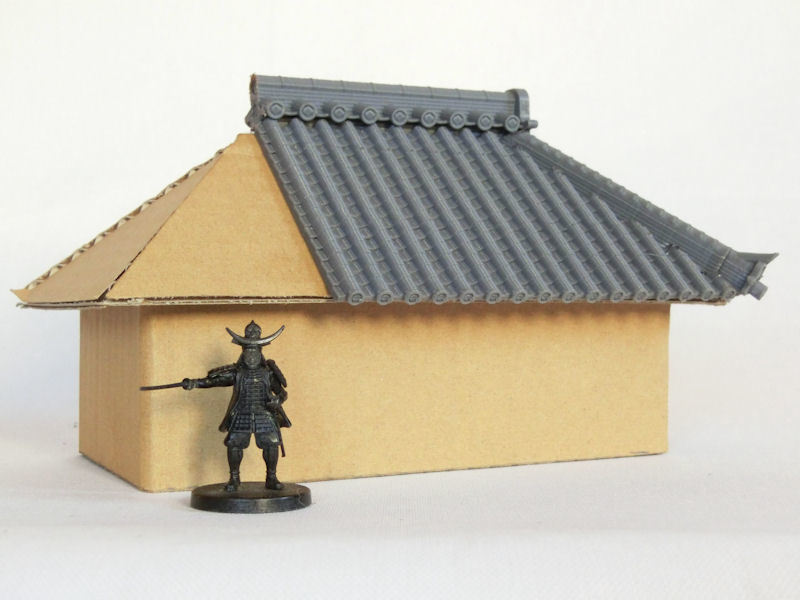
£ It's a great improvement over a flat cardboard or MDF roof, right?
This example roof shape will be getting painted up tonight, and the set will be available for download in a few days! Watch this space...
| << Samurai Battle Report - Blood Wedding 2021-09-09 | New temple pagoda video added >> 2021-09-23 |