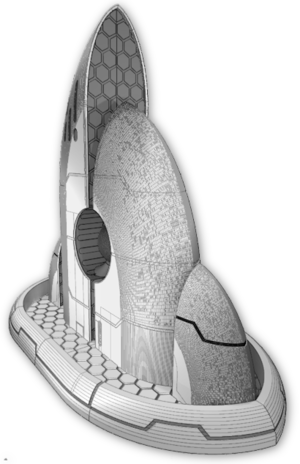
3d-printable terrain for all your samurai wargaming needs


| << Printing the Pagoda PART 2 2021-08-11 | Samurai Temple Pagoda available NOW! >> 2021-08-13 |
The new temple pagoda might be a very tall model, but you don't need to be daunted by painting it! With the liberal use of spray can undercoats, washes, and drybrushing, you can achieve very good results very quickly.
From start to finish, this building took maybe 12 hours for me to paint.
There are 4 main parts you need to deal with, so we'll start with the stone base...
1. Stone base: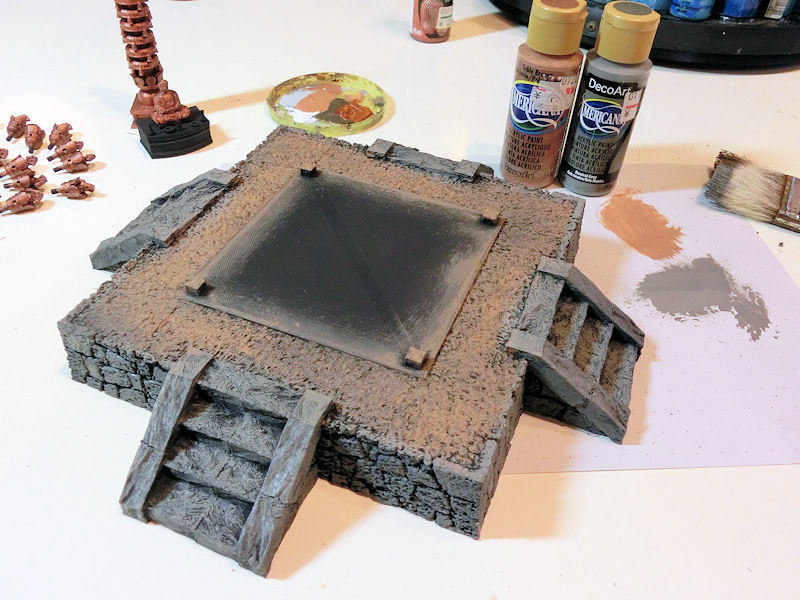
£ Starting with a matt black spray can undercoat, I roughly painted in the stone areas with Neutral Grey and the earth area in Sable Brown.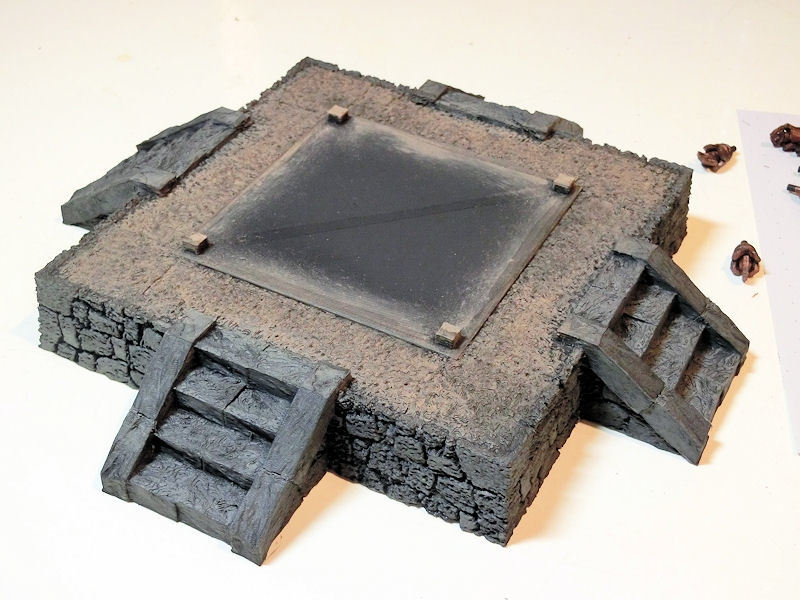
£ Next was a black wash, using my homemade wash mix - mostly distilled water and black ink, with some matte medium mixed in. Saves lots of money!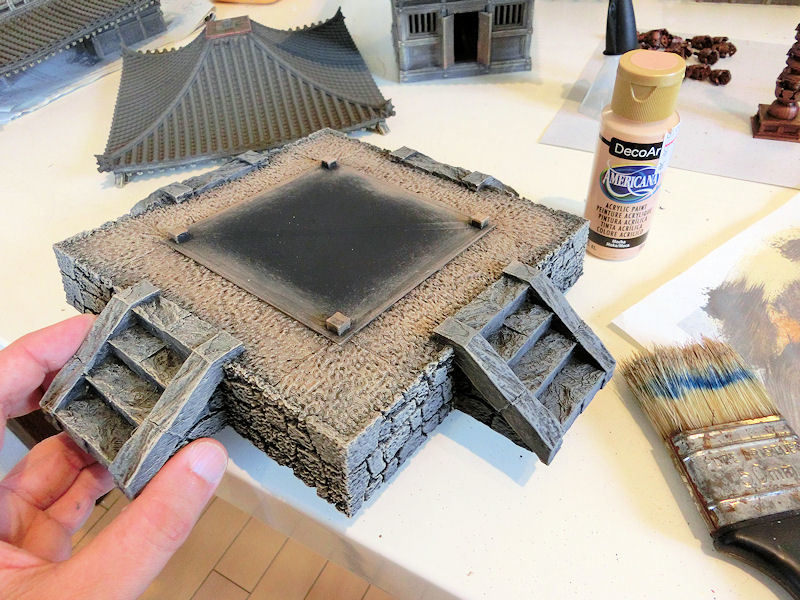
£ Next I pulled out the big brush and drybrushed the stones in Neutral Grey again, and the earth areas in Mocha. You don't need to worry about being neat here! 
£ Final drybrush was in a light grey paint, to bring out the edges of the stones.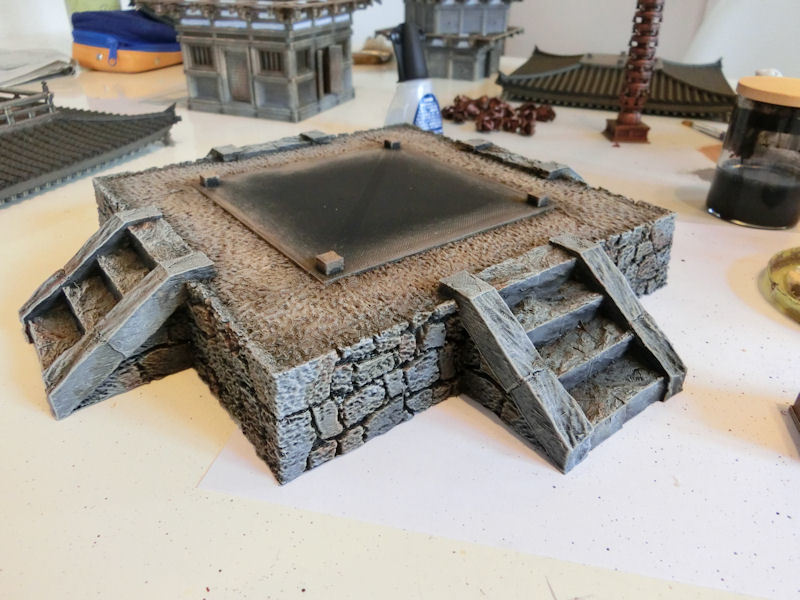
£ Last step for the base was to add some colour washes to random stones - brown, red-brown, and sepia. The bottom edge and the nooks and crannies were then roughly dabbed with green wash to create a sense of age (but I forgot to take a picture!).
2. Wood rooms: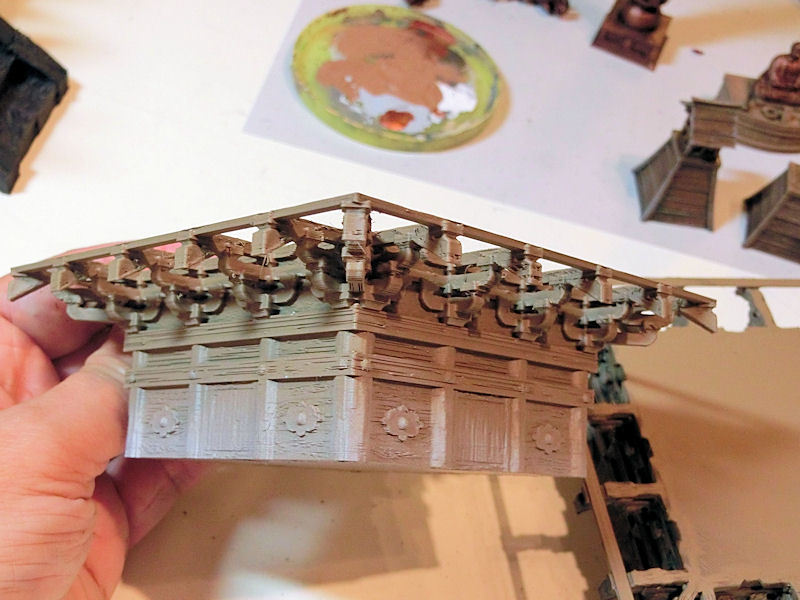
£ All the room levels were given a spray undercoat in matt brown, and the bottom edge of each piece was also given an extra spray of light grey. This was to simulate the wood fading from sun and rain over the years.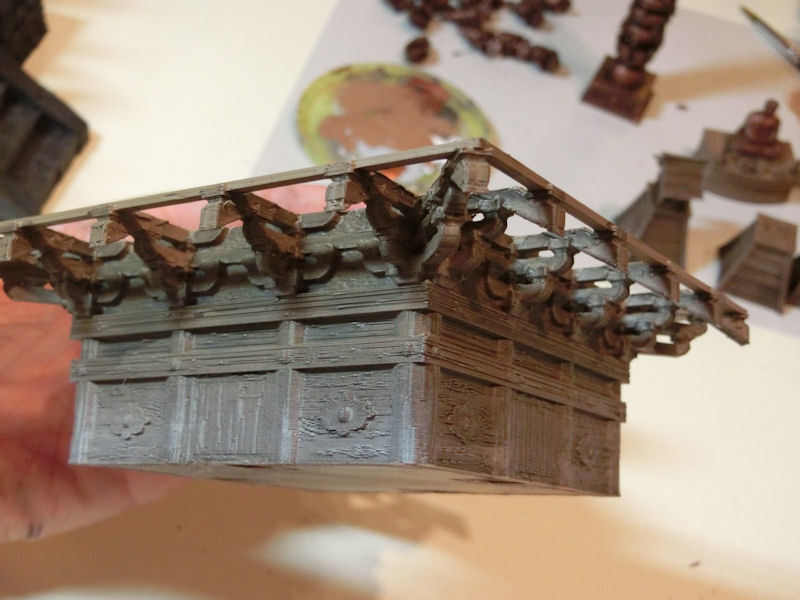
£ Each sections was then washed in black wash, although I wish I'd saved time and used a dip instead of a brush!
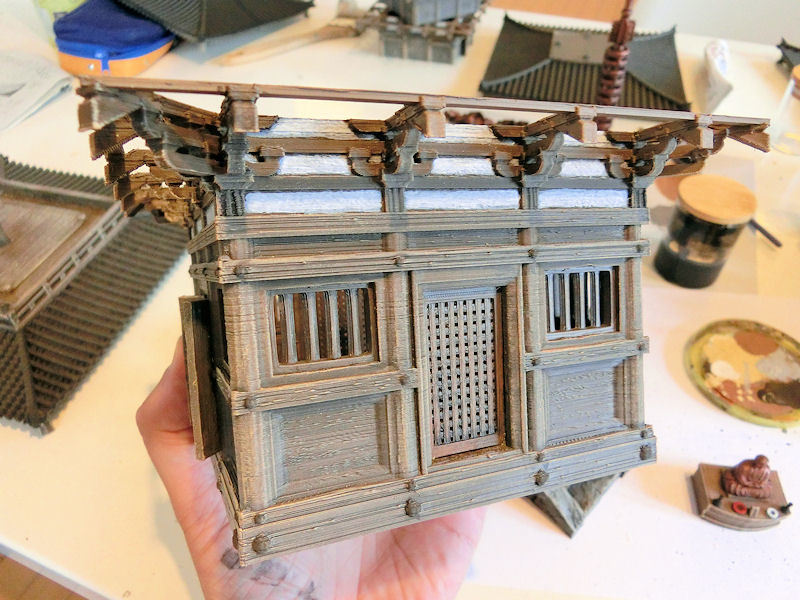
£ When the wash had dried, I used a big brush to roughly drybrush the edges with a Sand colour paint. The upper stucco panels were painted in light grey with a smaller pointed brush.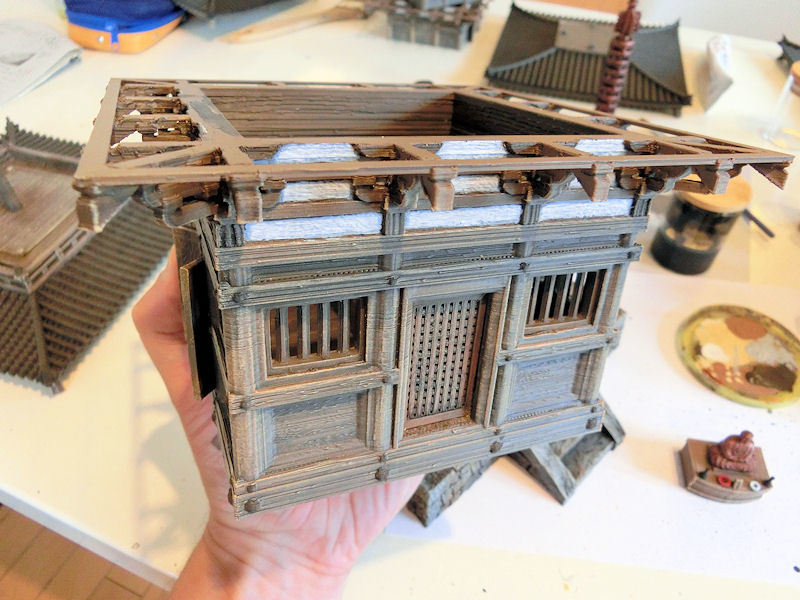
£ The upper panels were then highlighted with a bit of white paint. For one last step I went back over each room section, adding a little extra black wash shading along edges and where shadows would normally fall.
Oh, and studs were painted in a dark charcoal grey and then given a black wash. Easy!
3. Roof sections: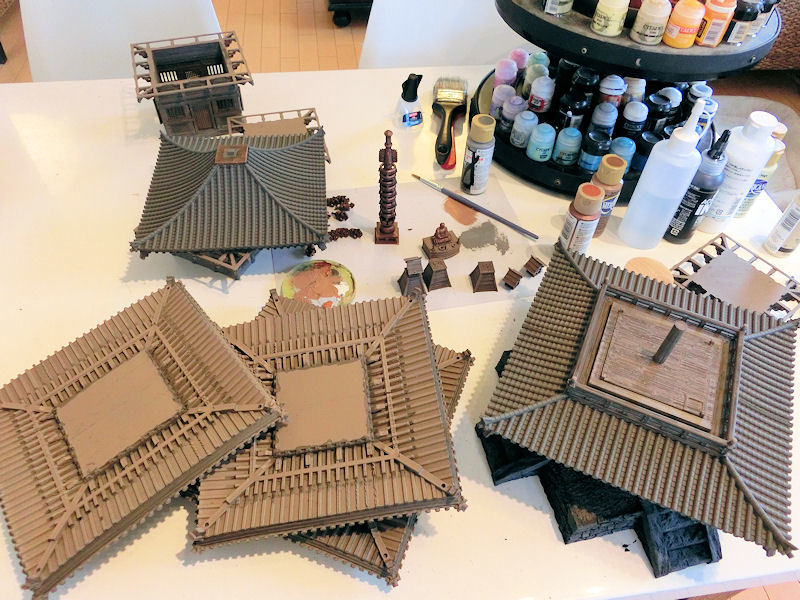
£ The underside of each roof section was given a spray undercoat of matt brown, and then pieces were flipped over and the top sides were sprayed in a charcoal grey.
Since these are the undersides and not very visible, I decided to save time and not cover them with black wash. Instead, I skipped ahead to drybushing the edges in Sand with a big brush, in the same way as for the room sections. That was enough to pick out the edges of the supports, and looked fine to me.
£ With the undersides completed, I flipped the roof pieces over and washed them heavily with a black wash. I suppose a spray gun would have saved time, though!
This looks very dark, but actually dries slightly lighter. Nevertheless, it does a good job of shading the recesses of each tile quickly.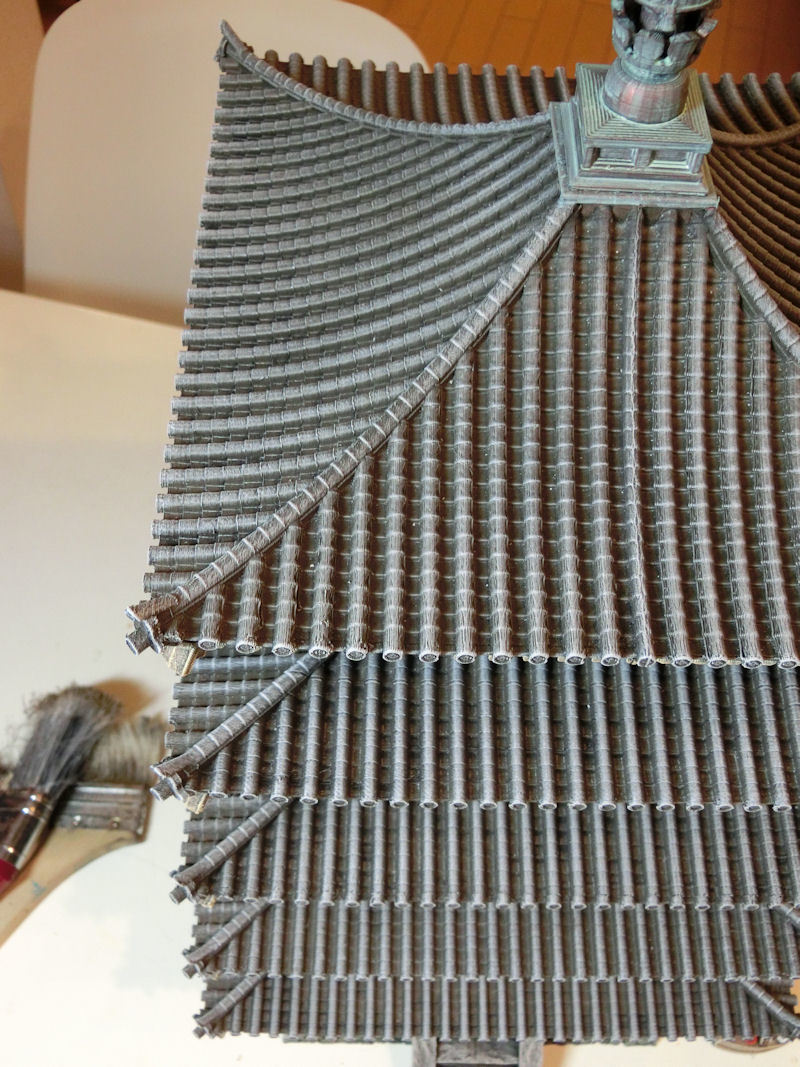
£ When the wash had dried, I pulled out my big brush again and drybrushed each section carefully in Neutral Grey, and then again very gently in light grey. I was quite happy to take this slowly and uniformly, and watch the paint pick out the very edges of each tile.
4. Copper metals: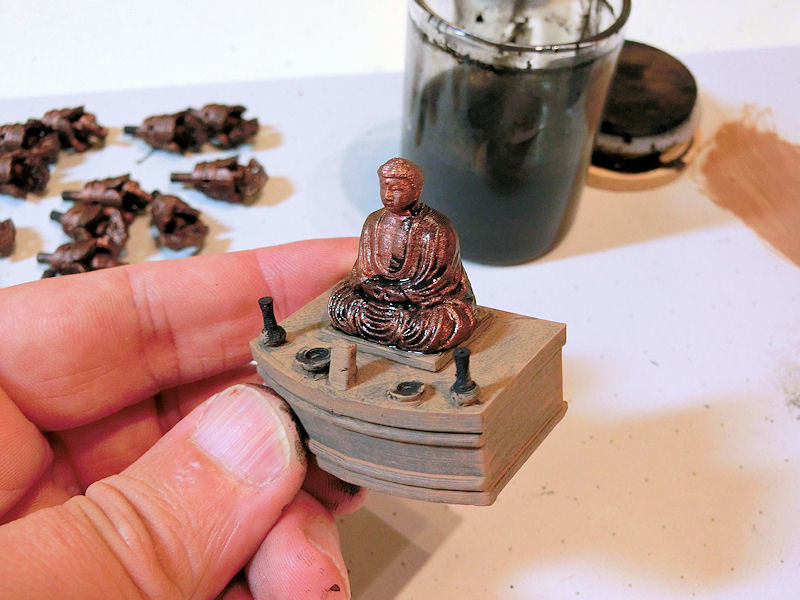
£ My pagoda was looking quite authentic by now, but also quite subdued in colour, so I wanted to brighten things up with copper for the metallic sections. Of course copper is only bright pinky-orange when it's new, and over time it changes to a unique green patina called verdigris.
This was my first attempt at doing verdigris, so I checked some reference photos and then went to work....
I started by painting metallic pieces (like the buddha statue, pictured above) with a copper acrylic paint, and then heavily washed with black to dull down the metallic and provide shading.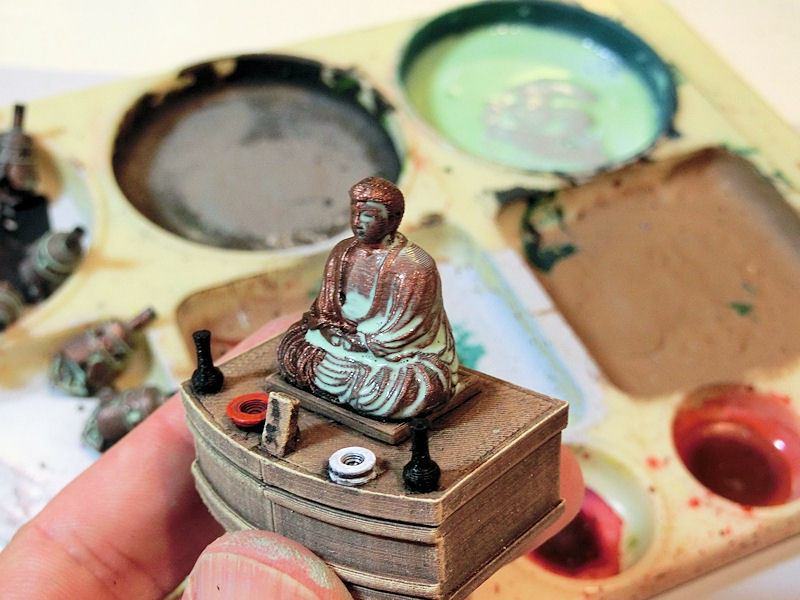
£ Next came the verdigris. This was a very light green paint (mint green?) mixed with water to the consistency of watery milk, and then brushed on liberally.
After the first coat had completely dried, I decided to paint it one more time with the verdigris mixture, to give it a thicker coat and make it brighter.
£ After everything had dried, this was the end result! The copper was still visible, but not too bright. Instead, the verdigris had pooled in just the right places, and looked suitably ancient!
The other items on that table are a couple of vases (with sponge glued on top and dabbed with pink for flower petals), a wooden name stand, an offering bowl (the red one), and the white one would be the incense ashtray.
£ There are 20 bells on this pagoda, and they also got washed in the verdigris solution twice each. I only glued them onto the roof sections when everything was fully painted.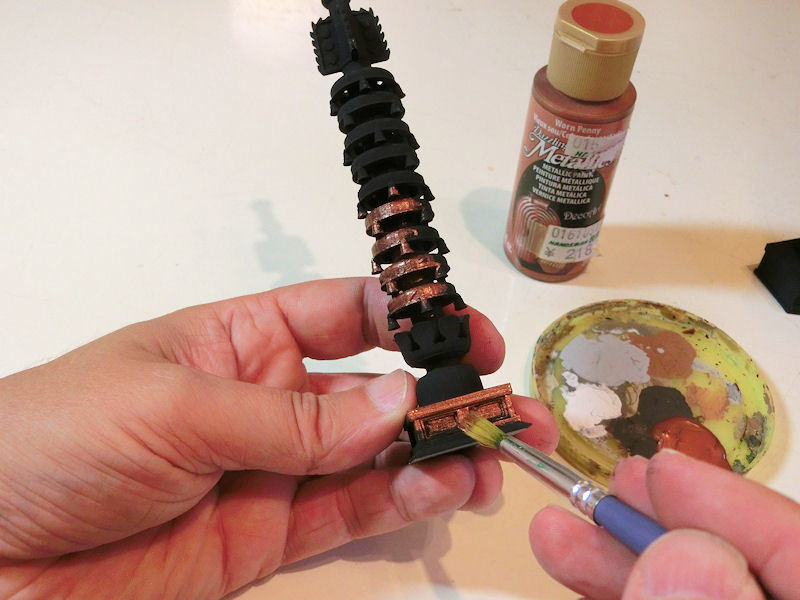
£ The top spire was the last section to be completed, and as for the other metallic parts it was given a matt black undercoat and then thickly painted with copper acrylic.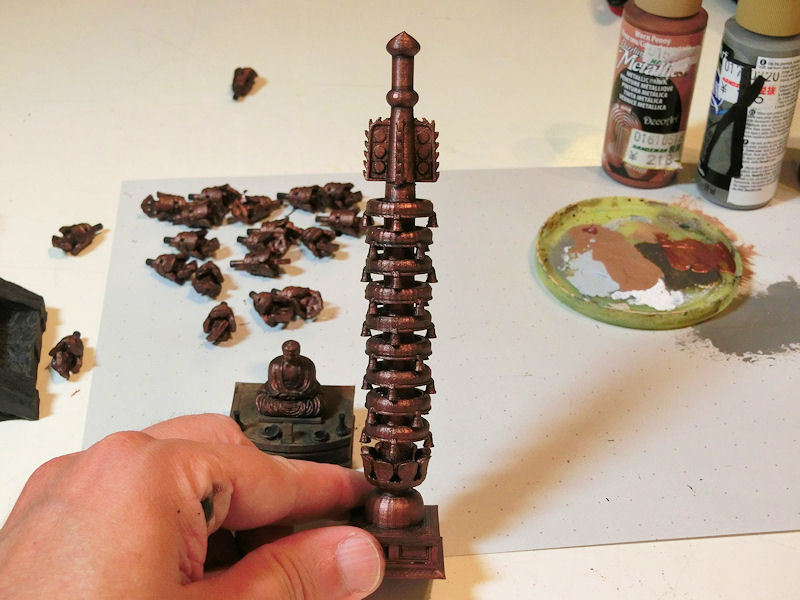
£ A heavy black wash gave it a good bit of shading and dulled down the copper.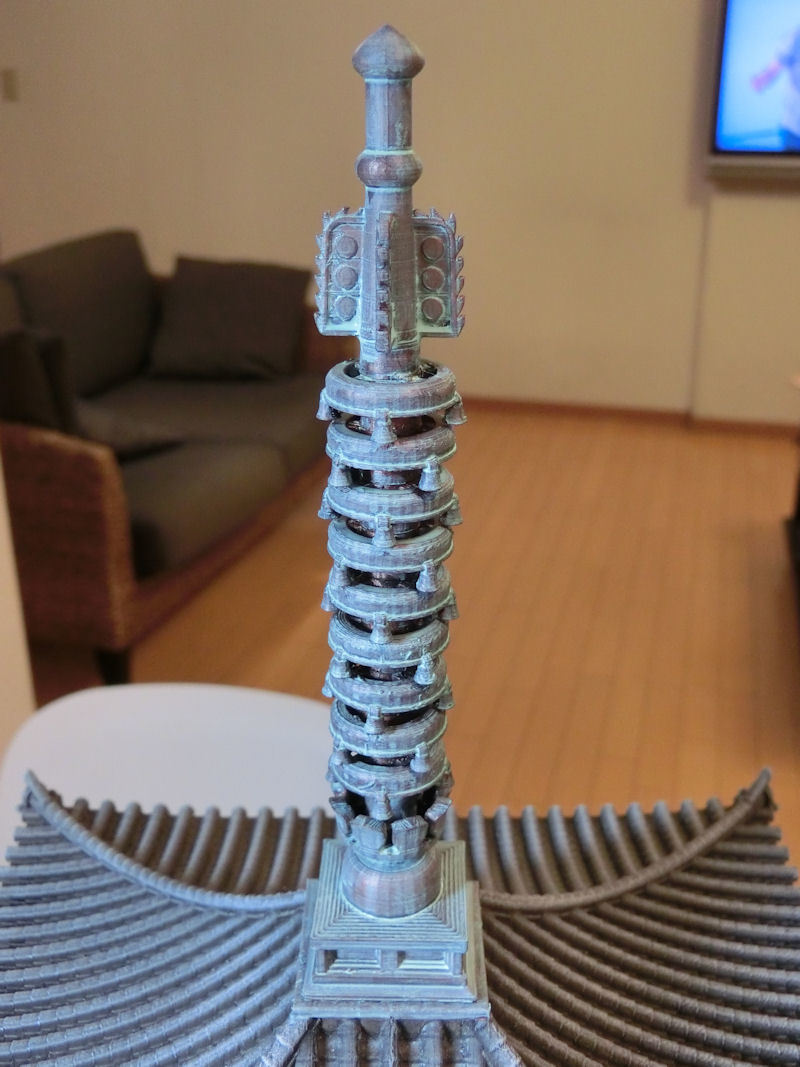
£ Finally, 2 washes of verdigris got it looking as I imagined copper would age, if it were sitting at the top of a massive pagoda for decades in the wind and rain!
With that, the pagoda was complete! Hurrah!
| << Printing the Pagoda PART 2 2021-08-11 | Samurai Temple Pagoda available NOW! >> 2021-08-13 |