3d-printable terrain for all your samurai wargaming needs


| << Printing the temple statues 2021-06-06 | Assembling the samurai temple outer gate (2nd level) >> 2021-06-09 |
The upcoming Temple Outer Gate building is quite a large model, so we're going to split the build instructions into 2 blog posts. Thankfully it's not quite as scary as assembling the 5-level castle, though!!
Here's the first half of the build - a guide on how to print and assemble the first level of this two-storey building.....
For reference, all these pieces were printed at 0.2mm layers, with 5% infill, on an FDM printer. Apart from the statues, NO print supports are required for any of these parts.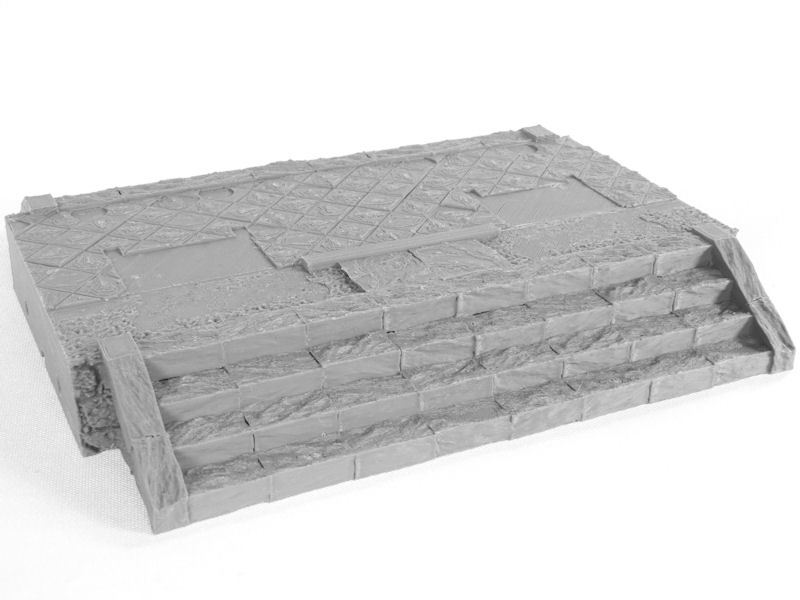
£ All the parts for this temple outer gate building can be printed on a 125mm² printer bed, but if you're lucky enough to have a larger print bed you can choose to print the combined pieces instead (also included in the download set).
The base section for the gate building is 240mm wide in total, and I printed this in one piece.

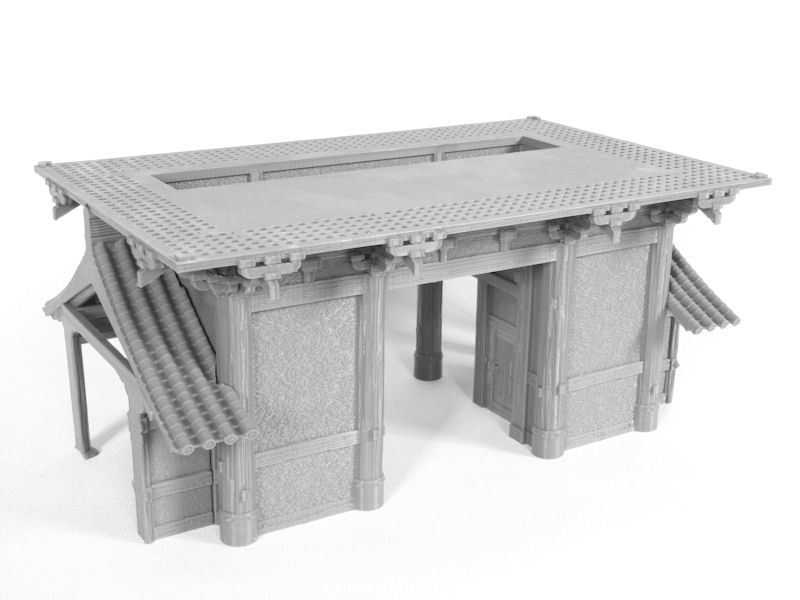
£ Next you'll need to print the main sections of the first level, all upside down. There are 4 of these, but again I was able to print the combined model.
Please note that there are 2 built-in print supports on the model (circled in red in the above photo, holding up two thick beams), and these should be removed during assembly, as shown.
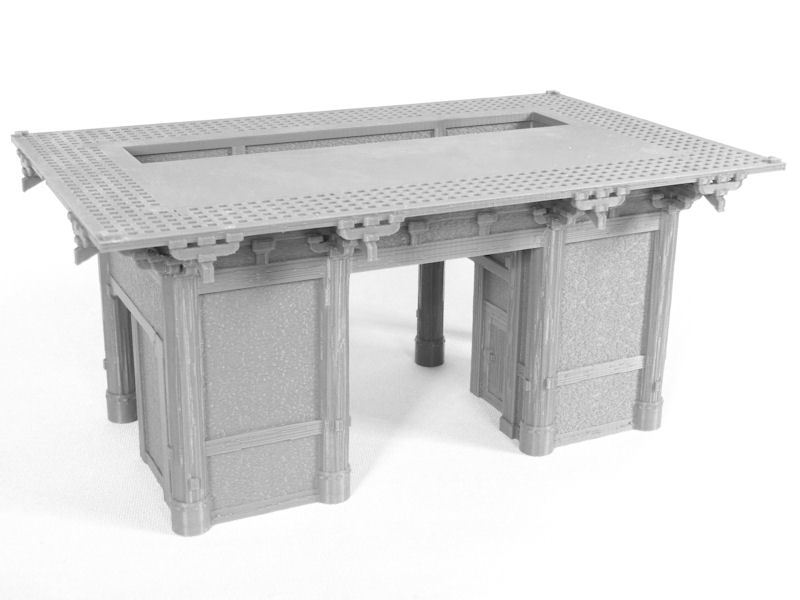
£ This is what the main section looks like when assembled. There are also 4 tiny joining pieces glued on the top - one in each corner. These are helpful in lining up this level with the next level correctly, but they are not essential.
£ You could use this gate building as a stand alone building without the base section or adjoining pieces if you prefer, but if you are using the base section, then you will need to print these small side pieces. They connect with other straight or corner pieces from the Temple Walls set.
As usual, these do not require print supports either!
£ This is how those two side pieces look attached to the main building. I would advise you not to glue them on just yet, as it will be much easier to paint as separate pieces.
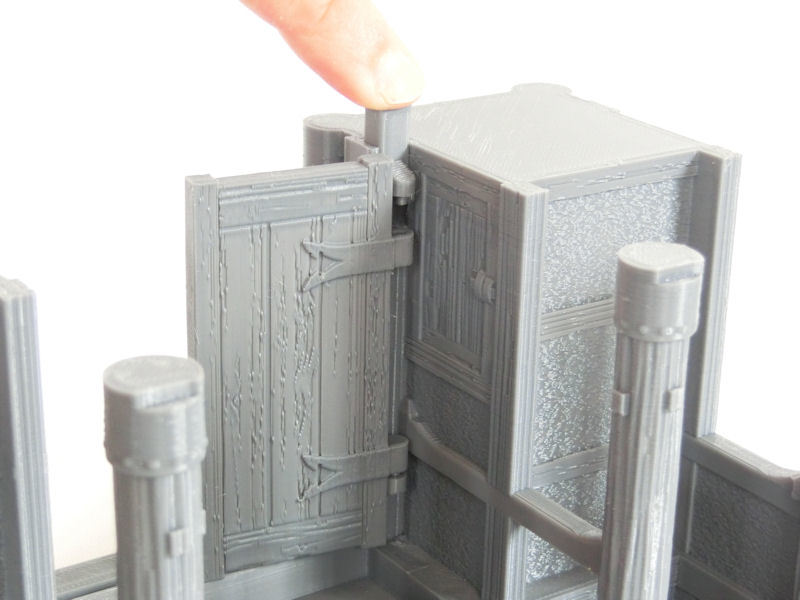
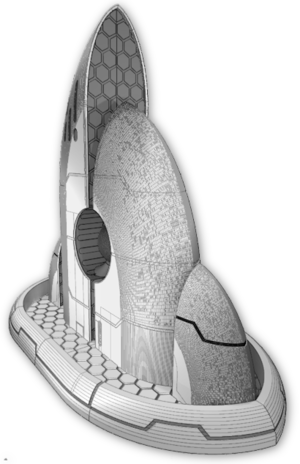
£ Next you'll need to print the two massive gates and the two matching hinge posts. Turn the building upside down, carefully slot a gate into the top hinge (which is at the bottom of the photo, because it's upside down!), and then you can gently push the hinge post into the slot to attach the gate firmly.
These can be swung opened or closed during gameplay, or you could glue them permanently open if you prefer.
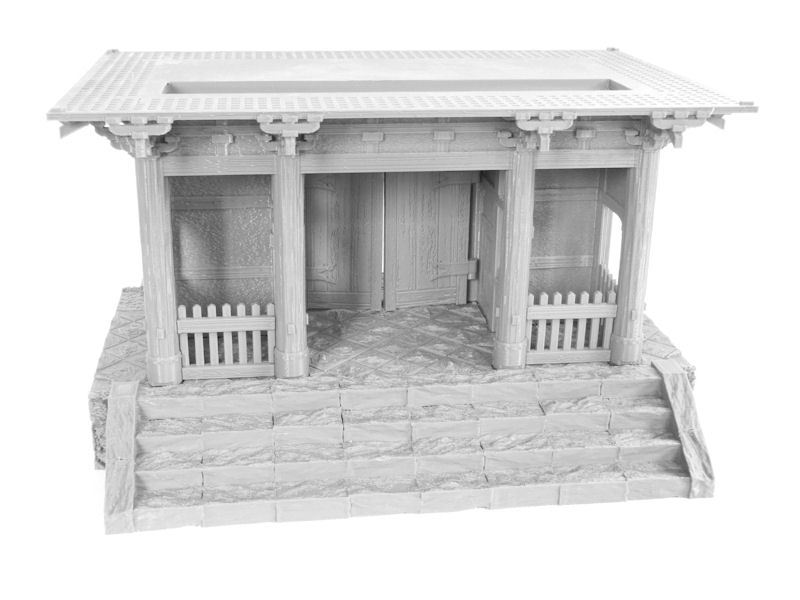
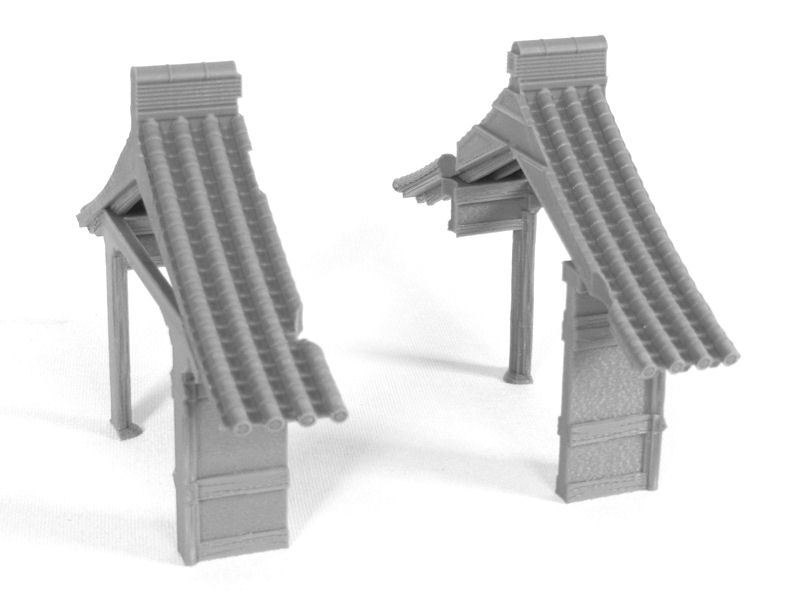
£ The last step for the lower level is to print the two sets of fences, for the statue bays.
I recommend you don't glue these in place yet, as it will be much easier to paint the bays without the fences attached. Also, please remember that the posts fit into the 1mm-deep slots on the base, so your fences will probably be about 1mm higher than the bottom level of the posts - so please glue the fences after you've attached the base!
Part two of the build, and some completed model photos, coming in the next blog!
| << Printing the temple statues 2021-06-06 | Assembling the samurai temple outer gate (2nd level) >> 2021-06-09 |