| << Assembling the castle : level 5 2020-11-10 | Assembling the castle : level 3 >> 2020-11-25 |
Progress is finally flying ahead on the samurai castle! While the next level prints behind me, it's time for an assembly guide for the castle's 4th level.....
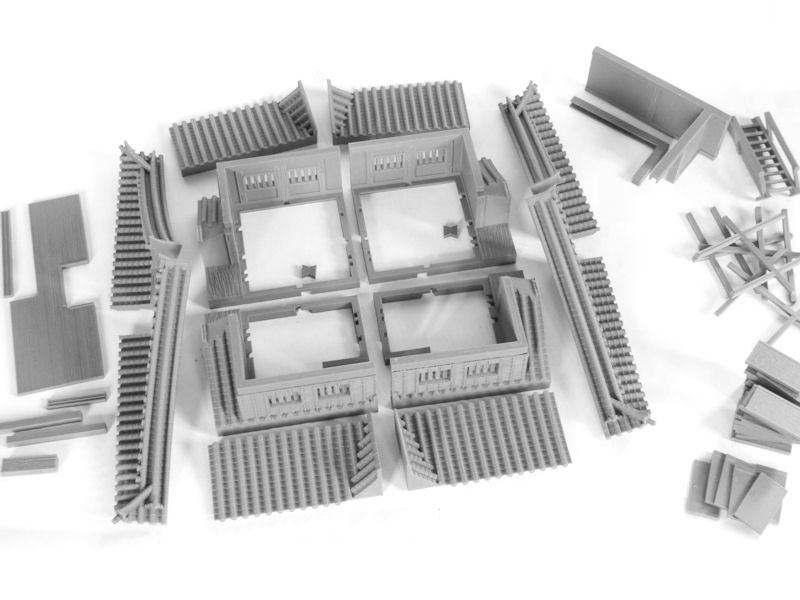
£ These are all the parts required for the complete 4th level. The main sections comprise of 4 quarters, each with 3 parts - cut to fit on smaller printers and also to ensure that the edges of the roof sections print as well as they can without supports.
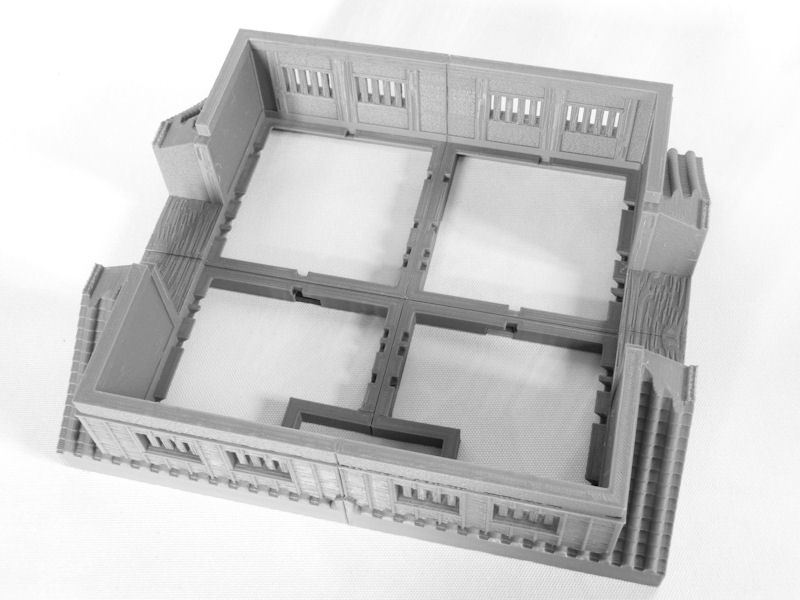
£ Start with the four room quarters. You will need 2 of the left piece, and 2 of the right. These are of course printable without supports. Glue these together, and don't forget to add 4 joining clips for extra strength.
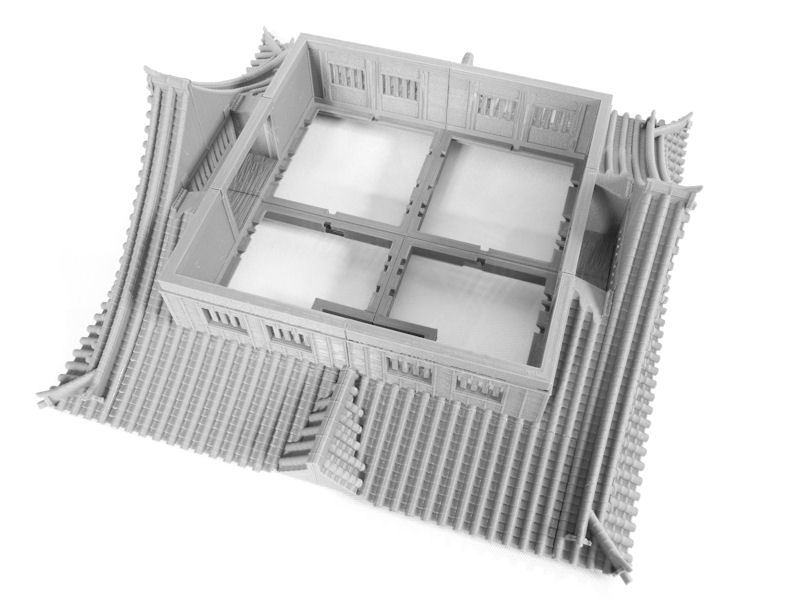
£ Print 2 of each roof section (without supports), and glue them as shown. It's a bit fiddly to make sure everything lines up, so take your time and go bit by bit. There are also a couple of thick beams to be glued in place above the alcoves on each side.
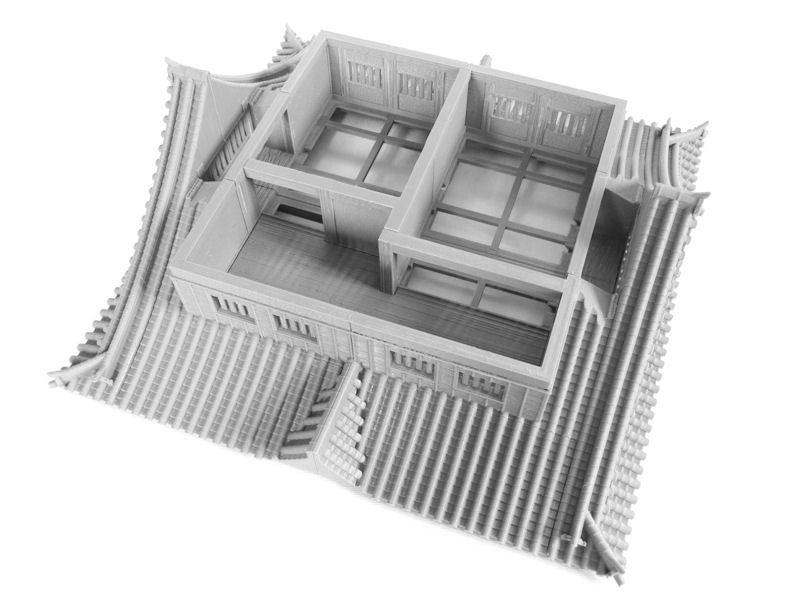
£ Next job is to print the 4 floor supports - 2 of each shape. You'll find that they only fit one way - with the two at the front different from the two at the back, because of the hole for the stairs.
You can now start to add in the floor and walls as shown, and then two doorway pieces are glued on the left and right for the sliding doors. You might want to dry-fit all the floor pieces including tatami (see next step) before gluing.
One extra piece of short wood is included in the walls file, which is designed to fit in on the left alcove, underneath the beam. It plugs the small gap left between the sliding doorway and the alcove wall.
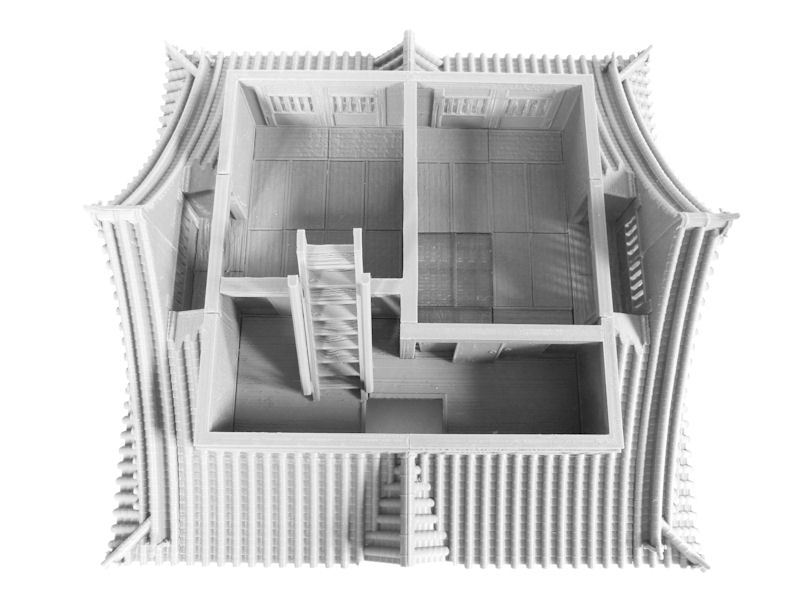
£ Print 22 tatami mats, and glue them in as shown. I found this to be a pretty tight fit, so keep some sandpaper on hand to smooth off edges.
You'll also need 6 sliding doors, which can be inserted in the doorways and can be left unglued, and then finally the staircase to the next level.
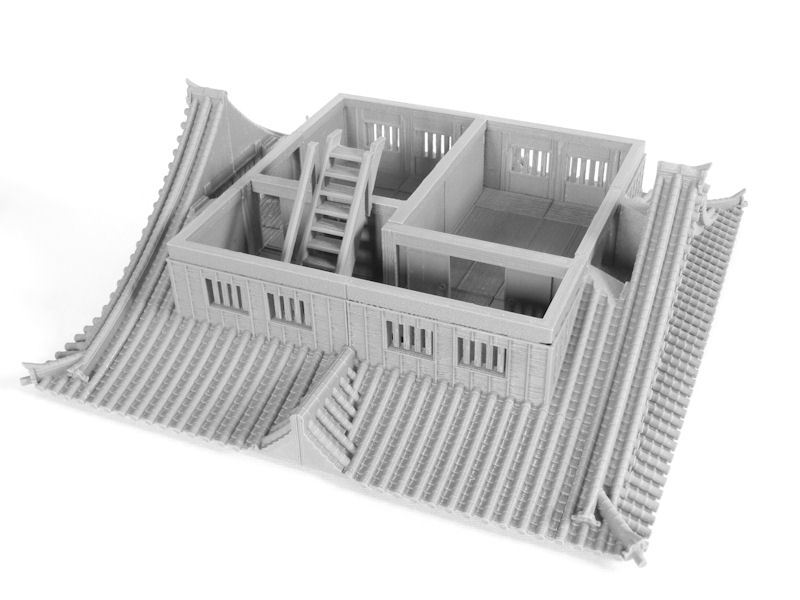
£ That's it - you're done!! Your authentically detailed fourth level is complete.
Let's add the 4th and 5th levels together....
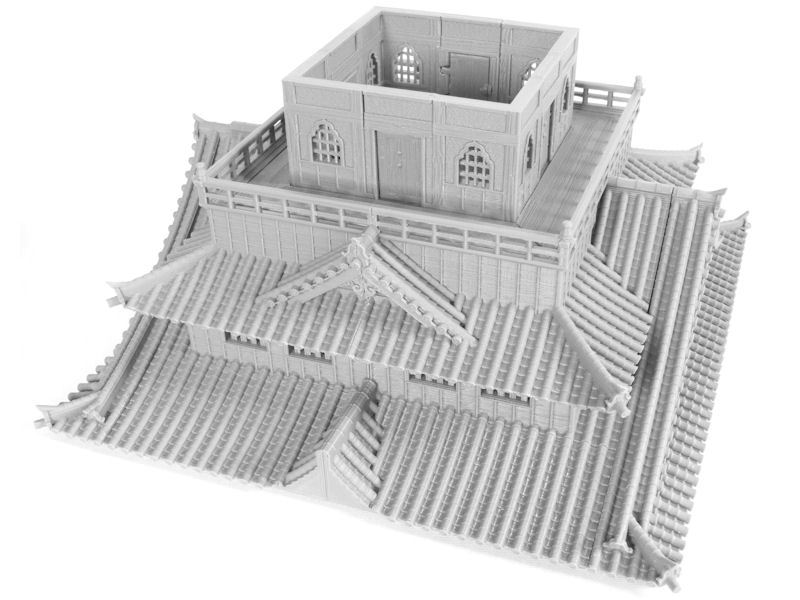
£ You can see from the photo that the join is pretty invisible. You can carefully slide the 5th level section up from this one for gaming inside!
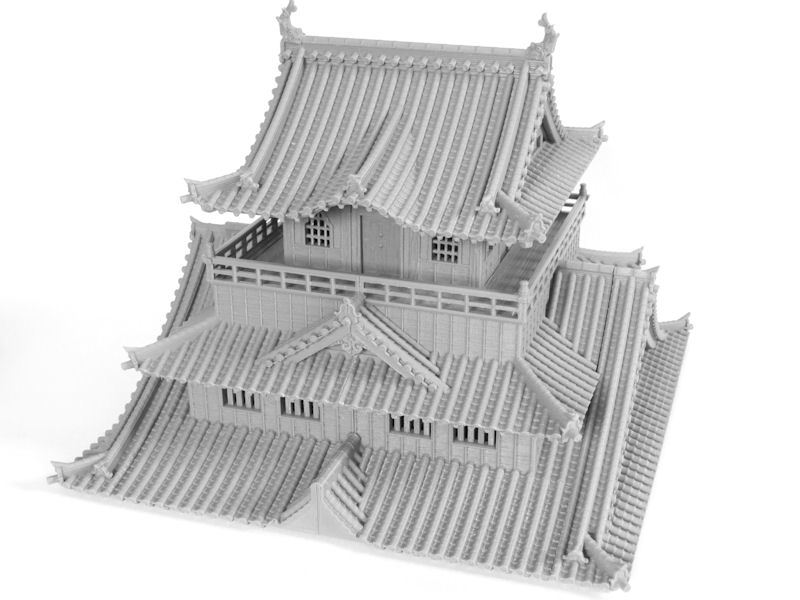
£ Now it's starting to look like a castle, eh?
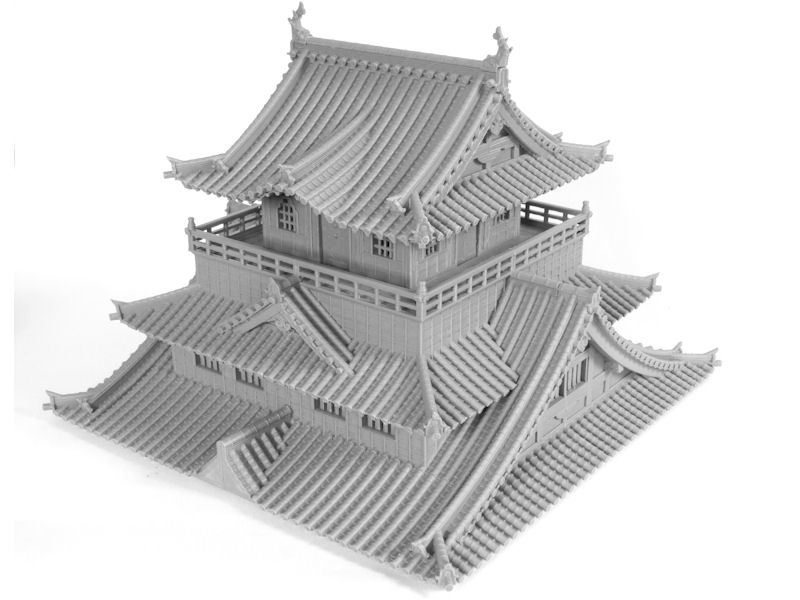
£ I can't believe it looks this good with only the top two levels done! It probably weighs close to 1kg at this point, by the way.
On to the 3rd level next.......
| << Assembling the castle : level 5 2020-11-10 | Assembling the castle : level 3 >> 2020-11-25 |
