3d-printable terrain for all your samurai wargaming needs


| << Printing the Taui Teleporter 2020-03-11 | Taui Teleporter available NOW! >> 2020-03-17 |
We have a new top-secret samurai terrain piece coming out soon, and I thought it would be a great time to finally model some cherry blossom trees to go with it. So here's a how-to guide, for which you will need:

£ Start by printing a tree base for each of the armatures. The wide 60mm bases work well at both 0.2mm and 0.1mm layers, without much difference in quality.
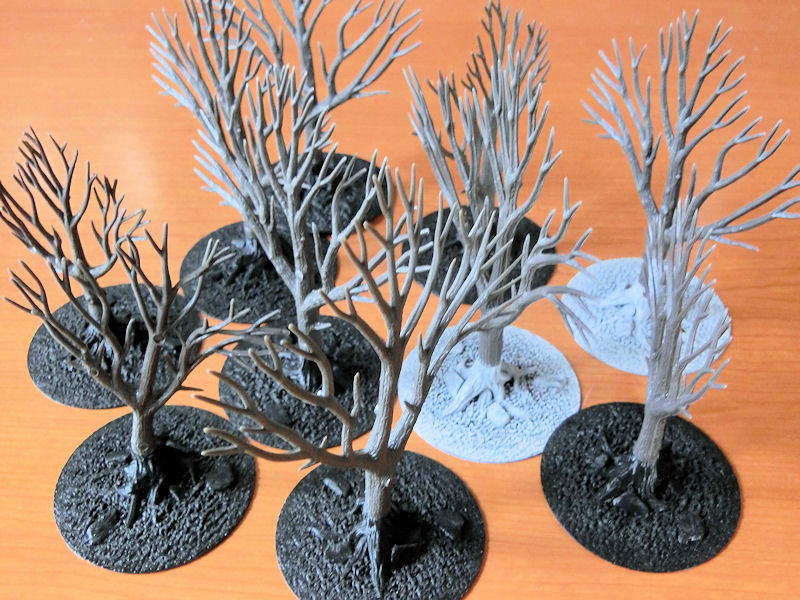
£ Use super glue to attach an armature to each base. The bases are modelled to fit the diameter of the tree trunks. I also glued a rare earth magnet in the base of each tree, to help transport them when finished.
£ Woodland Scenics trees are made of some magical plastic that can be bent and twisted into all sorts of shapes with just finger pressure, and then I smeared on a little bit of wood filler putty, to hide the seams between trunk and base.
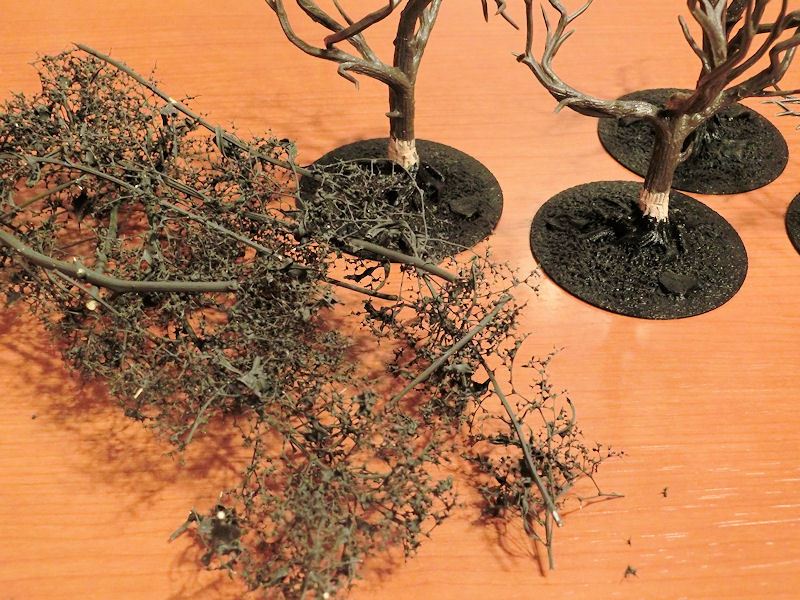
£ This next step involves gluing on fronds of seafoam, which I bought as a pack from my local train shop. I aimed for about 4 or 5 fronds for each tree, attached with super glue. This helped to give some more coverage and body to each tree.
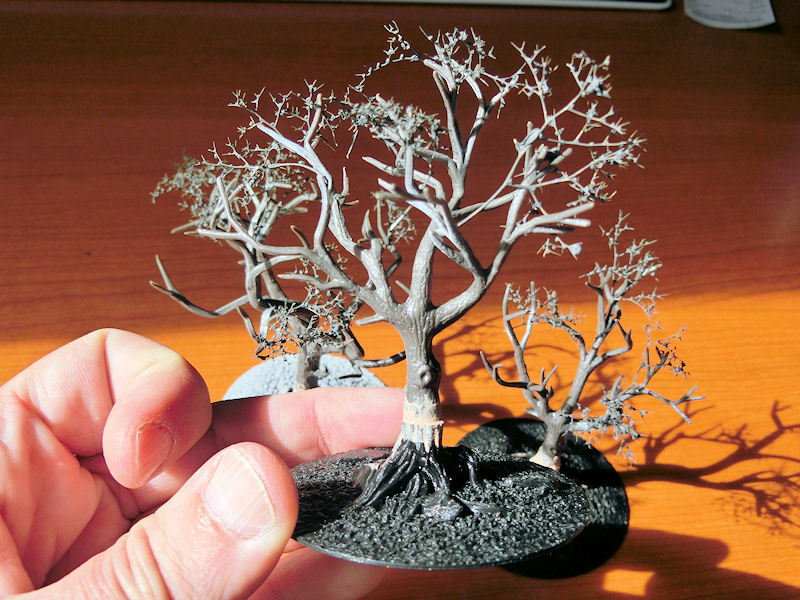
£ Once the seafoam was attached, my trees were ready for paint!
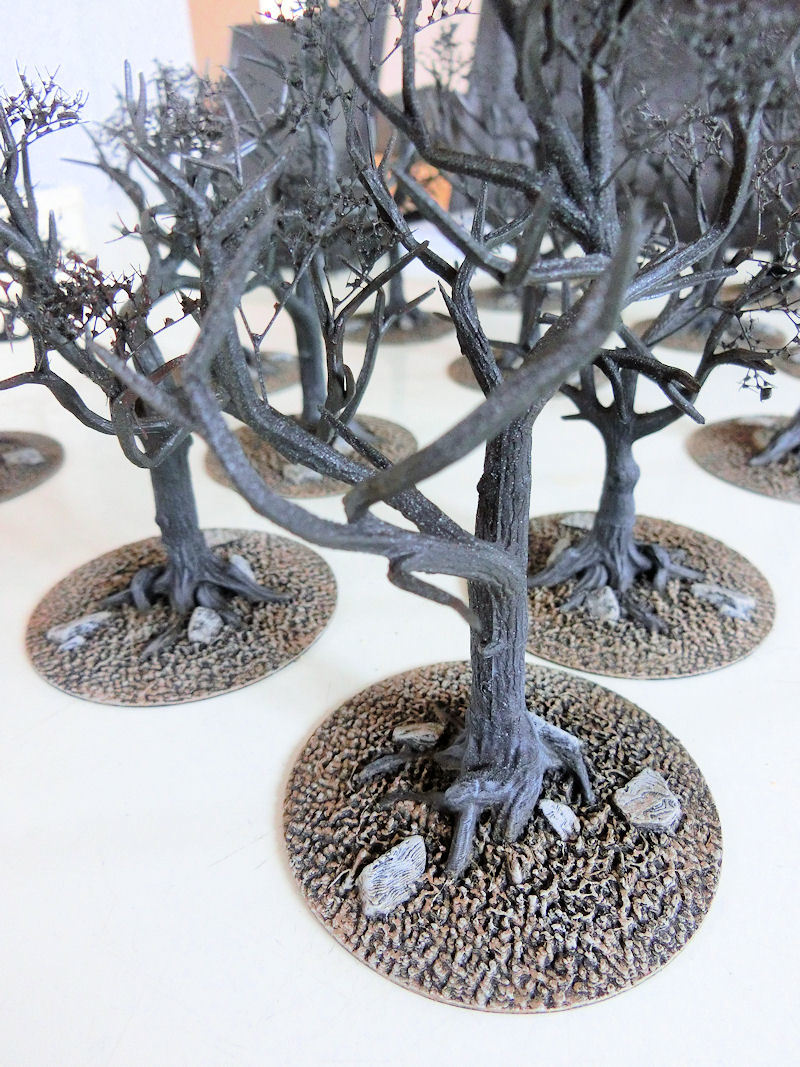
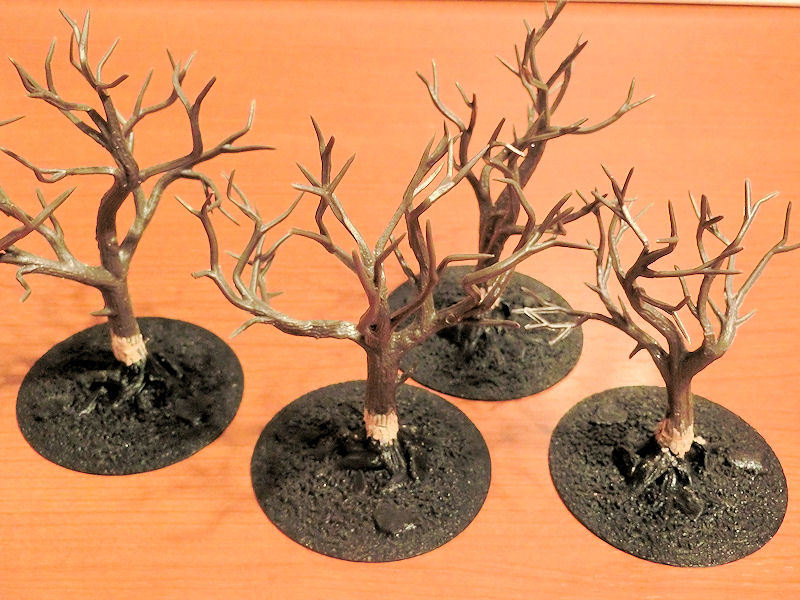
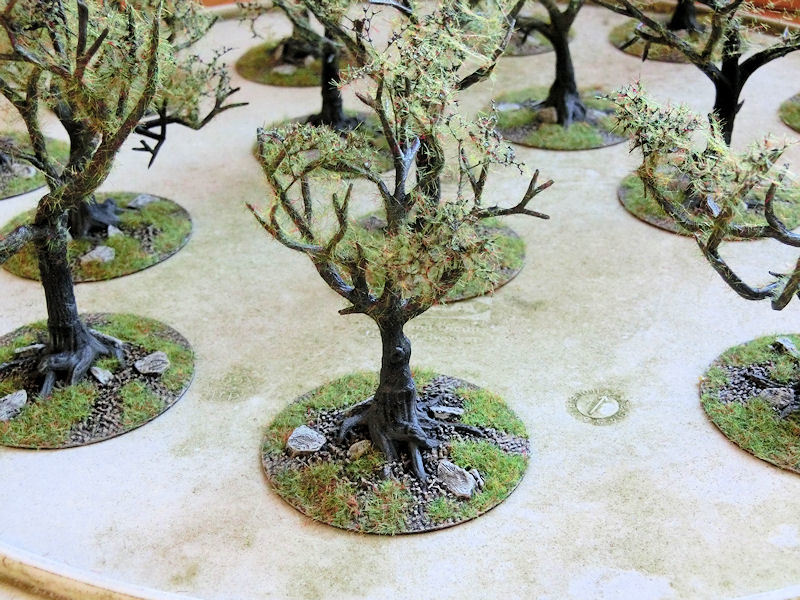
£ I sprayed my trees with matt black, then a quick patchy spray with some leftover dregs of dark green and dark brown, just to "un-blacken" it.
Cherry blossom trees (sakura) are usually quite dark in colour, which contrasts brilliantly with the light pink blossoms I was planning. I drybrushed the earth on the base with light brown and then a very light grey, which I also lightly drybrushed onto the bottom of each tree trunk to highlight the texture and the roots.
£ At this stage, the trees looked pretty good on my usual gaming mat - the wide bases blended in very well. I may use this technique again when I make some wintery trees!
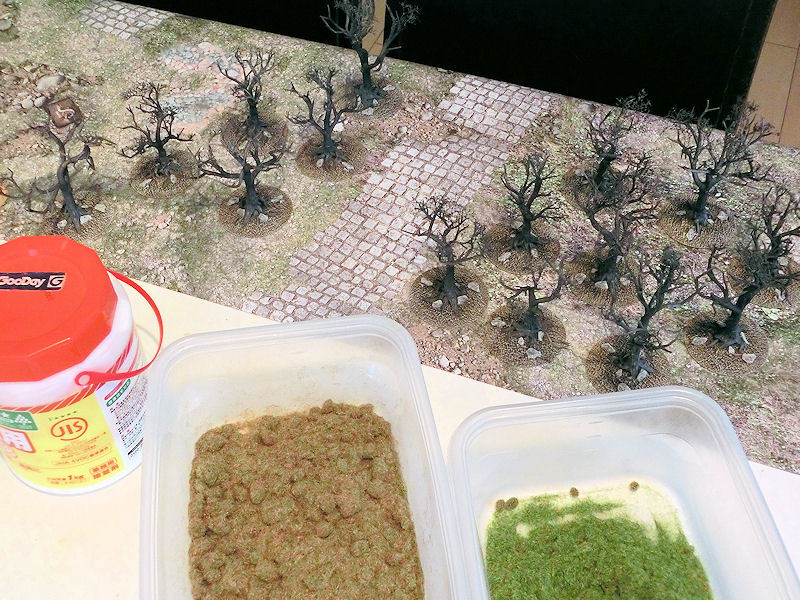
The next step was to brush on patches of thin water/pvc glue to the base, and sprinkle some static grass.
£ This is how the trees looked with some static grass added to the bases. Happily, still a good match to the battlemat.
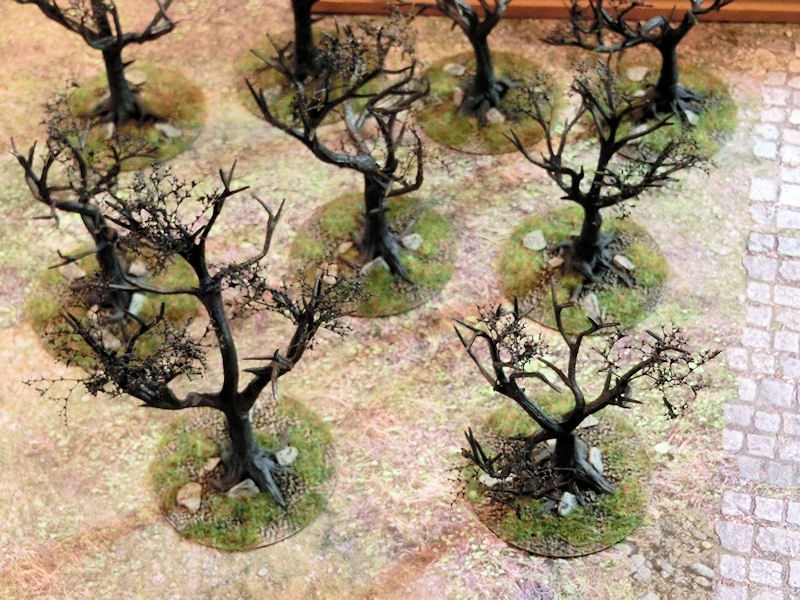
£ This next step was something I saw suggested in a youtube video. Rather than have just pink on the trees, the video suggested adding some patches of green to the tree tops, to provide realism. It also helps to add body to the tree, to help with the next stages.
Unfortunately, I used a can of very cheap spray adhesive for this stage, which turned out to spray thick strands of yellow glue across my lovely trees!!!! Oh well, at least I can hide most of that, and buy a different can for the next part! So be careful - make sure you use spray glue that dries clear - I recommend 99 by 3M, even though it's a little more expensive (one can will easily do this whole project).
£ Finally, I could start to add the famous blossoms to my trees. I used white and pink sponges, which I purchased from my local train store. Somebody on facebook also mentioned putting cheap sponges in a kitchen blender does the same thing, so that may save you some money!
The picture above shows my first layer of sponges. Each tree (not the base, obviously) was sprayed with clear-drying glue, and sponge bits sprinkled over the top and sides. You could stop at this stage, if you wanted to show trees that are just starting to blossom.

£ I repeated the previous step, by spraying more glue on the tree and adding sponges. I actually rolled the top parts of each tree in a tub of sponge to make sure it was thick enough.
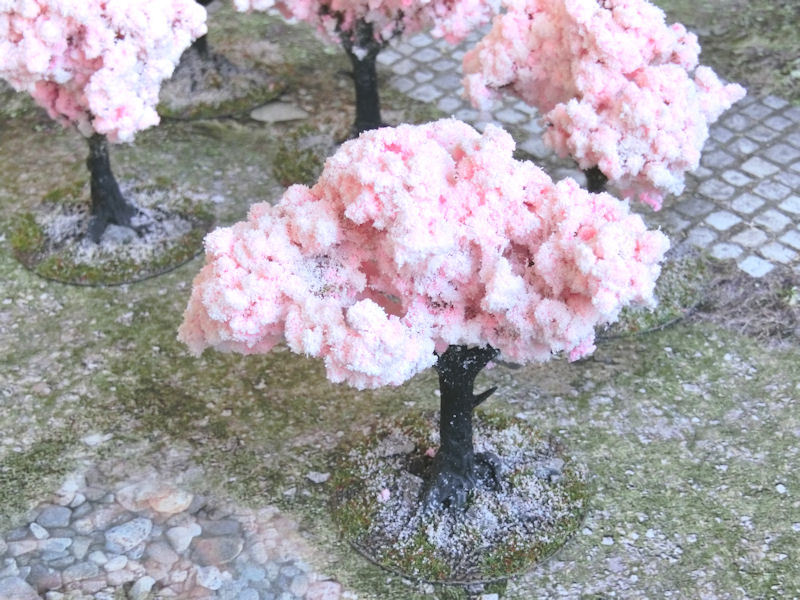
The end result at this stage looked nice, but the pink sponge was a bit too bright for my tastes. The cherry blossom trees at my local castle are a lighter and more uniform pink, so I had one more step to do.....

£ This is a bag of light pink flock I found at my local train shop for a few dollars, specially tailored for cherry blossom trees.
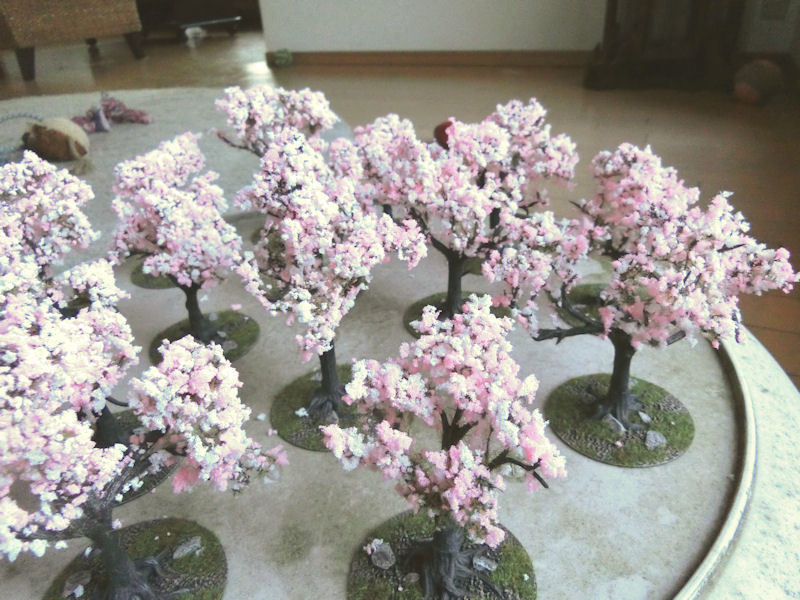
So once again I sprayed clear-drying glue over the trees, and sprinkled this flock over them to dull down some of the more violently pink areas. It also worked quite well to show an effect of sunlight on top, with some of the pinker sponges still visible from underneath, which I liked.

£ One last touch was to spray glue over the base of each tree, and carefully sprinkle some flock around the roots of the tree. I tried to avoid going right up to the base edge, so the bases still match the battlemat.
£ To finish up, I sprayed all the trees and bases with some matt varnish to hold everything together. My trees were, at long last, finished!!!!!
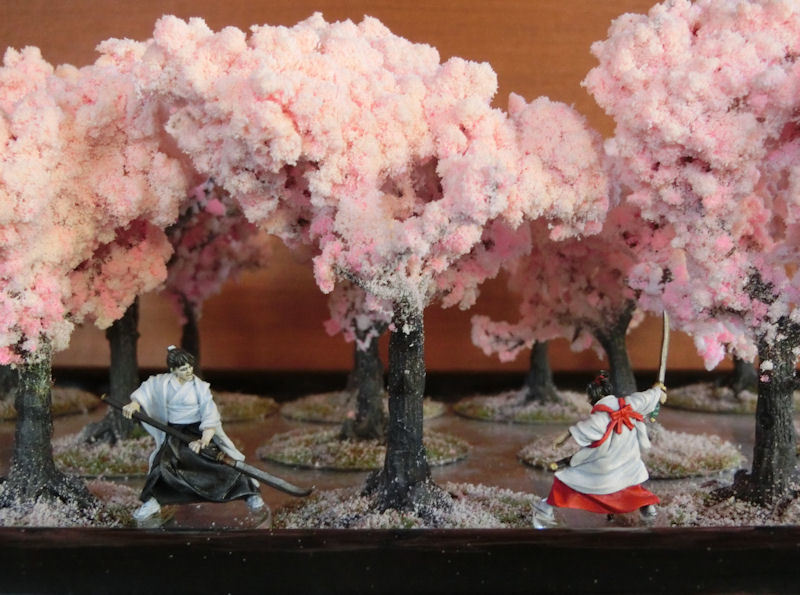
£ I'll be using these trees in my next battlereport, but in the meantime here's a couple of angry young women in an action pose, as the blossoms fall around them!
| << Printing the Taui Teleporter 2020-03-11 | Taui Teleporter available NOW! >> 2020-03-17 |