| << Introducing LEVEL UP GAMES, our new Canadian print partner... 2019-09-13 | Printing the castle corner tower >> 2019-09-23 |
While we're waiting for the last roof piece to print for the new castle corner tower (they take a loooong time!), here are some notes on assembling the pieces with a couple of useful tips for you.....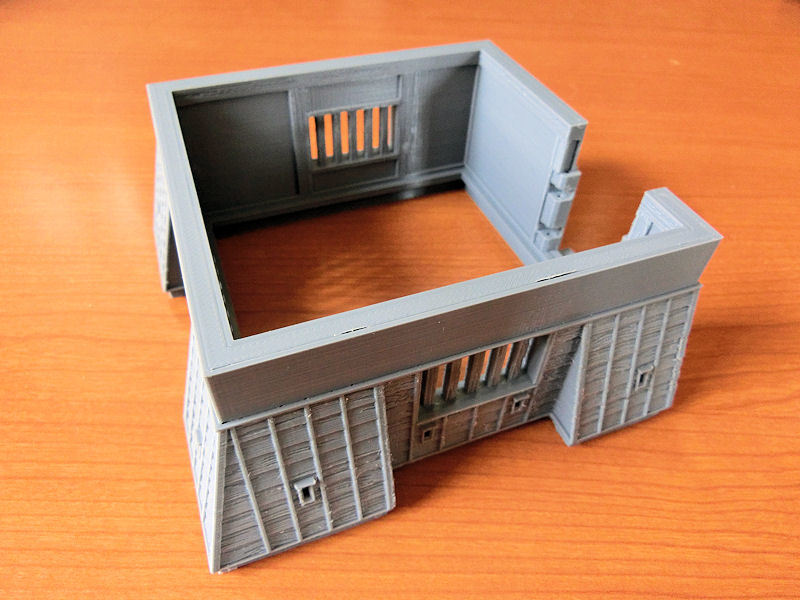
£ The first level of the building prints as a single piece, and obviously should print perfectly without supports. In fact, only one file requires supports for this whole tower!
Since I was only printing one of these, I decided to print at 0.1mm layers to get smoother surfaces on the upper wall .... but, looking back, you won't see most of that anyway, so 0.2mm layers would work just as well. The woodgrain patterns are, as usual, aligned with the print lines wherever possible.

£ Once you've printed out the main piece, you'll need to print a door. You might think this is oddly short as a door, but they were actually designed that way to ensure anybody coming in to the tower (attackers, for example) would have to bend down to fit through the door.... making it that much easier to cut their head off!
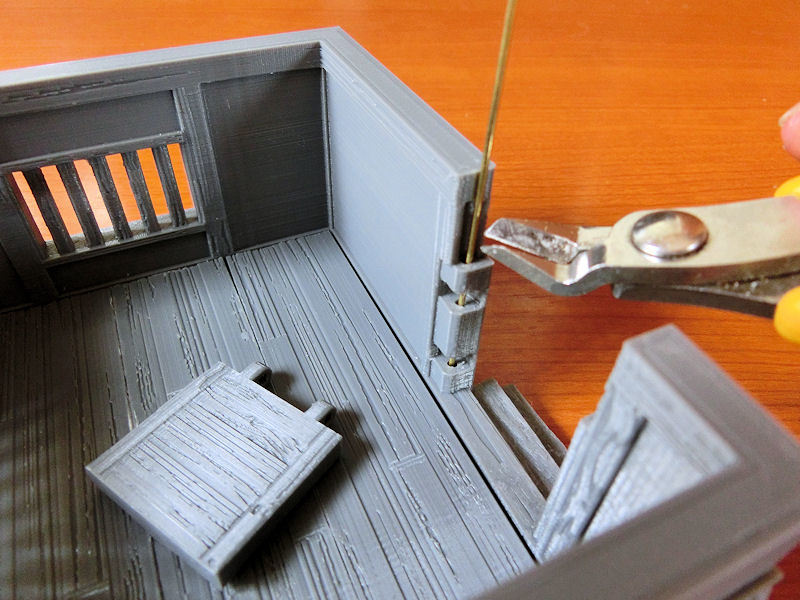
£ The doorway and the door both have 2mm holes included for a piece of rod, although you might need to clear them out with a thin drill to remove any extra filament from printing. Then you should be able to insert some spare 1.75mm filament or brass rod as the hinge.
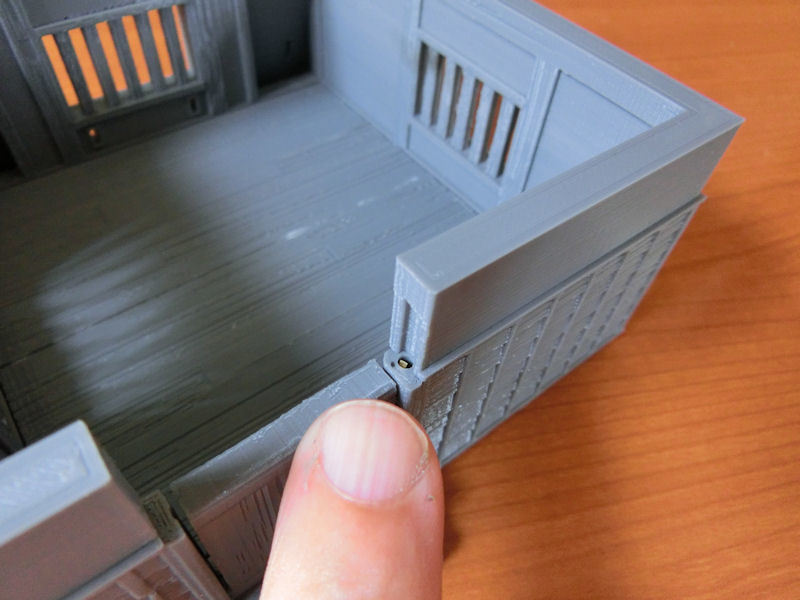
£ Cut the hinge rod off above the last hinge of the doorway. It doesn't need to be glued in, as the next piece will firmly hold it in place.
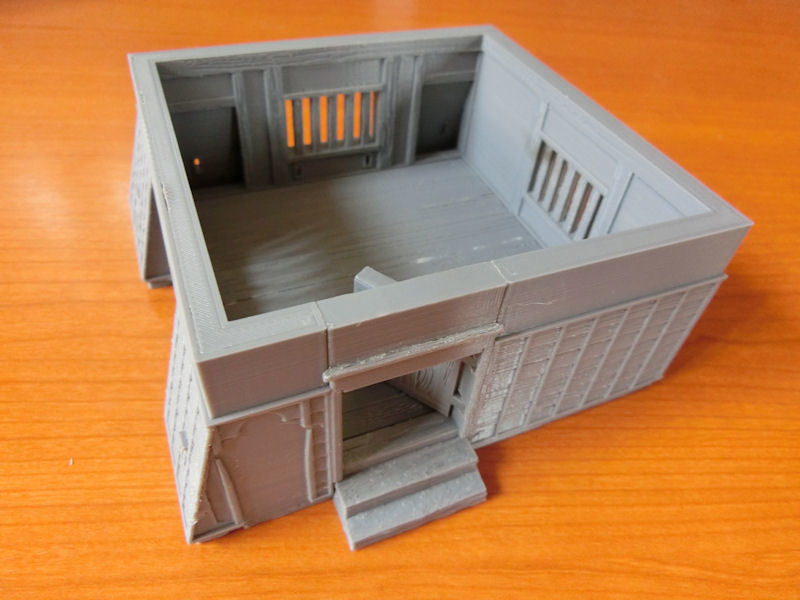
£ Lastly, insert the doorway top piece. After finding the first piece a little loose (my Tevo Tornado has a strange tendency to compress the first few layers too much!), I actually printed this top piece at 103% scale, and found it a lovely tight fit.
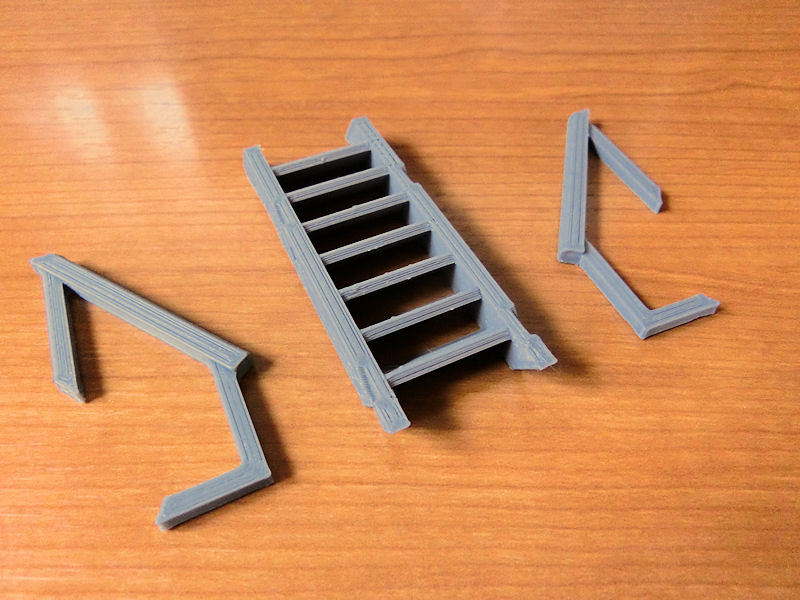
£ If you choose to print a second level to the building, you'll need to print this staircase to connect the two floors. It comes in three pieces as shown....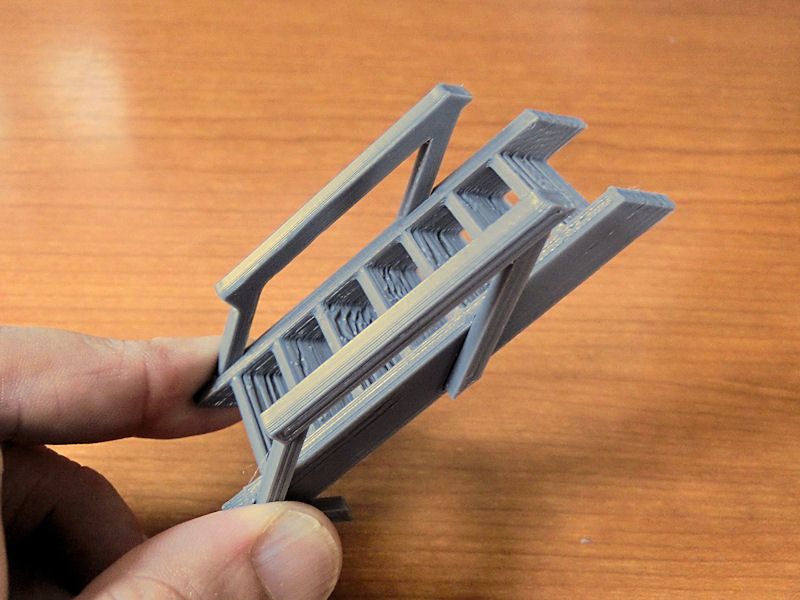
£ ... which glue together like this. I glued the finished staircase to the lower level's floor, but locating it below the stairwell hole was a bit fiddly - blutak helps stick it to the ceiling in the right place, while you add glue to stick it to the floor.

£ The roof piece is a very slow print, I'm afraid! This one is designed to fit the second level room, and needs supports in the middle (shown at the top of the photo).
Due to the shape of those rooftiles and your printer settings, you might find a few bits of filament which need to be removed. I did this first with a modelling knife, and then a strong scrub with a metal toothbrush (which I use to clean the printhead on the printer) to remove the last few strands.
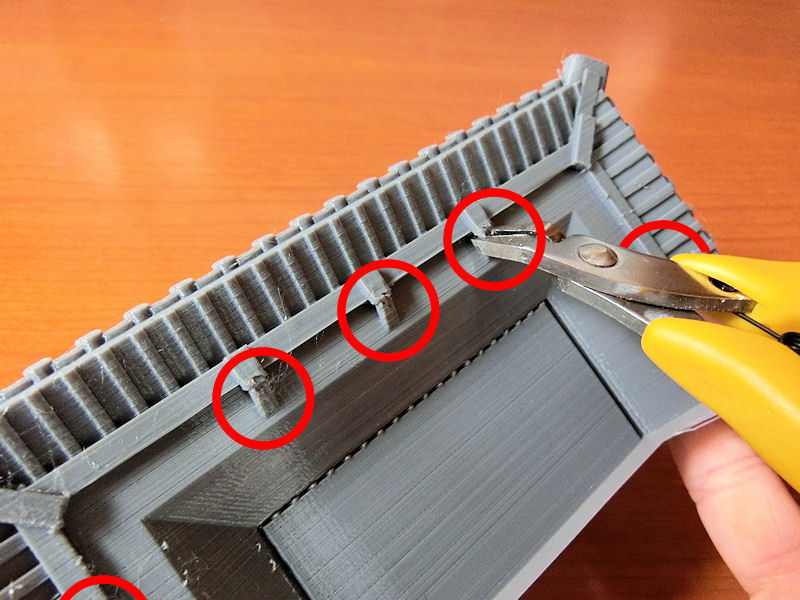
£ The underside of all the roofpieces have a few built-in print supports, which are circled in red. You'll need to carefully remove these with cutters before it will fit the building. I found gripping it and spinning the tool around it neatly removed the supports without breaking anything.
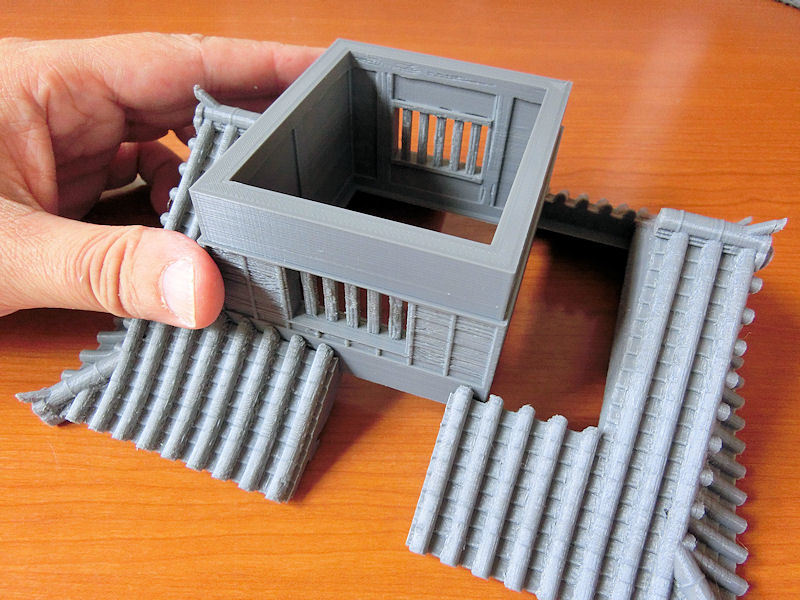
£ Finally, the upper room simply slides in sideways and can be glued to the roof pieces. Be a little careful if your printer over-compresses the first few layers of a print, as the roof pieces (which are printed on their sides) might have a tiny gap where they meet each other. To avoid this, you may want to stretch the length (i.e. the Z-scale) by 0.5mm or so, to ensure a perfect fit.
That's it - pretty simple stuff.
Pics of the printed corner tower will be up tomorrow, I hope..... if this looming typhoon doesn't knock out the power!!
| << Introducing LEVEL UP GAMES, our new Canadian print partner... 2019-09-13 | Printing the castle corner tower >> 2019-09-23 |
