3d-printable terrain for all your samurai wargaming needs


| << Printing the modular farmhouses 2019-06-12 | Painting the samurai farmhouses >> 2019-07-04 |
Here's a how-to guide on assembling a typical farmhouse building using the new Samurai Modular Farmhouse set!
For this demo farmhouse, we chose a 3 section layout with a thatched roof, giving a building footprint of approximately 13cm x 10cm. Including the roof, this gives a total space of 16cm x 12cm x 12cm (H), and used 191g of plastic (printing at 10% infill).... so about $4 USD.
1. Walls :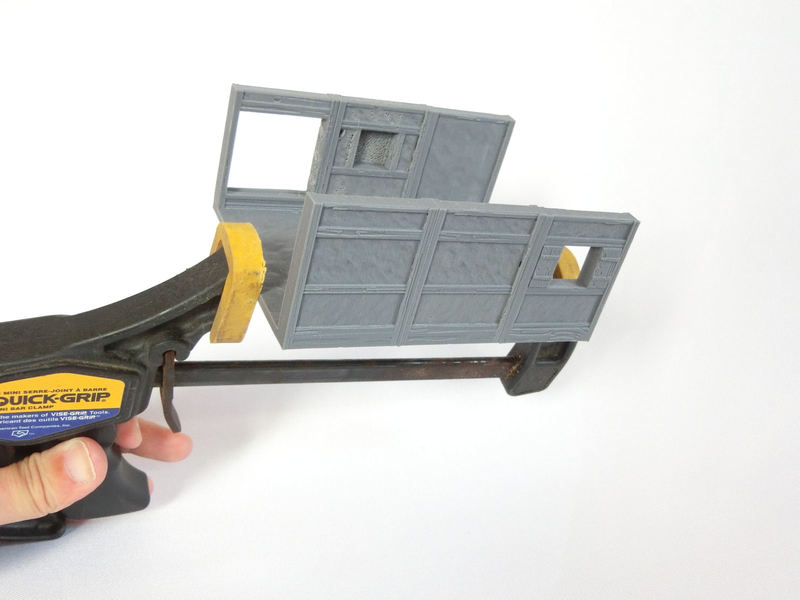
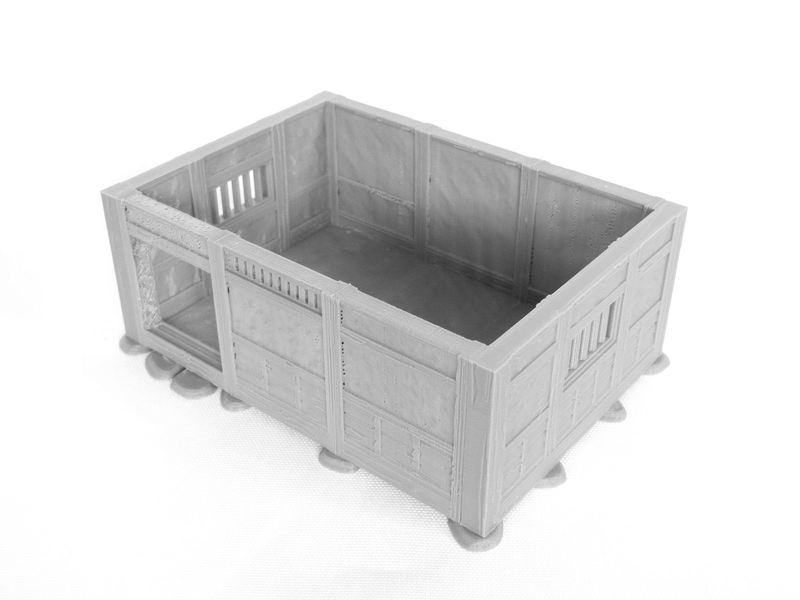
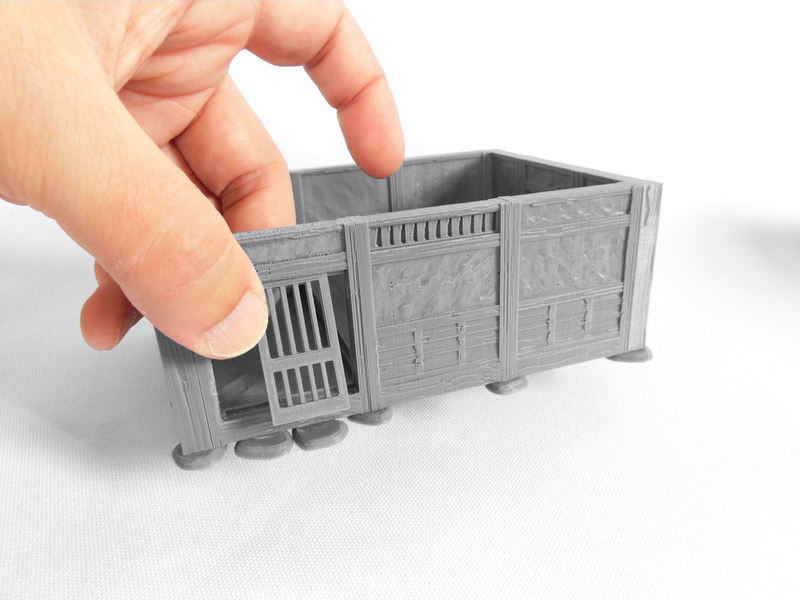
£ The 3 wall sections were glued together firmly using superglue - if you're careful, the join lines in the floor and wood posts should be seamless!
£ Here's the assembled wall sections - although, sorry, I seem to have photographed the wrong building! Anyway, assembly is the same method!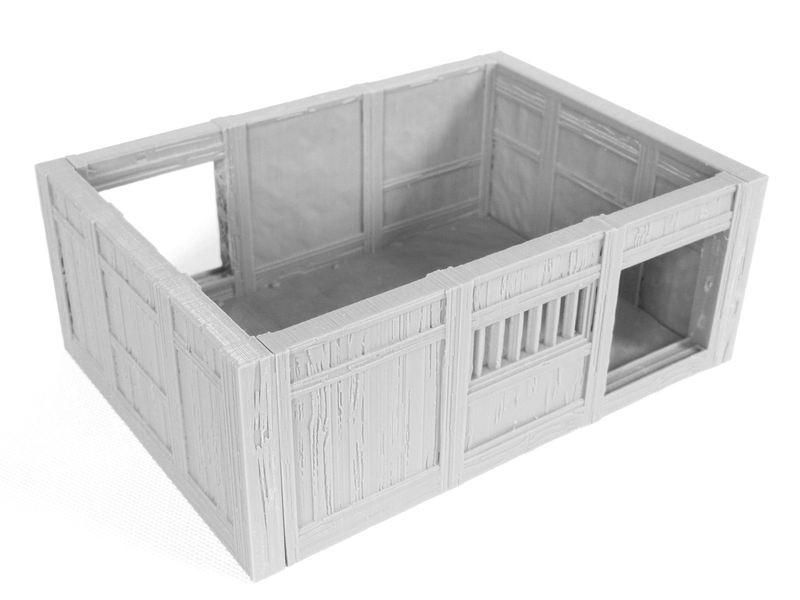
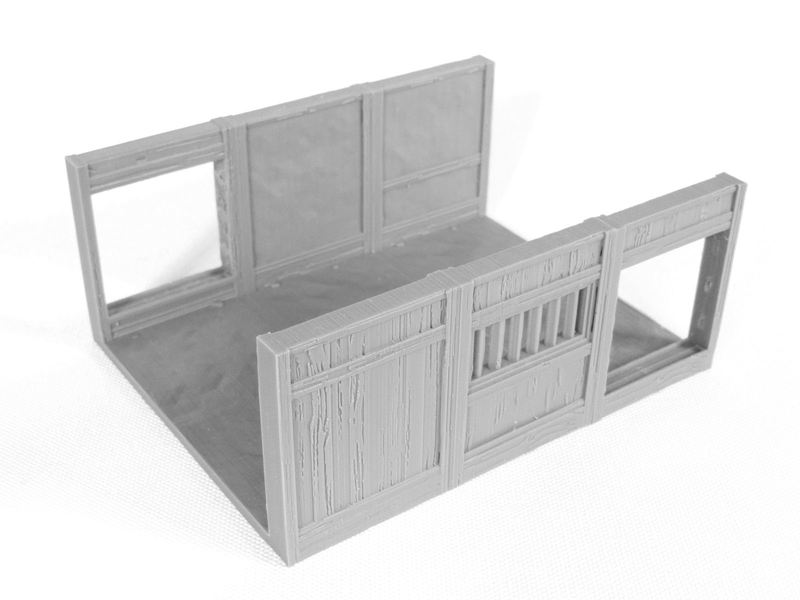
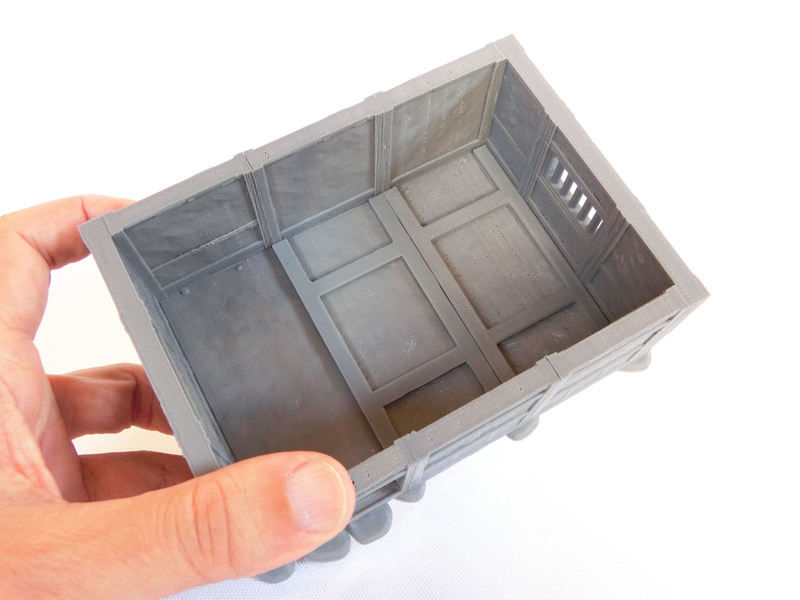
£ Next the two end wall sections are glue on, making sure the interior walls are the mud surface (the corner posts are also smooth on the inside).
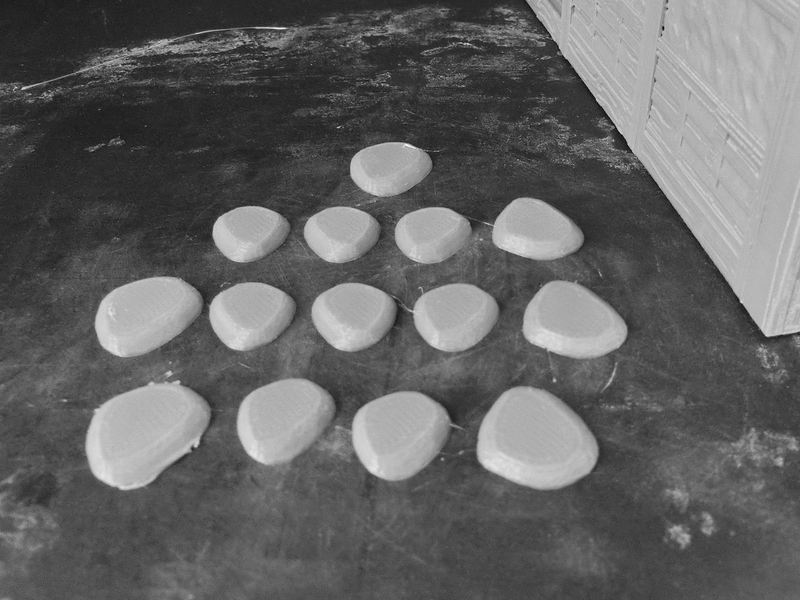
£ To give the building an extra bit of authenticity, I printed these small flat stones as foundations. If you print the file at 100% scale, it is perfect for the posts in the middle of the walls, but I also stretched a few extra by one or two millimetres to make some bigger stones for the corner posts and doorway. You might also want to try mirroring some for variety.
£ The stones were then carefully glued beneath all the vertical posts, and two underneath the doorway beam.
2. Interior :
£ The wall sections come with a rough dirt surface for the floor, but I also wanted to include some wood and tatami flooring. If you are using wood and/or tatami, print enough lifters to cover the area. The pic above shows 2 lifters in the central and right-hand sections. Don't glue these in yet!
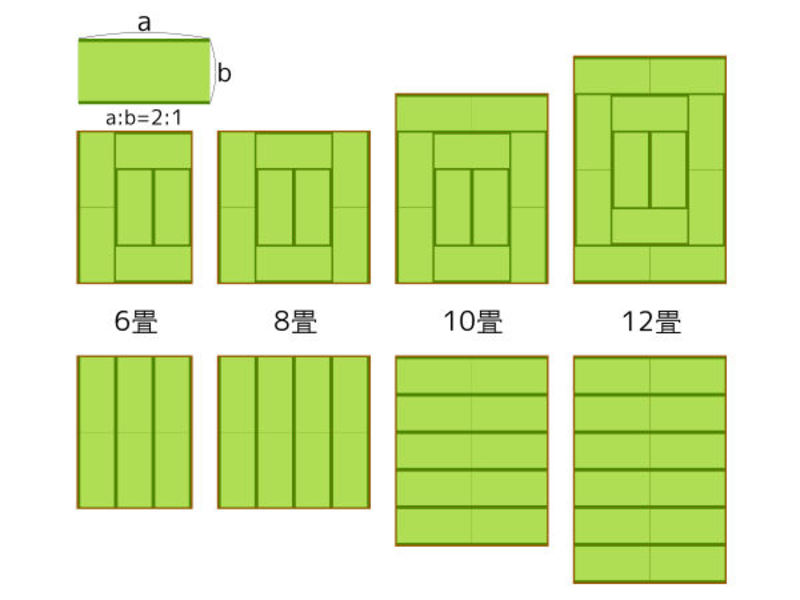
£ The diagram above shows various patterns for arranging tatami mats in rooms. The top row shows regular room layouts, and the bottom shows ceremonial layouts, such as you'd find in castles. Obviously you should use the upper row if you're going for realism in your farmhouse.
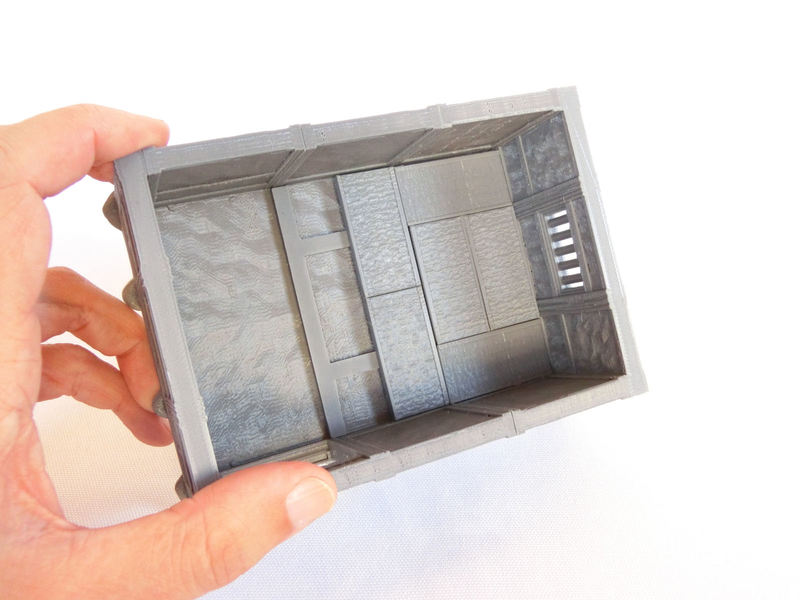
£ I printed 6 tatami mats, and placed them inside to test-fit without gluing. The extra space would be a wooden floor section. Once you've decided on your layout, remove the mats and lifters.
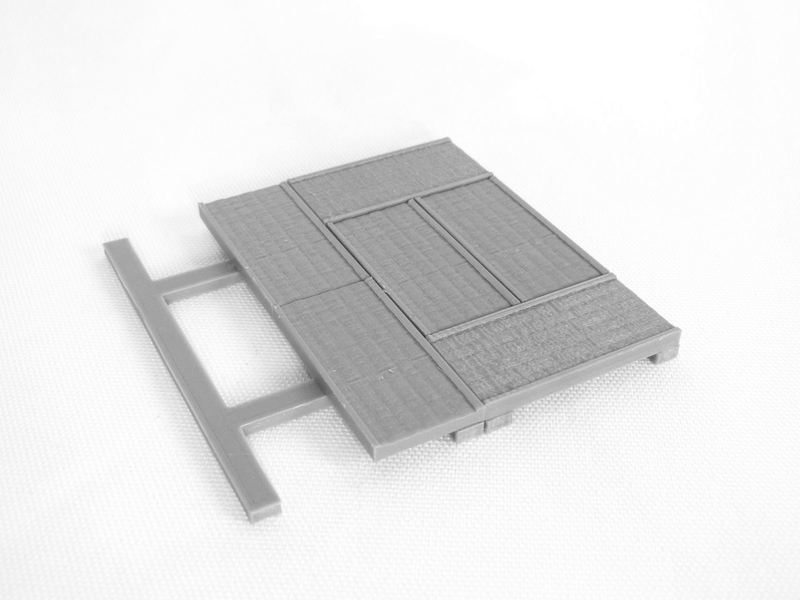
£ Carefully glue the tatami mats to the lifters in your chosen arrangement.
£ I added a wooden section of flooring, which would act as a buffer between the genkan (entrance space), and the tatami mat area which would be living and sleeping space.
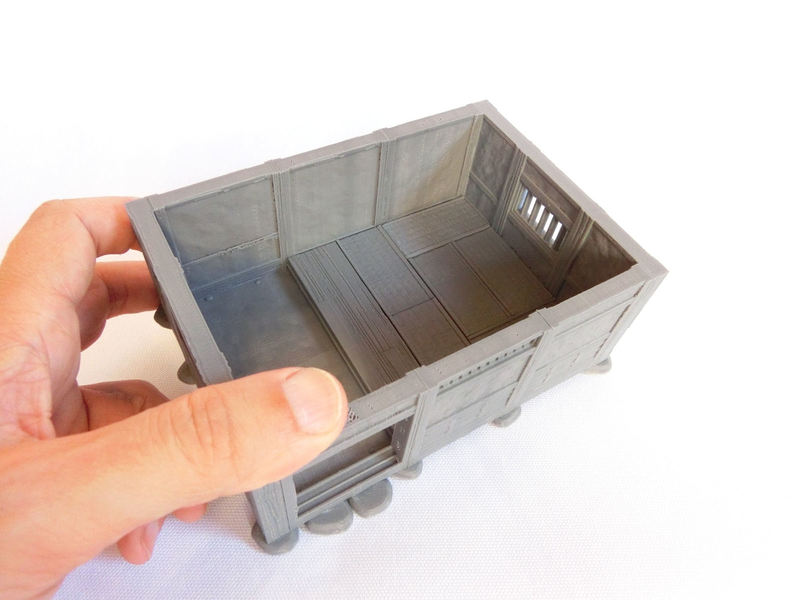
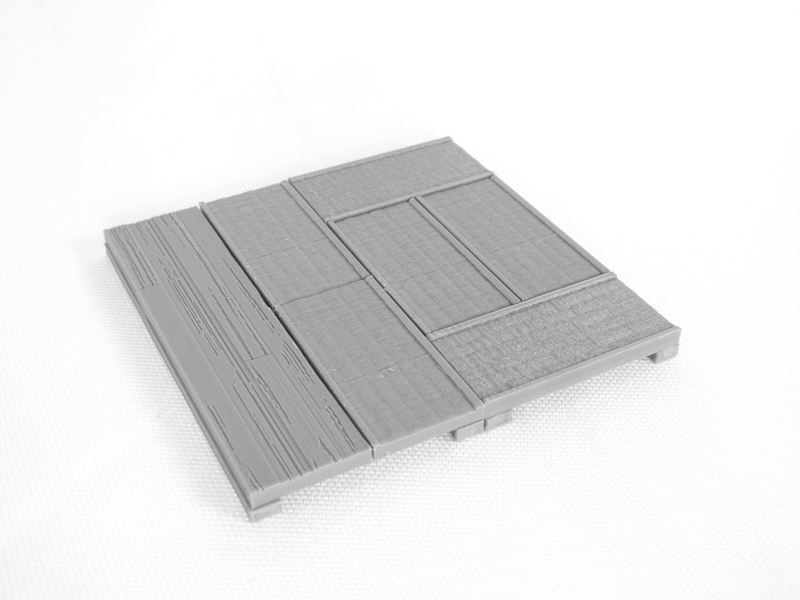
£ Here's the completed floor section, placed inside. I recommend that you don't glue the flooring in place yet - it will be easier to paint if you can remove it. The tatami mats and wooden floor surfaces are designed to work well with quick drybrushing, by the way!
£ I printed two doors with the bar design, as I intend to light the interior later on. To install them, you simply lift them in at an angle from below, and then bump the bottom edge inside the tracks. You could glue them open or shut if you wanted, but they are designed to slide also.
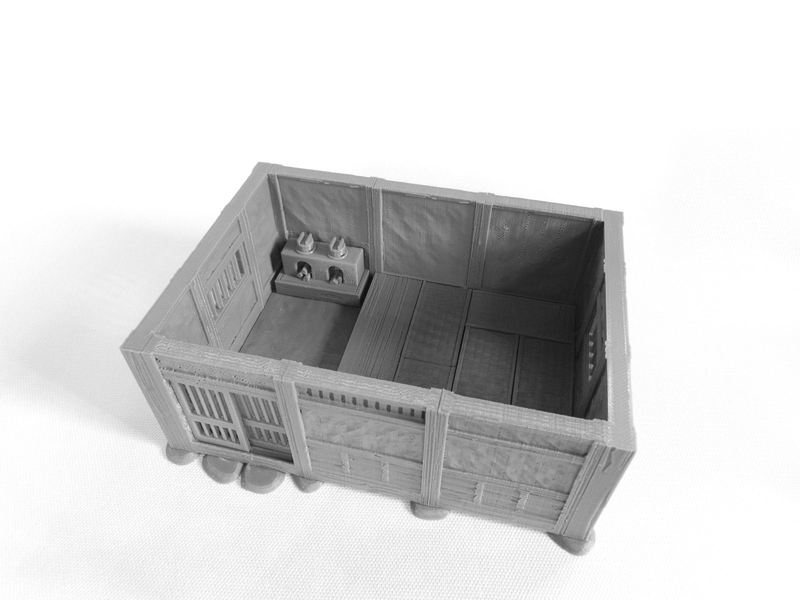
£ At the end of the genkan entrance area (on the left), I decided to install an oven. This was a typical location for an oven in a small house, as the danger from embers was less on the earth floor. Again, I did not glue the oven in place, to make painting easier later on.
3. Roofing :
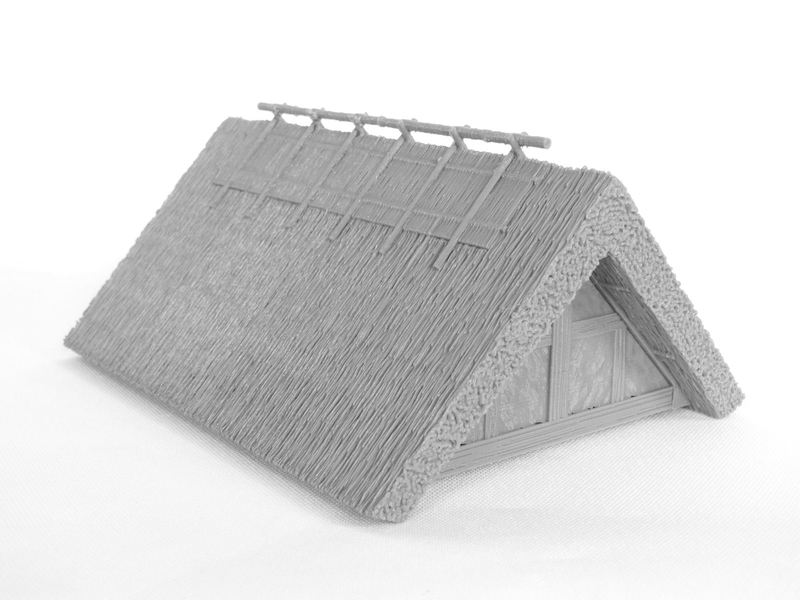
£ Since the house was 3 wall sections in length, I needed to print 4 roof sections. I printed two of the thatch main sections, two of the gable end sections, and two mud-wall upper walls.
£ After you've glued the roof sections together, it looks like this. The underside is fully textured, and the thick horizontal support beams hold the roof neatly in place.
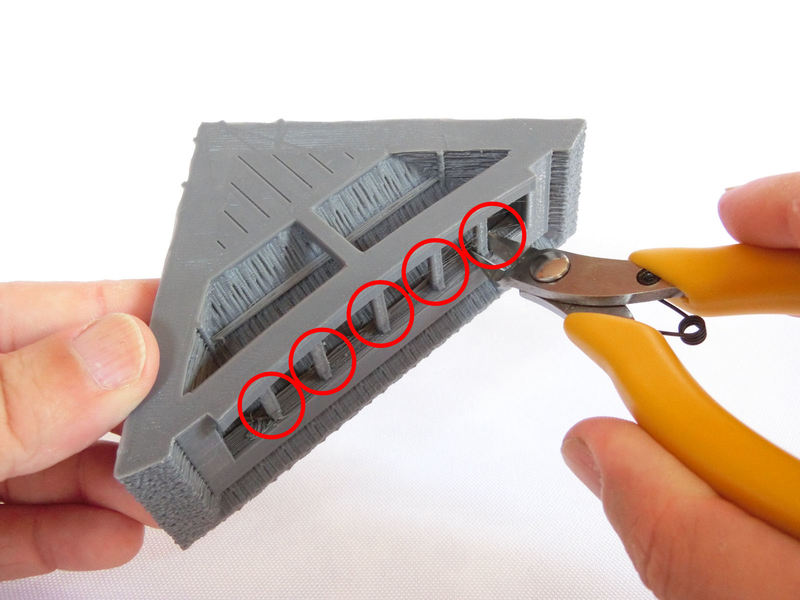
£ Another option for the roof is to use these hip-and-gable end sections, instead of the gable sections pictured above! Please note that the 5 posts circled in red above are printing supports, and should be removed with clippers.
Similarly, the wall sections with doorways also have built-in print supports, which should be removed.
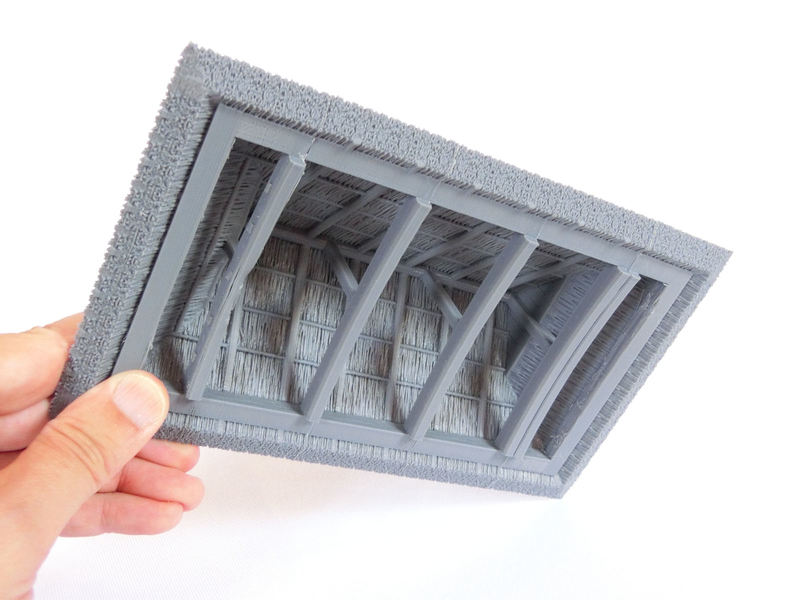
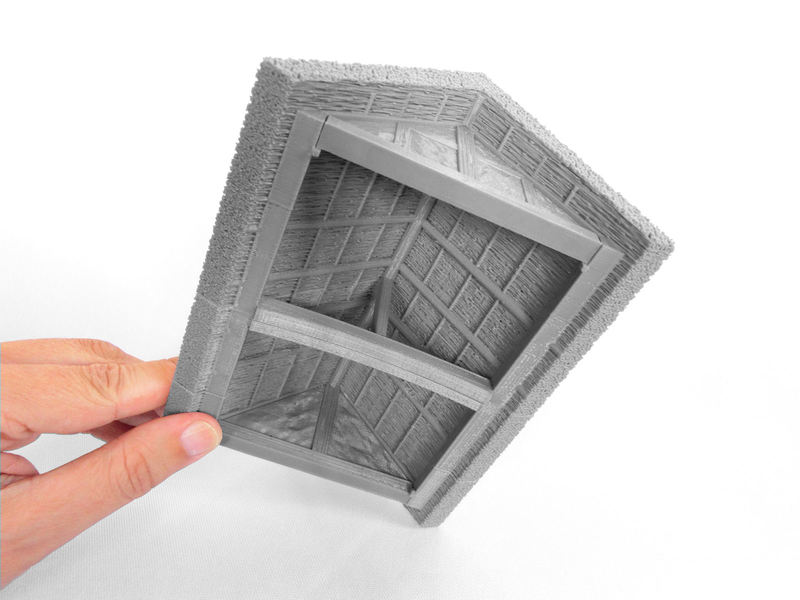
£ Here's the underside of the hip-and-gable roof shape (this roof is 5 sections long, by the way).
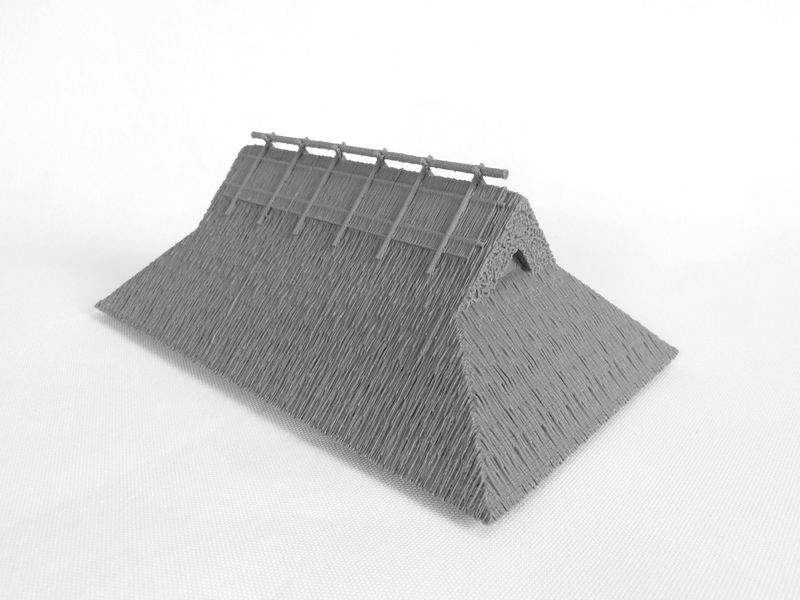
£ This is the completed hip-and-gable roof shape, which is a distinctively Japanese shape still found on new houses today.
4. Completed :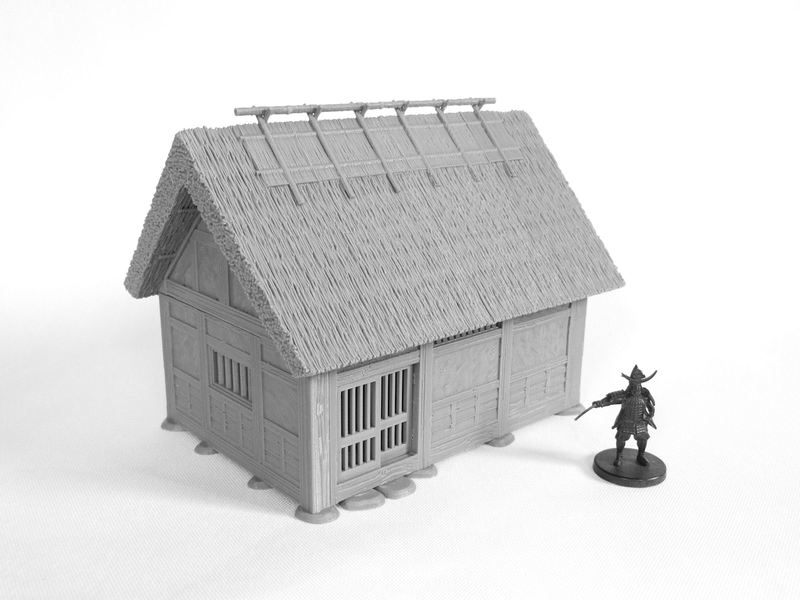
£ This is the completed house, with roof in place, and our dark samurai warrior for scale comparison.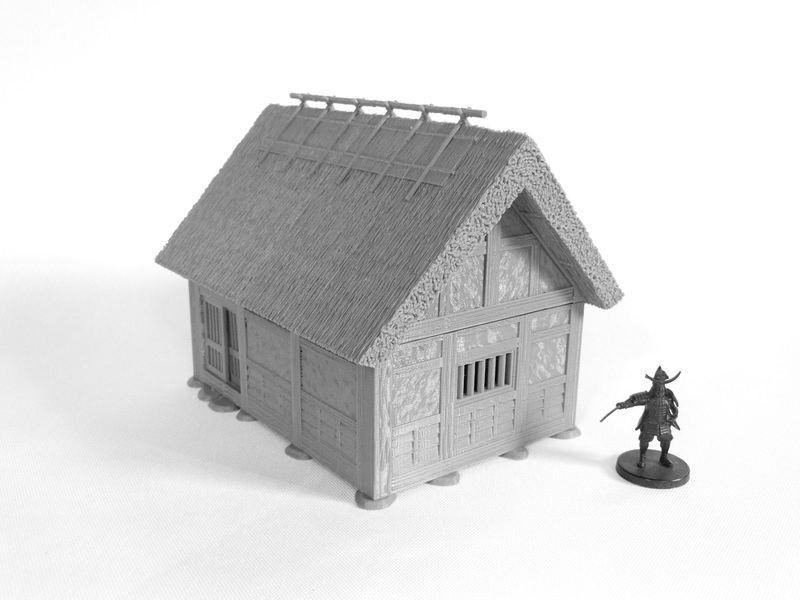
£ The roof is of course completely removable, should your warriors want to search the houses.
(hint: ninja!)
5. Sheds :
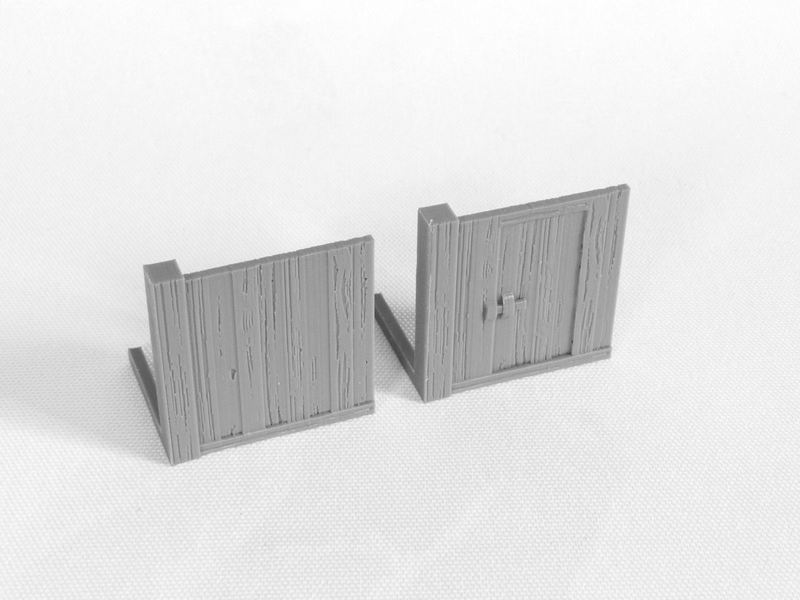
£ One option for an add-on to the farmhouses is a simple wooden lean-to shed. These were never very well-built, using poorer supplies to knock together whatever storage was required. The set includes two main choices - a plain wooden wall, and a doorway wall (both 4cm wide). For this example, I printed one of each and glued together.
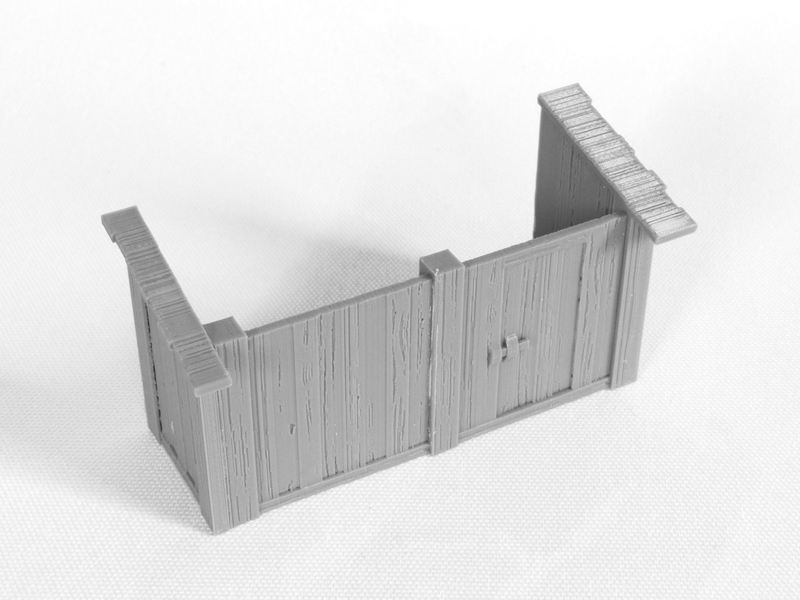
£ Then you'll need to print one each of the left and right end pieces. These pieces have roof ends attached.
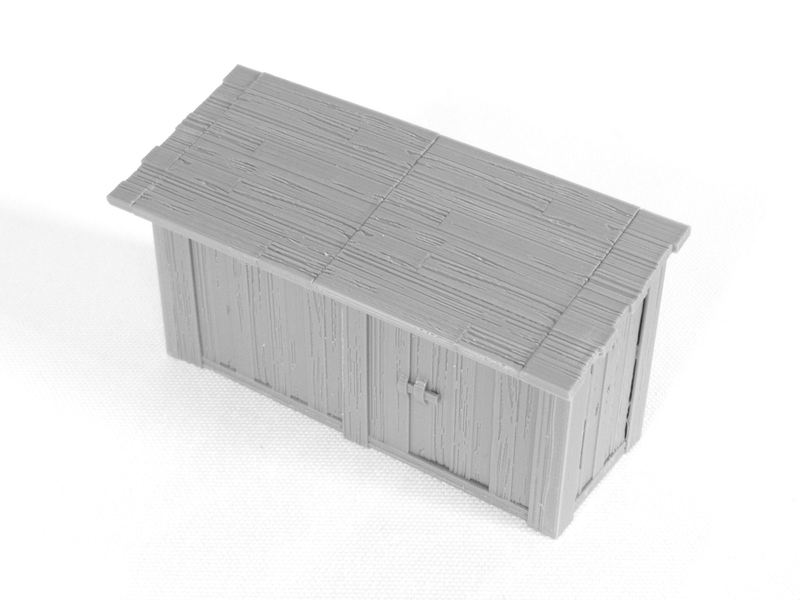
£ Finally, print and glue the wooden roof sections, then attach to your building. You can choose to attach them to farmhouse doorway wall sections, if you want them to be accessible from inside.
6. Exterior corridors :

£ Many fancier farmhouses would have extended their size by adding exterior corridors to the sides of the house. These look great with the shoji doorway sections, as the floor height matches.
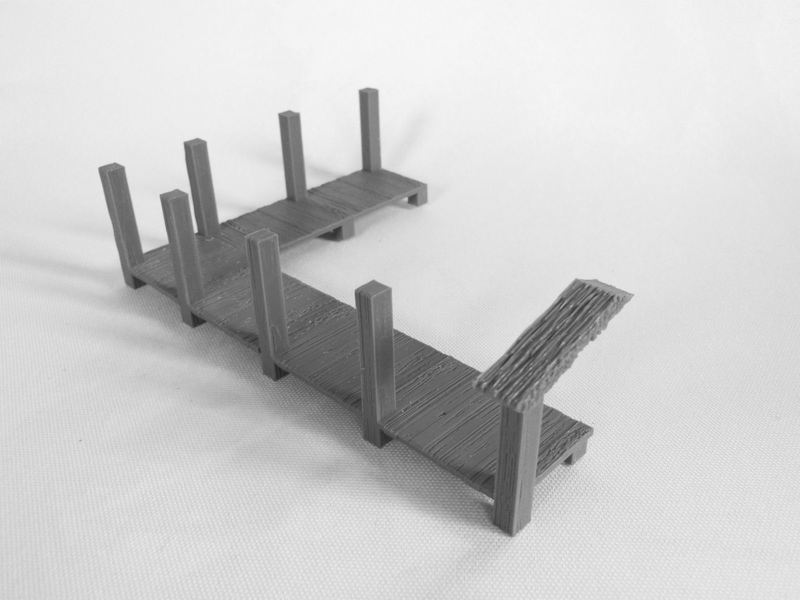
Start by printing as many of the 4cm balcony sections as you'll need. Each has one support post, and should be printed sideways so the woodgrain matches the filament lines. In the example above, I glued 5 sections and 1 corner section together to make a long corridor along two sides of the big farmhouse.
£ Finish the right-hand end of the corridor by gluing one end piece. A wooden roofed version is included (similar to the shed roof), but in this example I used the thatched roof version.
Please note that there are two different thatched end pieces - one is the full version designed to fit against tall end walls, and the second (pictured above) has the top part cut at an angle to fit underneath the thatched roof.
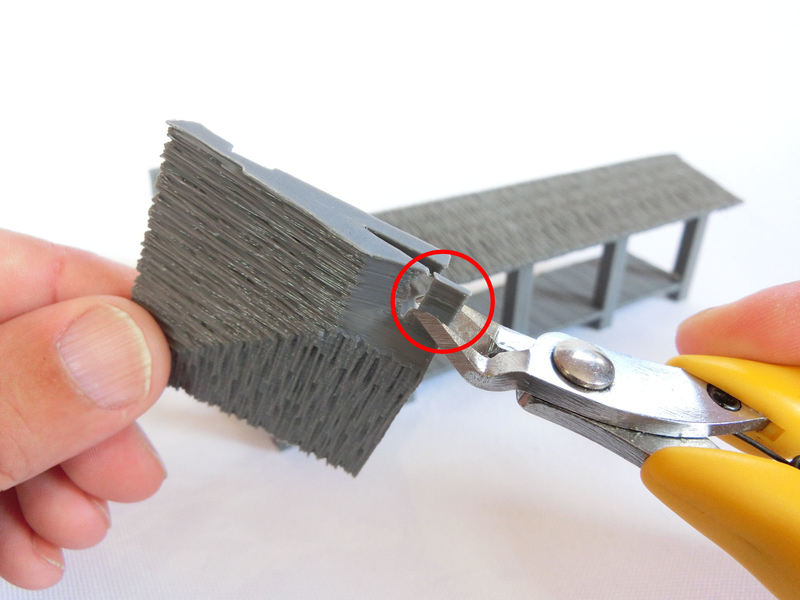
£ The corner roof piece (both on the wooden and thatched versions) has a small print support at the top corner (circled in red), which should be removed before assembly.
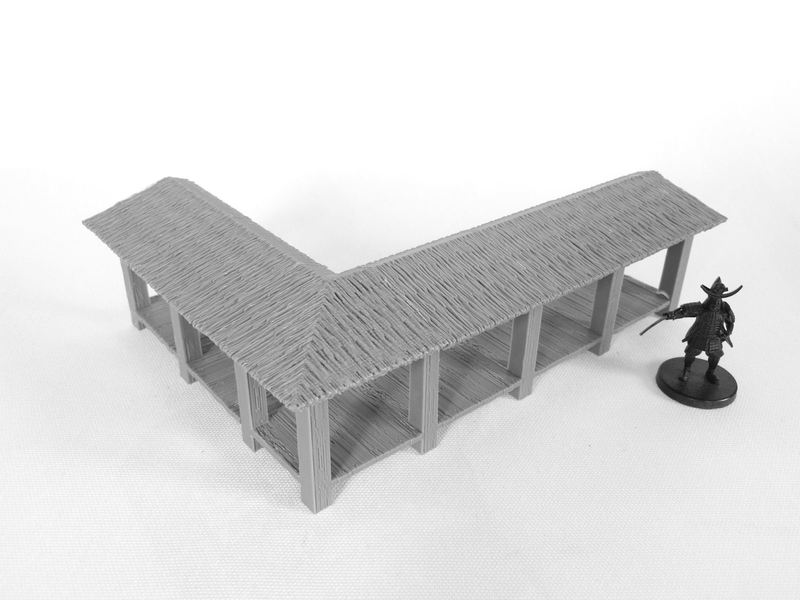
£ Here's the assembled corridor, with thatched roof.
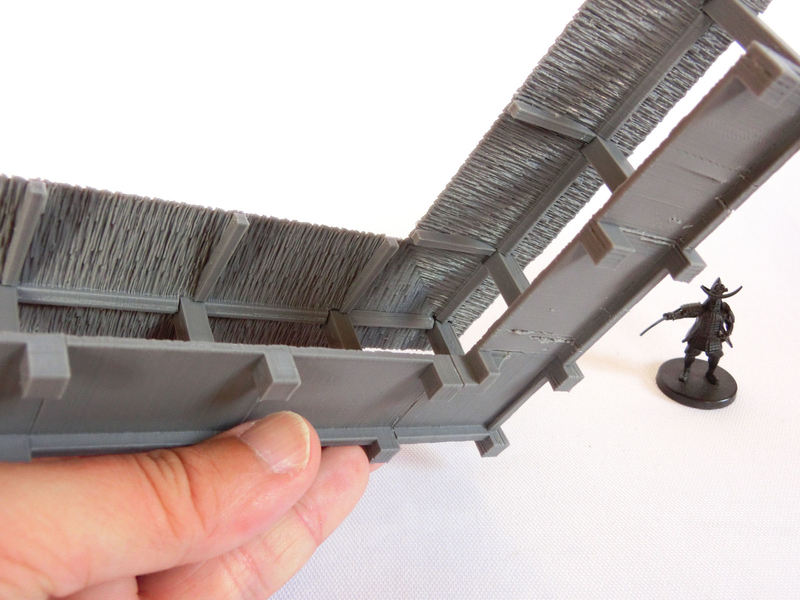
£ The underside of the thatched version is also textured. Because why not, eh?! 
| << Printing the modular farmhouses 2019-06-12 | Painting the samurai farmhouses >> 2019-07-04 |