| << Introducing MEDIEVAL CLANS, our new Scottish print partner... 2019-04-26 | Samurai Farm Set available NOW! >> 2019-04-30 |
Rather strange blog for today... we're looking at the growing cycle of rice, and how you can model that on your terrain boards!
The rice paddy model from the samurai farmyard set comes in 2 parts; the field with its earth banks around the sides, and the rows of rice. If you're printing the rice paddy at 100% scale, it will print to 120mm x 120mm, and you should probably aim to fill it with about 9 rows of rice. That will produce a pretty accurate and realistic amount of rice. 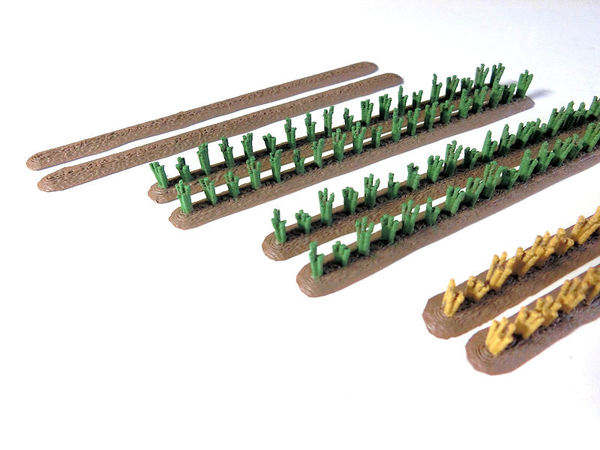
£ Rice is usually grown in Japan from spring and harvested in autumn. I printed 4 pairs of rows for this blog post, to show some different options for you. They are:
1. Empty rows, ready for planting (TOP).
2. Green shoots, shortly after planting.
3. Fully grown rice (or at least they will be, after painting!).
4. Rice stubble, after the rice is harvested (BOTTOM).
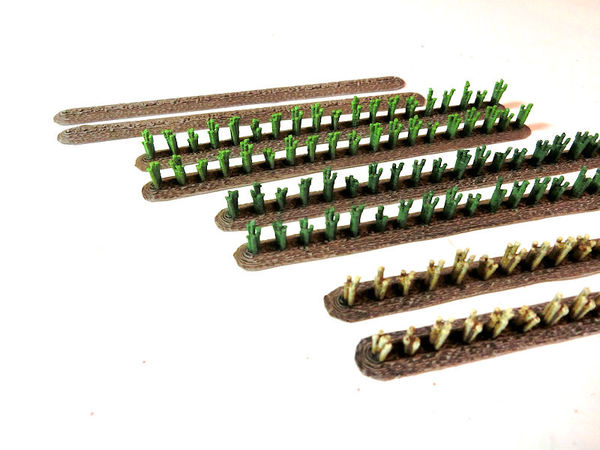
£ These are the same 4 variations, after a quick brown wash and some simple drybrushing. The two green versions are starting to look a little bit different now, but the finished effect will look very different.
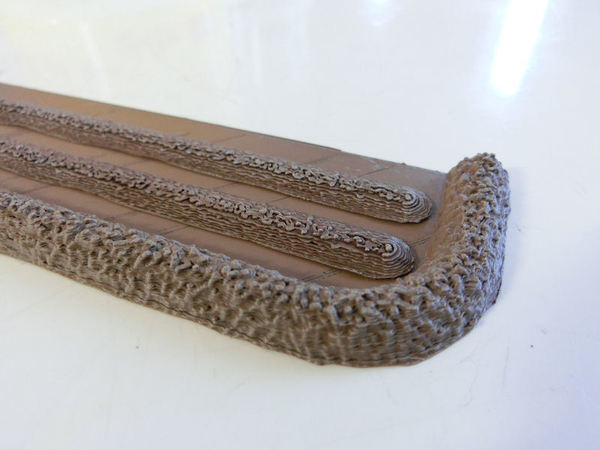
£ Here's an extreme close up of the bare earth version. You could model this dry or wet, as fields are flooded under about 10cm of water when young rice shoots are about to be planted.
(or you could just fit more rows and use it as a ploughed vegetable field!)

£ Young rice shoots are quite vivid in colour, as the shoots grow pretty fast. They're brighter towards the top. These would normally be submerged under 10cm of water, so the shoots poke out the top.
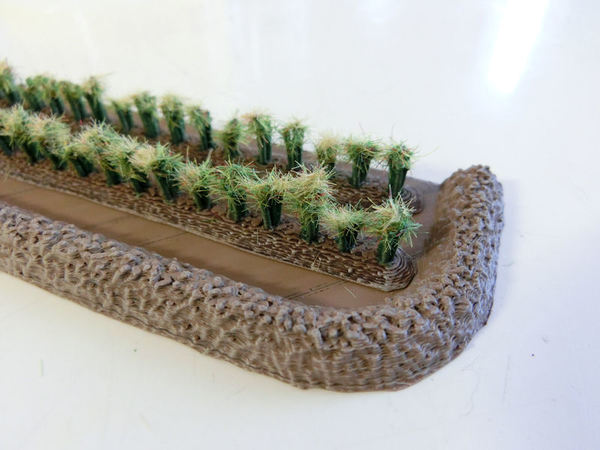
£ This was my attempt at fully-grown rice. I dabbed a small of PVA (white wood) glue on the top of each bunch and then pushed on a pinch of static grass. I initially glued fresh, bright green grass on top, and that looked awesome.
Sadly, I then glued a bit more (yellow) static grass on top of that, to emulate the golden husks of rice. That didn't actually look right to me, but I thought the photo might be interesting to see. My recommendation would be to try green grass on top first, and see if you're happy with that?
You could model this with water in the rice paddy, or dry earth - the water is drained shortly before harvesting (because sickles and murky water DON'T mix!!!  ).
).
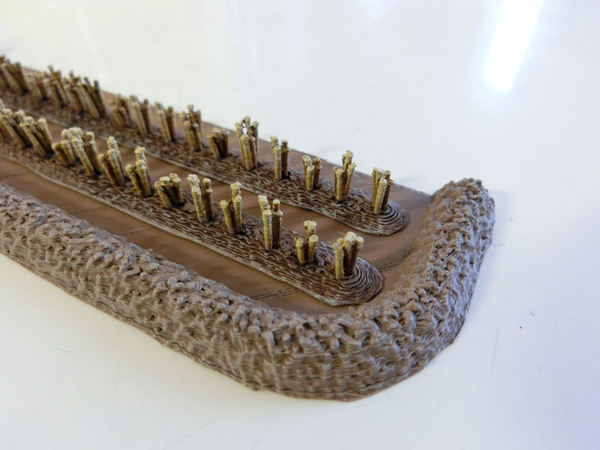
£ The fourth version is the yellowed stubble of rice that's left after the rice has been harvested. This should be modelled without any water in the paddy, if you want it to look authentic.
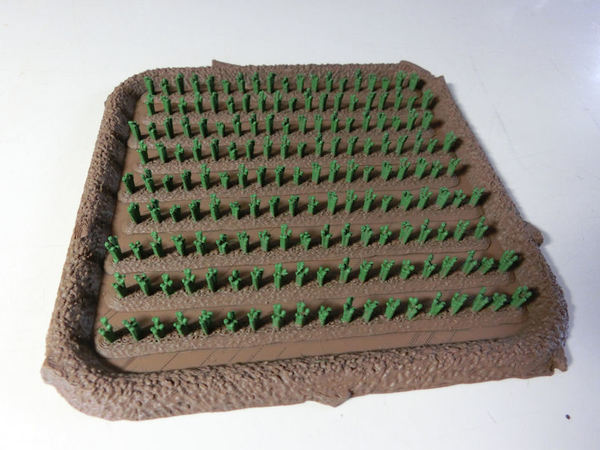
£ I chose to paint my 12cm rice paddy as a young paddy field, with the rice shooting out of the shallow, muddy water.
PS. If you choose to add water later, make sure you don't use PVA glue anywhere! It might turn white after resin or water effects are added!
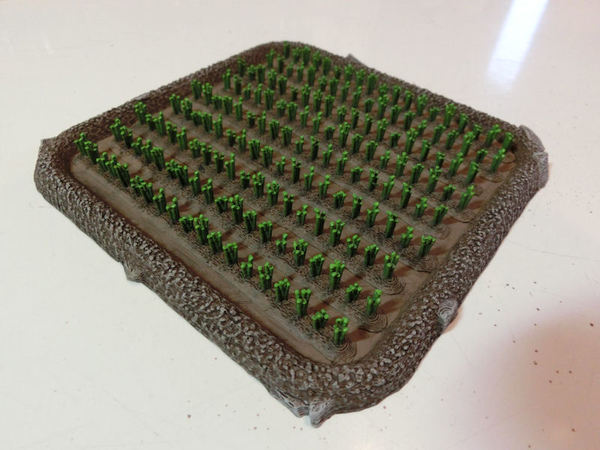
£ The whole model received a brown wash, and then the banks of the field received a light brown drybrush and a light grey drybrush, to pick out the texture. The rice stalks were drybrushed with a brighter green towards the top.
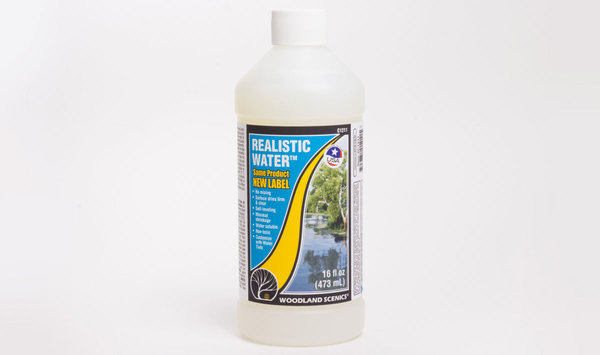
£ Next step was to add some water. I could have used two-part resin or resin that hardens under UV light as water, but I had half a bottle of this left over from an old project years before.
This is Realistic Water by Woodland Scenics (available everywhere, I think), and dries clear. You can apparently add tints to change the colour, but since mine would be very thinly applied in the rice paddy, I just used it clear.

£ Moving slowly back and forth across each row, I poured the Realistic Water to a depth of about 2mm. The earth on the rows is about 2mm in height, so I just kept pouring slowly until the water has just about covered all the soil.
Then you have to wait. And wait. And, no, not yet. More waiting.
After about 36~48 hours, it seemed to have dried. Hurrah!
BUT, after another 24 hours, the water level had dropped to about 1mm. I guess it shrinks a little when it dries completely? Anyway, I had to give it another 2mm of pouring after that, and wait for 2 more days! Which is why the photos were so late - sorry!! Once the resin was completely dry, I added some patches of grass around the outside of the rice paddy, on the sides of the earth banks.
Watch this space for the fully-painted photos tomorrow!
| << Introducing MEDIEVAL CLANS, our new Scottish print partner... 2019-04-26 | Samurai Farm Set available NOW! >> 2019-04-30 |
