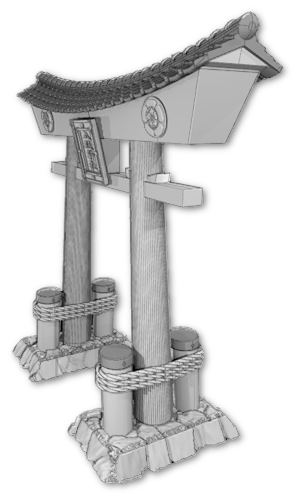
3d-printable terrain for all your samurai wargaming needs


| << Printing & assembling the Residence 2024-02-09 | Printing & assembling the House >> 2024-03-05 |
Today we'll be looking at how to assemble the penultimate building of the new Samurai Lord's House set, the big two-storey kitchen building!

▲ Once again, I'll start by saying that this large model is based very closely on a real-life samurai lord's house in Oita prefecture, so it does have a few weird layout points! haha
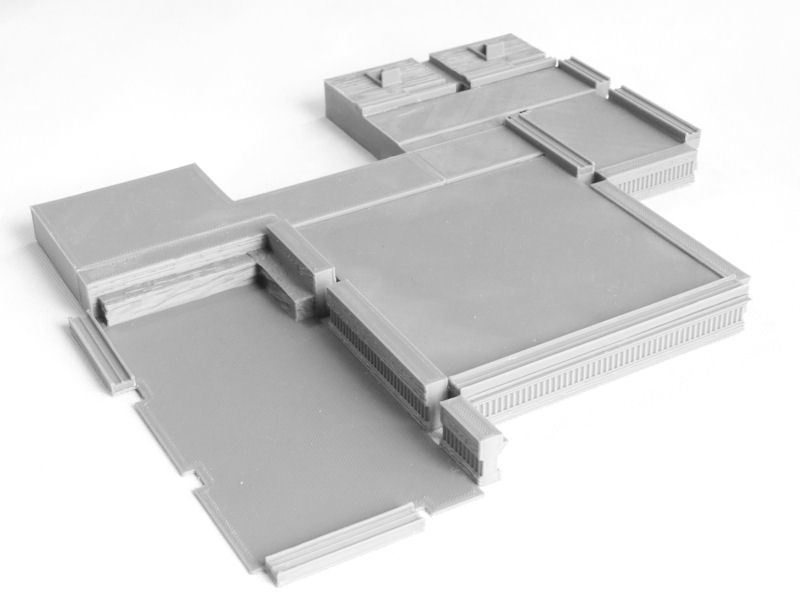
▲ We start with the four base sections, and then glue on the sliding door strips in the layout shown in the photo above.
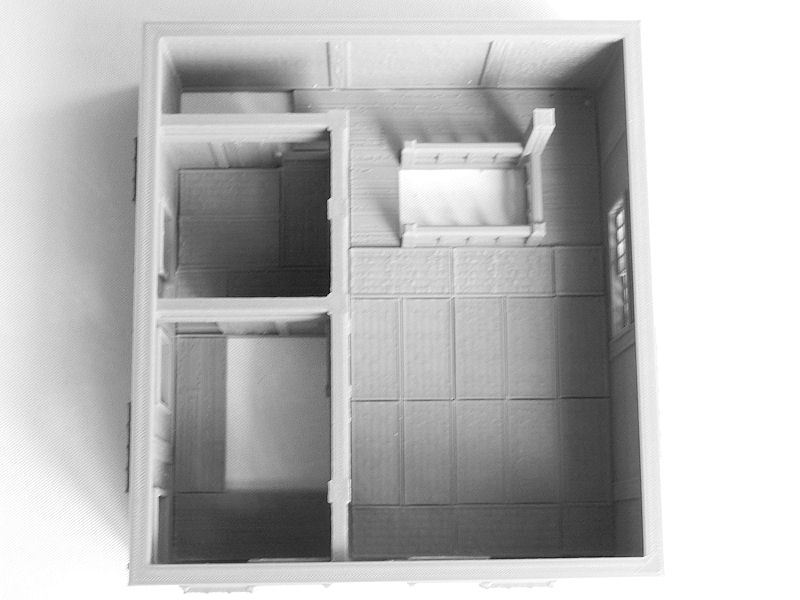
▲ Next we're going to complete the floor sections by adding some wooden floor pieces, a special double tatami mat (it's slightly longer than normal), and whole bunch of tatami mats.
The odd little rectangluar holes at the top right of the photo, by the way, are actually toilet cubicles - which were simple holes in the floor, that dropped into a stone channel underneath and were sluiced by running water.
You can also print some stone ovens for the lower floor area. I arranged these back to back, to give my warriors something to fight around, but you could just back them against the wall! 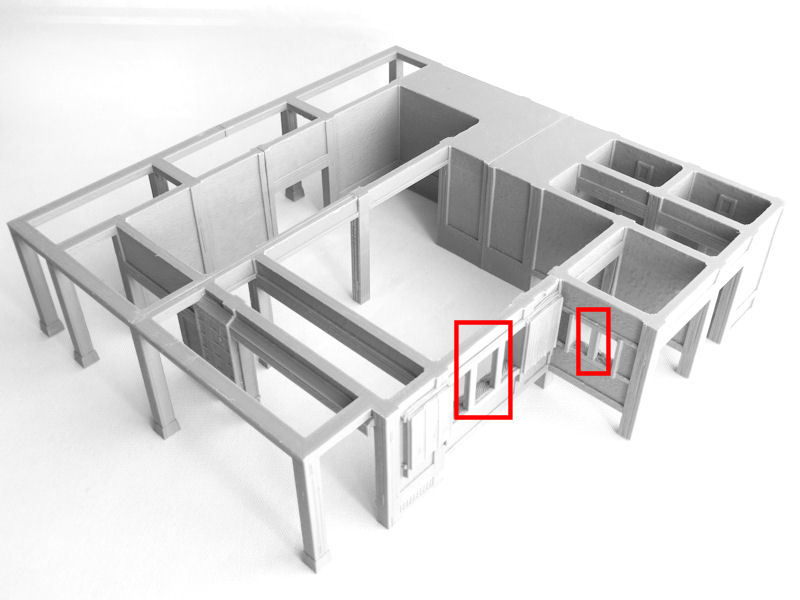
▲ Yay! It's time to print the wall sections, so that the layout finally makes some sense!
This prints in four pieces, all upside down. Slicer print supports are not required (but I would recommend printing your walls "Inside-to-Outside" to help with overhangs), although you'll need to remove the built-in window supports highlighted in red in the photo above.

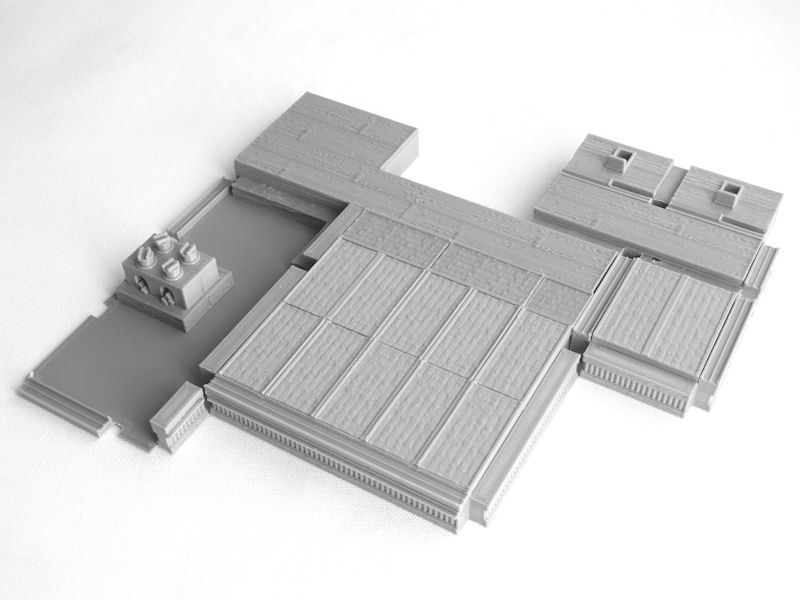
▲ Final touches for the first level of the building are window frames (solid versions and versions designed for use with paper are included), various sliding doors, and the stairs. Yes, the smaller rear staircase really is that terrifyingly steep in real-life!
Note the single sliding wooden doors for the toilet cubicles. Perfect for ninja attacks, eh?

▲ We now move onto the second level, which can be printed in 4 sections or if, like me (on my Ender 3 V2), you have a large enough print bed, you can print it as a single large piece with millimetres to spare!
There are numerous built-in print supports that need to be carefully removed (shown in red in the photo above), for the windows and doorways. Have fun!
▲ Floor time! The wooden floors slot in as shown, leaving that interesting open floor space above the ovens below, and then you'll need about a million tatami mats again!
The small room on the left also needs a couple of small doorway strips, and two wooden doors.
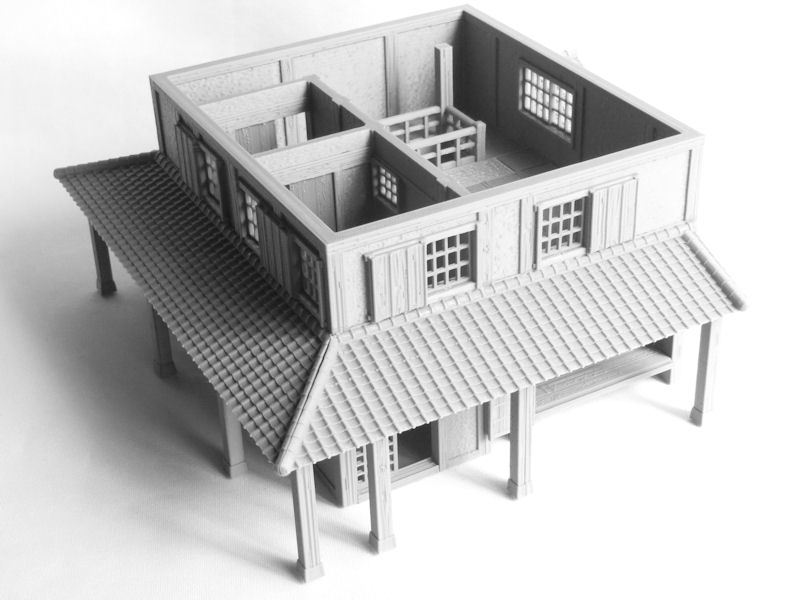
▲ You'll probably have noticed that the second level has been sliding around on top of the first level, up to this point. Fear not - by gluing the lower roof strips to the 3 sides of the upper level walls, you should find the levels will align perfectly. Hooray! These can be printed in really long sections if your printer is big enough, or half-sections for smaller printers.

▲ If you look at the right-hand side of this photo, you'll see that there is a small gable roof over the toilets. This is actually an optional piece, and can be used to convert the kitchen building to a standalone building. I printed it so that I had a bit of extra flexibility in games, but normally I would replace it with a super-complicated connecting roof to the adjacent corridor section.
More on that later!

▲ The last step of the assembly is to print two halves of this large roof (or 4 quarters on smaller printers), and drop it on top.
Congratulations, you're finished!
▲ Here's the completed kitchen model, with a 28mm samurai model for scale. It's pretty darn big!
Corridor:
Now seems as good a time as any to show you what the connecting corridor looks like!

▲ Assembly is a piece of cake, but you'll need to remove these two built-in print supports from the floor-level windows.

▲ Hey, somebody forgot to build the walls properly!?
Don't worry, this piece is only required if you're using all 3 main buildings together, and they all slot into place to complete the long corridor walls.
The roof, by the way, took me 3 afternoons to model! All those multiple roofline levels and angles were a complete nightmare, because I found I didn't have a clear reference photo of the roof there! So I had to get creative, and so you can rest assured that it's properly engineered - you could print it at 1:1 scale and use it on the real building!

▲ So here we are, with only one more building to go! The kitchen building (on the right of the wooden blocks) is the biggest one so far, but the final main house building will dwarf even that!

▲ Yes, huge, isn't it?!

▲ This photo shows the two big buildings (kitchen and residence) connected by a corridor section....
▲ ... and in this photo you get some idea of how mad that roof section is!
The big main house building is now being modelled and test-printed, so watch this space for the final layout pics!!
| << Printing & assembling the Residence 2024-02-09 | Printing & assembling the House >> 2024-03-05 |